VDub63 ( Steven )
1600dp
Club Photog
63 Beetle, 63 Beetle #2 project, 62 Beetle project
Posts: 2,108
Joined: Jul 5, 2008 14:14:20 GMT -5
|
Post by VDub63 ( Steven ) on Jan 29, 2011 23:19:17 GMT -5
Nice job , looks like a lot of hard work . Dang... heavy duty body work. You can say that again. |
|
teamafx
1600dp
I am in group #1
Posts: 1,341
Joined: May 29, 2010 15:33:28 GMT -5
|
Post by teamafx on Jan 30, 2011 10:30:05 GMT -5
You guys are a lot farther along then I thought you would be. Looking good.
|
|
|
|
Post by bren on Feb 13, 2011 23:26:14 GMT -5
Steven and I worked on the bus all day Saturday, under the watchful supervision of Kenn, while AJ worked on his trailer hitch on the workbench. We got the b pillar patch panel made and installed and finished attaching that part of the dog leg. 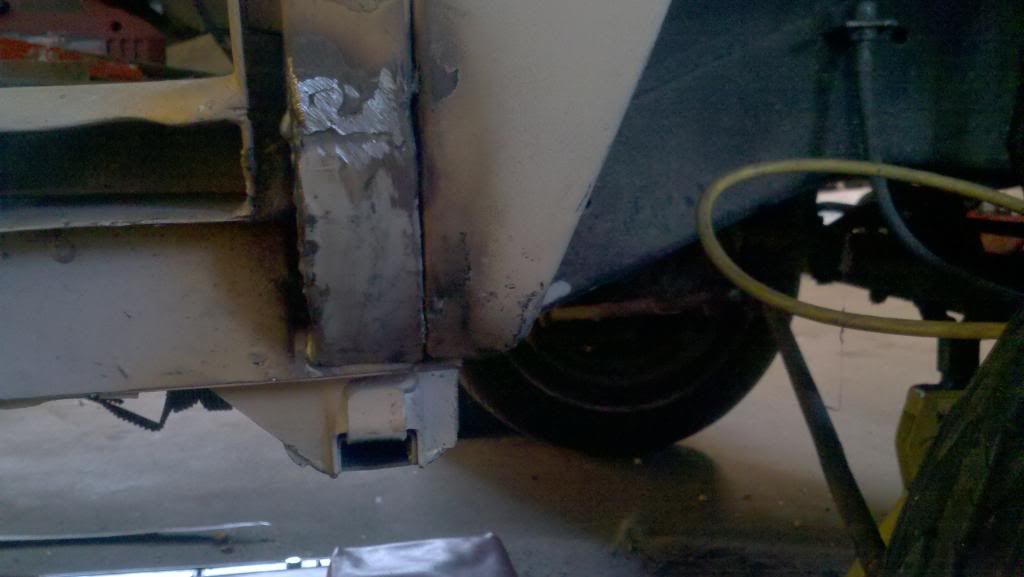 Also finished up welding this spot where the dog leg joins the floor: 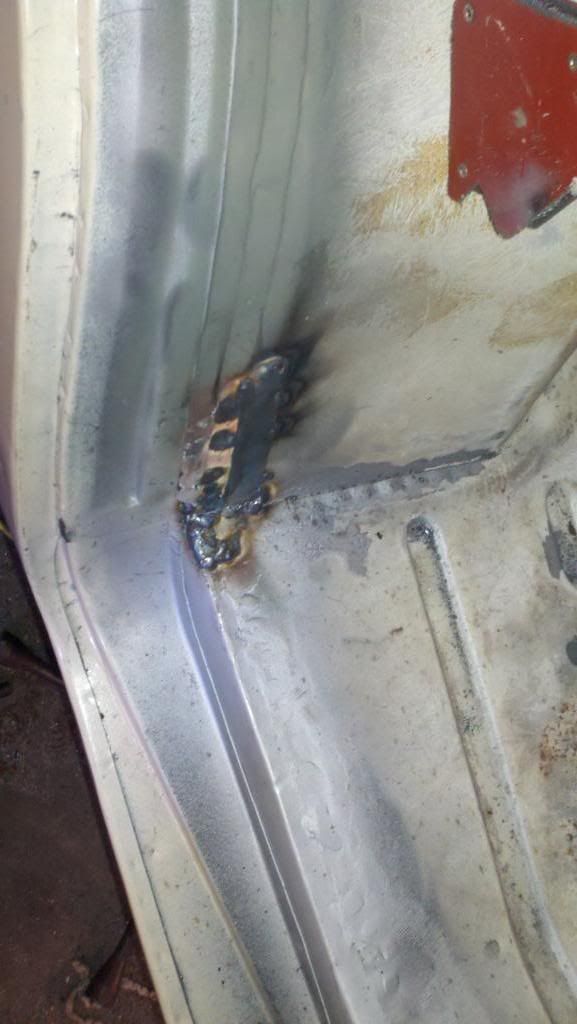 And Steven finished the welding at the front of the dog leg. Also did more underneath that I did not photograph: 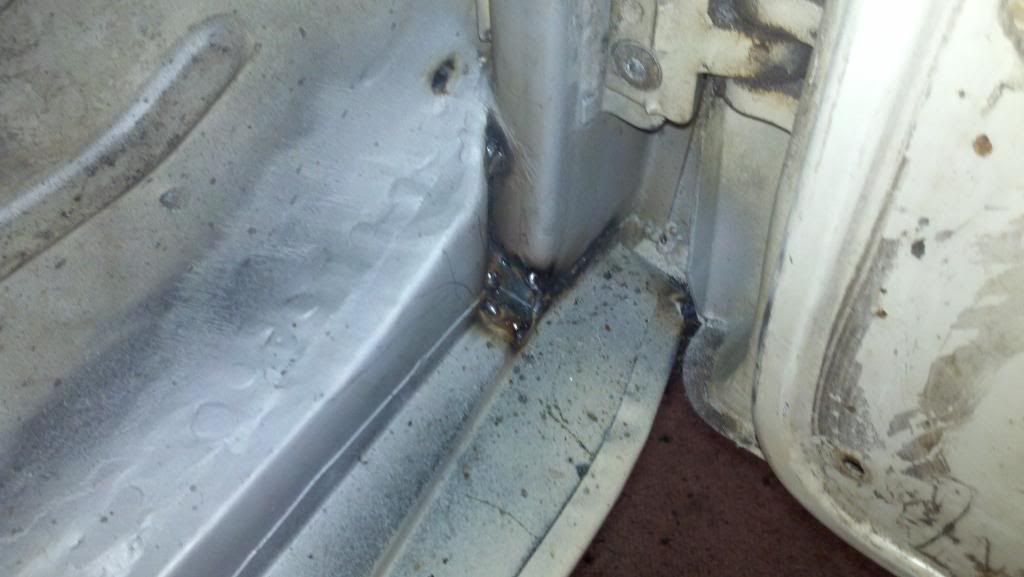 Welded this piece up under the door hinges. It took a lot of welding to get this solid again. Next comes a lot of grinding, maybe filing. 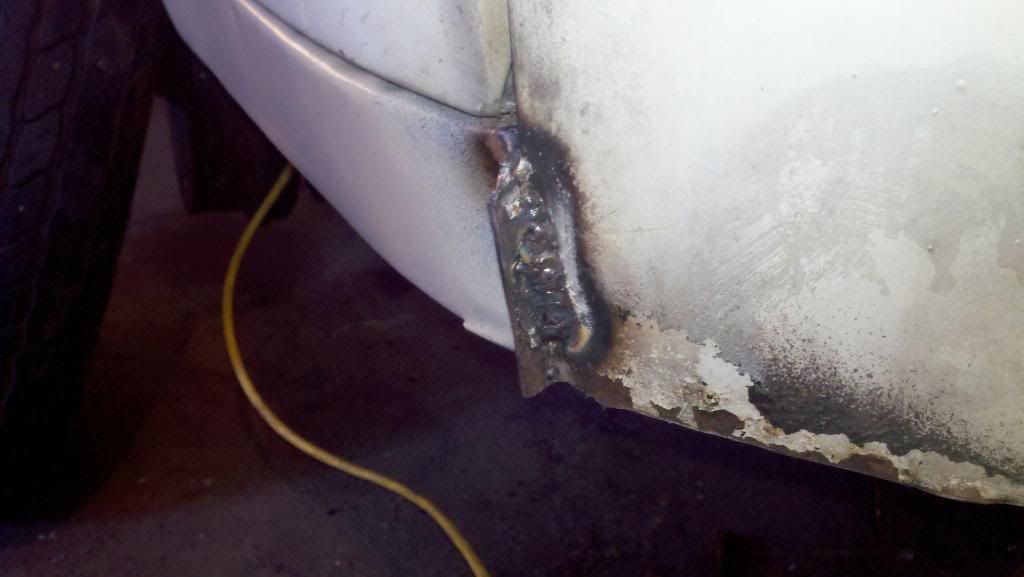 Then Steven also did some welding on the windshield area. Got a couple smaller holes filled near the corner. Those were easier to weld shut rather than patch. 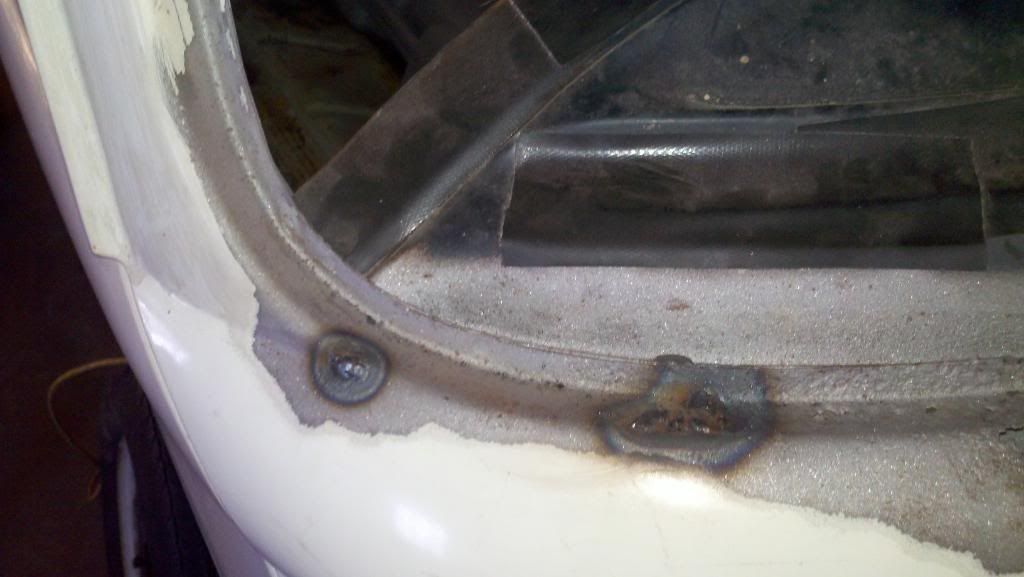 Very nice progress for one day I feel. Steven thinks the bus will be done by the bug run. He says Spring  , I say Fall  . Time will tell. |
|
|
|
Post by bren on Feb 27, 2011 19:45:22 GMT -5
Steven and I got the right rear quarter in and the outer skin under the slider. Rear quarter required a couple inner panels to be fabricated and installed before the outer skin. Next weekend we hope to get the rust repaired on the inside floor areas. 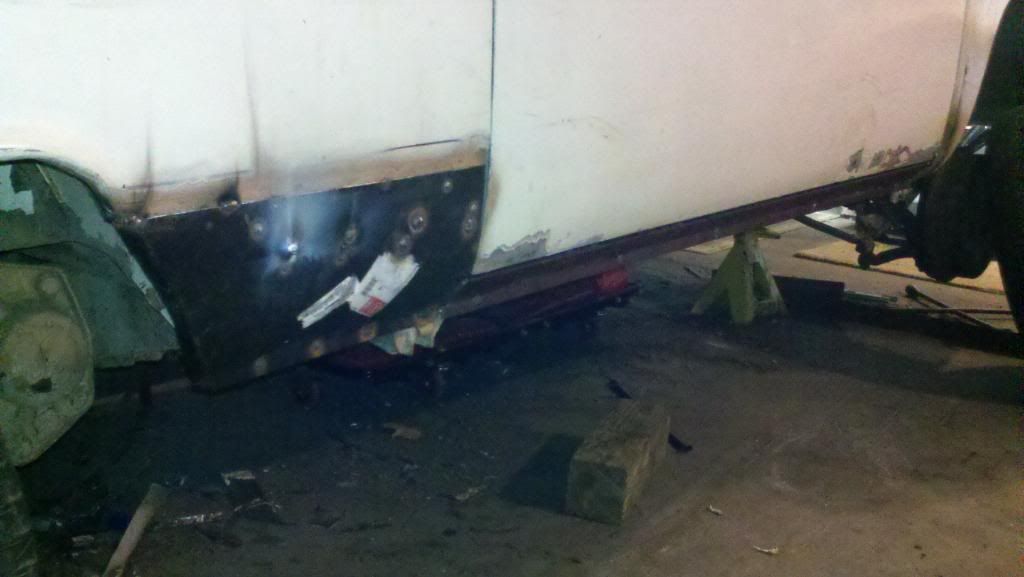 |
|
|
|
Post by bren on Mar 20, 2011 7:18:24 GMT -5
More progress yesterday, sort of. Got these two patches done. One was done last week. Upper one finished off today. 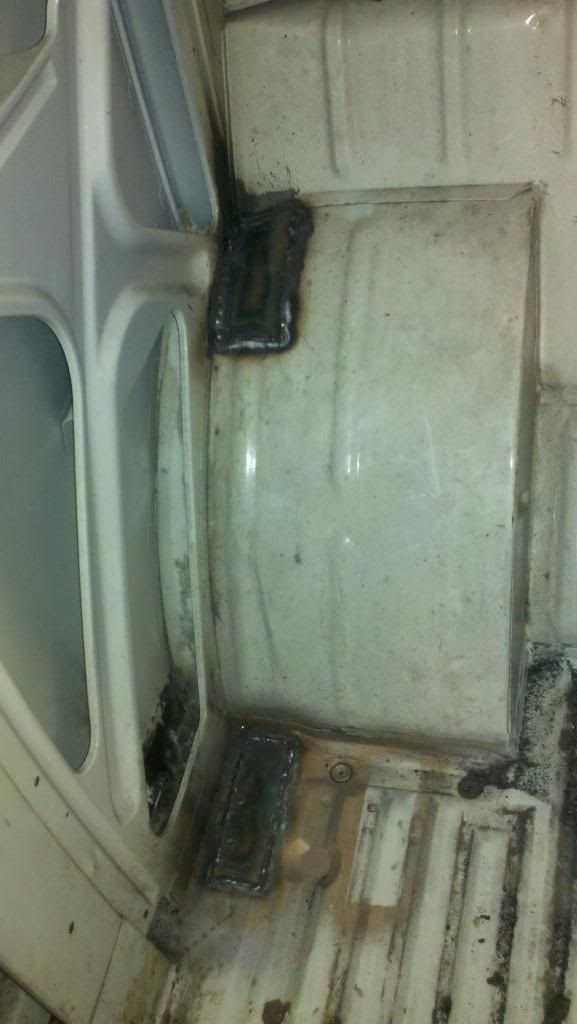 Then we thought we would work on the drivers dog leg. I thought it was not as bad as the passenger one. Patching instead of full replacement was the plan. Started off looking like this: 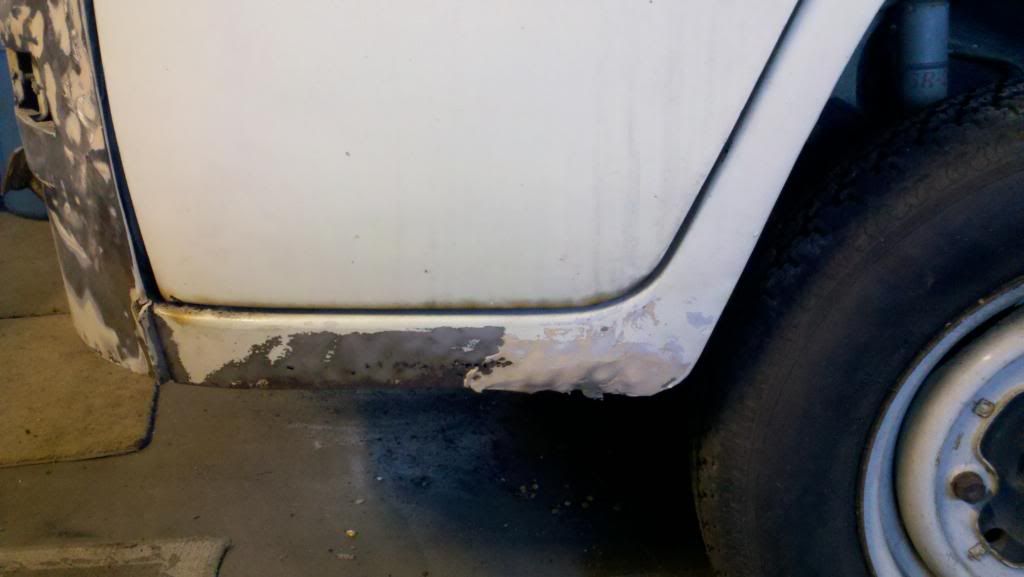 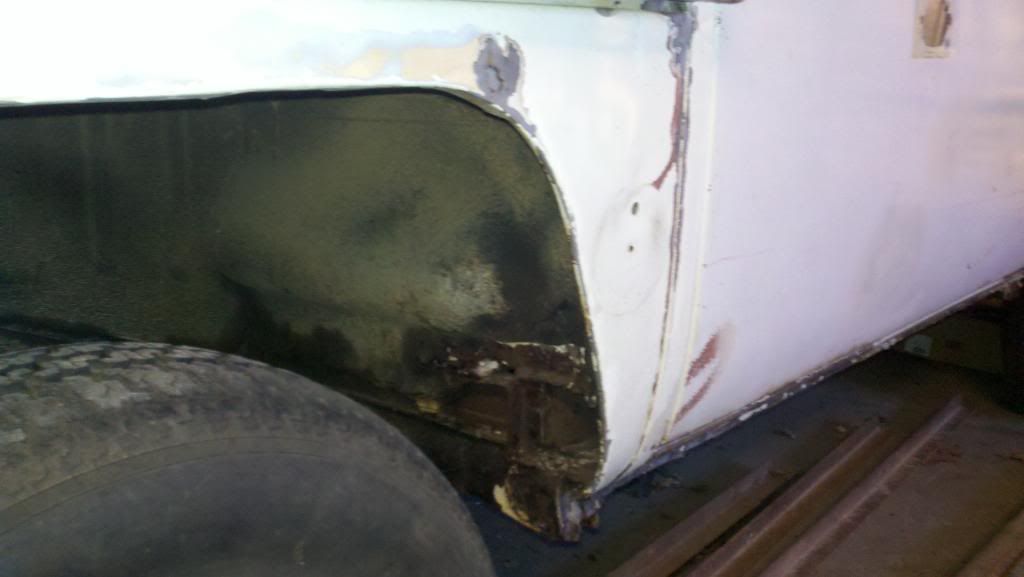 Got out the new used sand blaster. First use. Grit was damp so that did not work. Bought new and it was better. Not perfect. Kept plugging the orifice on the wand. Probably did not have the right combination of grit/orifice size. (first frustration of the day  ) Then we got into the dog leg more. Wirewheeled off the bondo. Nice thick bondo.  Discovered a very poorly done repair. Portion of the skin replaced. So much for patching the dog leg. 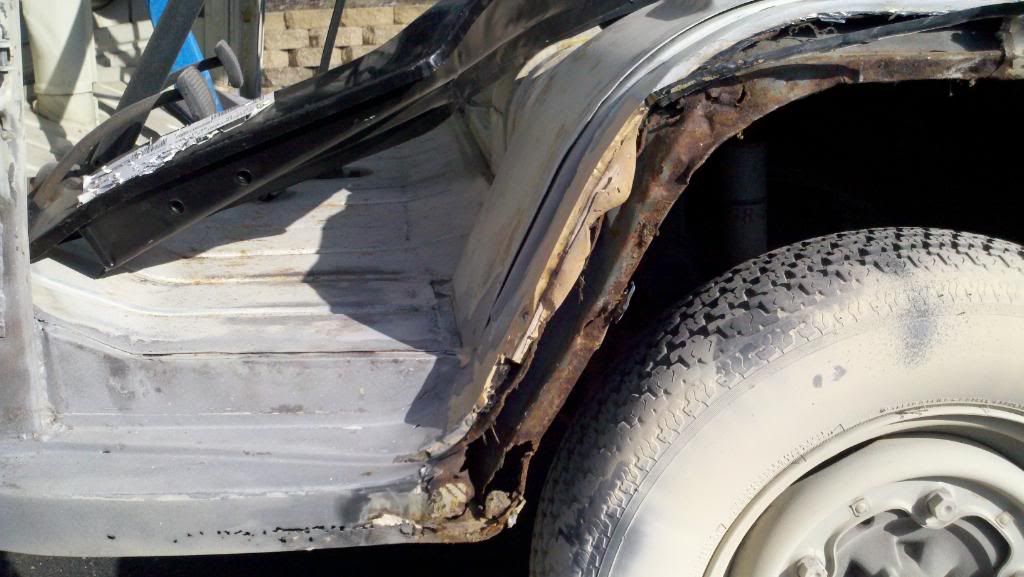 Now we are into a full replacement. Here is how it sits now: 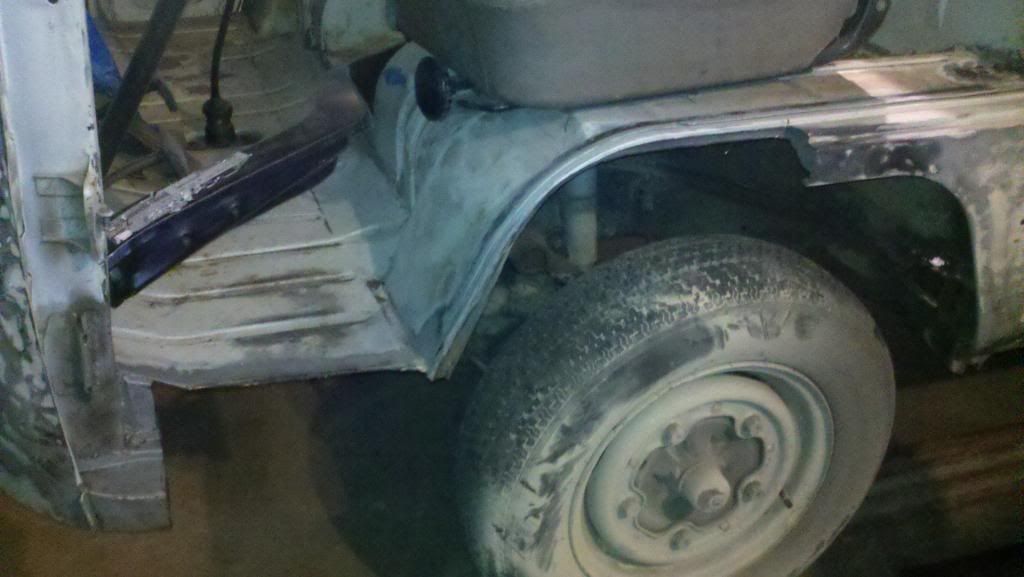 Pretty frustrating day. |
|
|
|
Post by dunedudex4 on Mar 20, 2011 7:24:49 GMT -5
WOW  That looks like WAY more then I could tackle. Keep up the good work. Also does it have to be under its own power to be at the spring run?? Thanks Dave T |
|
VDub63 ( Steven )
1600dp
Club Photog
63 Beetle, 63 Beetle #2 project, 62 Beetle project
Posts: 2,108
Joined: Jul 5, 2008 14:14:20 GMT -5
|
Post by VDub63 ( Steven ) on Mar 20, 2011 7:48:07 GMT -5
WOW  That looks like WAY more then I could tackle. Keep up the good work. Also does it have to be under its own power to be at the spring run?? Thanks Dave T Probably not this year ..... There is a lot more to be Dunn. |
|
|
|
Post by bren on Mar 26, 2011 8:32:19 GMT -5
OK, good recovery yesterday.
I took Thursday and Friday off.
Thursday I got lots of 'homework' done. Many rusty spots cut out, prepped and patches made. Focused on the back underside of the nose. Got the dog leg cut out too.
Friday Steven got lot's of welding done. We even finished patching the windshield area. Then started fitting the dog leg.
Lots of progress!
Now I have lots of grinding to do!
|
|
|
|
Post by bren on Sept 5, 2011 20:39:39 GMT -5
Wow, March 26 was the last update. Yesterday with the help of Steven and George we finally got the drivers dog leg finished. It was not easy. The repair piece was really bad. Not really close to having the proper shape. Fortunately George has done lot's of cars and this one did not intimidate him. Also, in the process of fitting the dog leg we got the door properly fitted to the opening. Now the bus is going to the back garage for a while. Plan is to finish the '64 race bug then eventually get back to this. 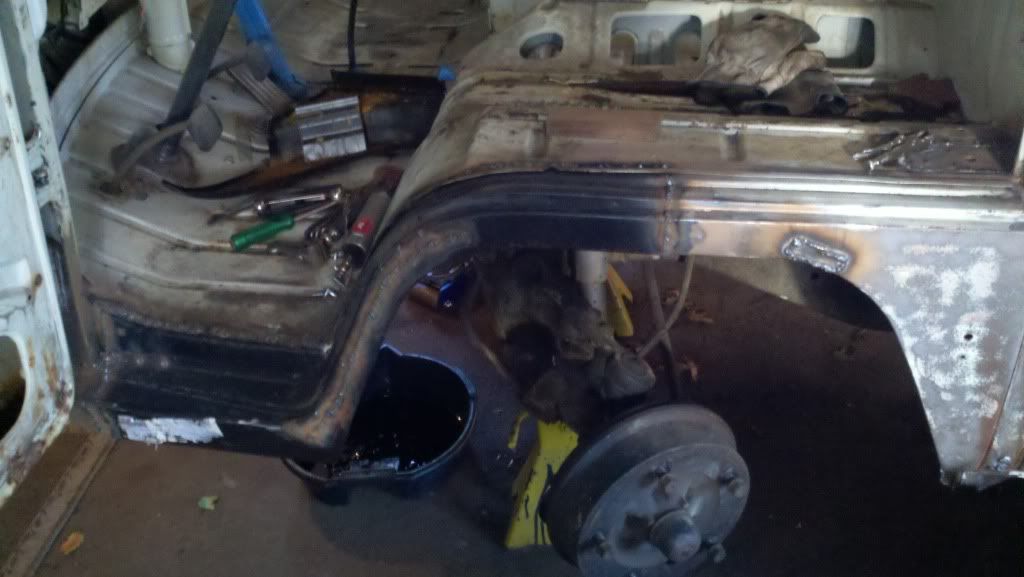 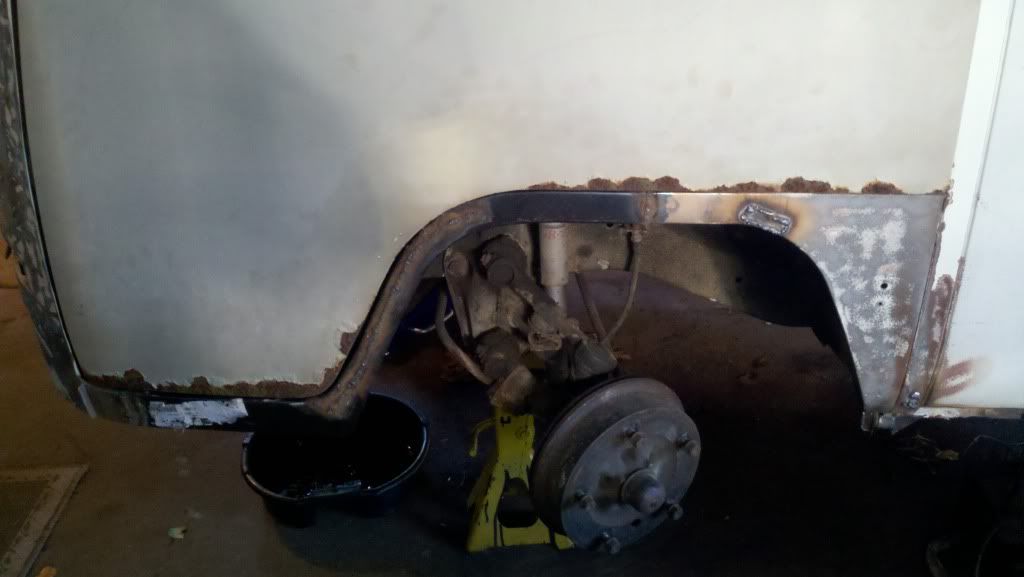 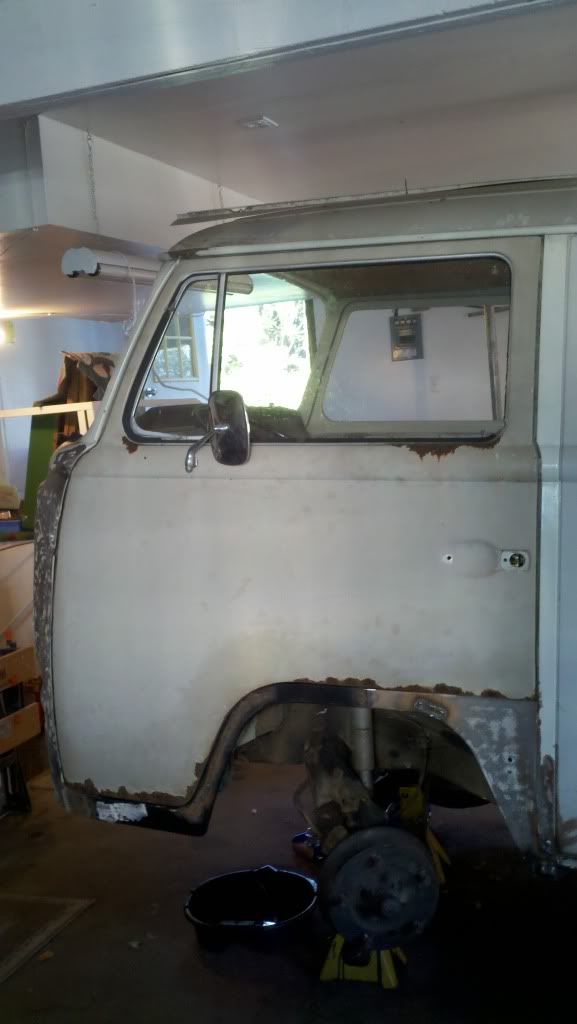 |
|
TaylorMutts
1500sp
Life is Good
Posts: 330
Joined: Jun 27, 2008 7:18:48 GMT -5
|
Post by TaylorMutts on Sept 6, 2011 5:33:29 GMT -5
Thanks for this recent update--it caused me to go back and read the whole project thread. Man, you have some good friends! After all of this work, have you gotten into any welding yourself? I figure by now you might be a pro after working with Steven.  Can't wait to see your finished product...good luck! |
|
|
|
Post by 72vwsportmobilebus on Sept 6, 2011 17:33:37 GMT -5
Where can I find one of those windshield lips mine is gone. Need a new one.
|
|
|
|
Post by bren on Sept 6, 2011 19:00:46 GMT -5
We just patched mine.
I have one of the lip kits we did not use.
Honestly, they are not that nice. I would look into buying the one Gerson sells; the funky green panels.
|
|
|
|
Post by bren on Dec 23, 2012 1:42:45 GMT -5
|
|
|
|
Post by bren on Jan 13, 2013 22:56:08 GMT -5
No photos to post....
Jan. 1st John, Todd, and I delivered the bus to Mark.
Yesterday we went to Plainwell to sandblast many bus parts and zwitter rims.
I plan to use the pop top from the'68 parts bus. Today I removed all hardware and seals etc from that.
|
|
|
|
Post by bren on Jan 14, 2013 21:51:38 GMT -5
|
|