vintagevwnut
1500sp
Posts: 431
Joined: Nov 8, 2008 13:47:35 GMT -5
|
Post by vintagevwnut on Jan 20, 2009 1:33:39 GMT -5
Thanks for the compliments. I got my drop plates in tonight. 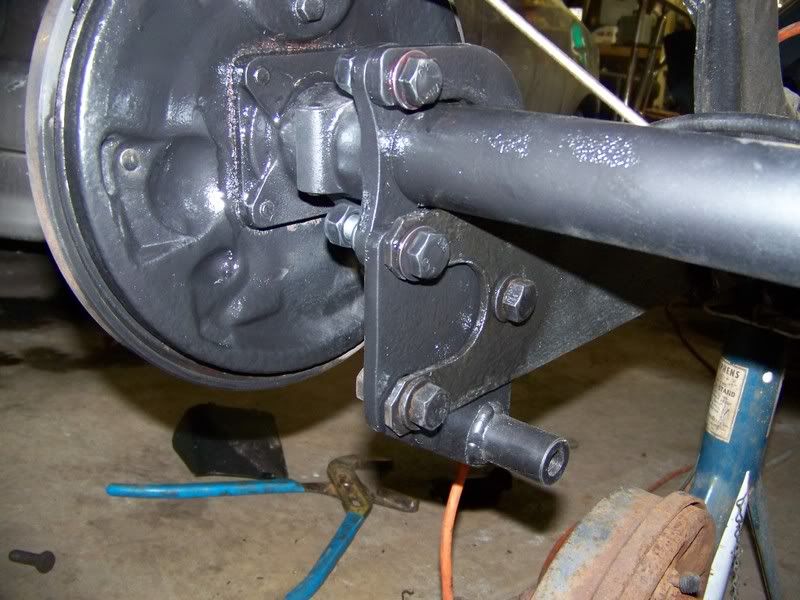 |
|
dansam
1600dp
Posts: 2,434
Joined: Oct 25, 2008 7:23:39 GMT -5
|
Post by dansam on Jan 20, 2009 12:17:42 GMT -5
clever design
|
|
vintagevwnut
1500sp
Posts: 431
Joined: Nov 8, 2008 13:47:35 GMT -5
|
Post by vintagevwnut on Jan 20, 2009 23:27:49 GMT -5
Not my design, but it works.
|
|
vintagevwnut
1500sp
Posts: 431
Joined: Nov 8, 2008 13:47:35 GMT -5
|
Post by vintagevwnut on Jan 27, 2009 20:35:42 GMT -5
Not getting much work done, my back is still very sore from pinching a nerve over last weekend, but gathering pieces for a sand blasting bin, got most everything exept the vent. The bin is big enough to fit a 15" rim, or maybe to (got to try that) in it laying down on the bottom, and even has little wheels to roll it on one end. Very stylish.
|
|
|
|
Post by bren on Jan 27, 2009 21:12:35 GMT -5
Kevin: We need photos of the blasting booth you are fabricating. Saw some info on HW. Seems like a cool idea. Nice to keep the mess down economically.
Hope your back gets better soon. We need to see that car at Effingham!
|
|
vintagevwnut
1500sp
Posts: 431
Joined: Nov 8, 2008 13:47:35 GMT -5
|
Post by vintagevwnut on Jan 27, 2009 22:35:36 GMT -5
Trying to take it easy for now. I havent started to build the bin just yet, but I can take some pics. Mark actualy helped me figure out the exhaust over on HW so I just need some hose clamps, which I will get tommorow. And a little rest.
|
|
vintagevwnut
1500sp
Posts: 431
Joined: Nov 8, 2008 13:47:35 GMT -5
|
Post by vintagevwnut on Feb 8, 2009 15:49:48 GMT -5
Got my blasting bin mostly built, tested it and got a rim striped and painted, still want to do the dark green on the outside, paint was peeling when I tried to tape it off so Im waiting a little while to let it dry. This was at Sal's and Im not putting ports on it, just looking.  Heres a pic of a bugselecta close to what Im going for, the dark green came out a little darker in the photo. Dont know about redlines, to much right now but I do realy like them. 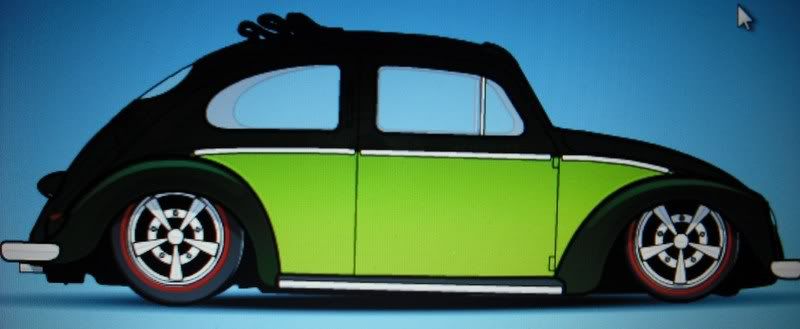 I will post pics of the bin soon, just not getting out there alot to work on it since my back went out, its getting better, but Im tired alot from it just aching. I dont think the bug is gonna make a spring deadline, more like summer. We'll see though, I may just have to bust some azz when I get my parts I need and make it happen. |
|
|
|
Post by Dustin on Feb 8, 2009 18:36:48 GMT -5
That selecta Bug looks great. I like that light green its a nice color.
|
|
vintagevwnut
1500sp
Posts: 431
Joined: Nov 8, 2008 13:47:35 GMT -5
|
Post by vintagevwnut on Feb 9, 2009 0:19:41 GMT -5
|
|
dansam
1600dp
Posts: 2,434
Joined: Oct 25, 2008 7:23:39 GMT -5
|
Post by dansam on Feb 9, 2009 9:02:07 GMT -5
DAMmmmmmmmmmnn Thats some serious stuff, Gunna be cool though.
|
|
vintagevwnut
1500sp
Posts: 431
Joined: Nov 8, 2008 13:47:35 GMT -5
|
Post by vintagevwnut on Feb 9, 2009 22:08:42 GMT -5
Thanks for the compliments.
|
|
Kirby
1500sp
Posts: 477
Joined: Sept 5, 2008 10:38:18 GMT -5
|
Post by Kirby on Feb 12, 2009 17:24:49 GMT -5
Judging from the pics the bug is going to turn out very cool! I like the dash swap, very nice. I would assume you cut the original one out? I've been thinking about the possibility of doing a dash swap in my bug and wondered how you went about doing yours. Keep up the nice work!
|
|
vintagevwnut
1500sp
Posts: 431
Joined: Nov 8, 2008 13:47:35 GMT -5
|
Post by vintagevwnut on Feb 12, 2009 21:57:14 GMT -5
I drilled out all the spot welds on the bottom along the seam with a 1/8th drill bit (to keep it from wandering) then a 1/4. On the new clip I cut across the top of the dash right at the botom of the lip for the window rubber. On the car I cut on the actual dash across the width back the width of electrical tape (layed it against the lip for the window rubber and sprayed hi temp black and pulled up the tape) leaving a lip to spot weld to. I cut it on the sides intending to butt weld it there, just to the inside of the door mounting screws, cutting the new clip over size and I will use high temp paint again once its trimed to the proper size, and then will cut the car to that line and weld it in. Other than the tape I did it all free hand, no measuring. Did you follow all that.
|
|
Kirby
1500sp
Posts: 477
Joined: Sept 5, 2008 10:38:18 GMT -5
|
Post by Kirby on Feb 12, 2009 23:44:16 GMT -5
Thanks Kevin
|
|
vintagevwnut
1500sp
Posts: 431
Joined: Nov 8, 2008 13:47:35 GMT -5
|
Post by vintagevwnut on Feb 16, 2009 7:59:01 GMT -5
Huge, huge thanks to Melvin, Sal, Dean, and Mike for coming out last night. Got lots done! Dean helped set the end play on my crank, with Mike while Melvin, Sal, and I fit the dash, and then Melvin welded it with help from Sal and I. Still got to work the bottom of the trunk to make it match but I wont mind welding that, but I couldnt have done anywhere near as good on the dash as Melvin did. Thanks so much for everyones help I had a blast also. Heres lots of pics, mostly Sal getting trigger happy, but I know Mike is responsible for some of these also. 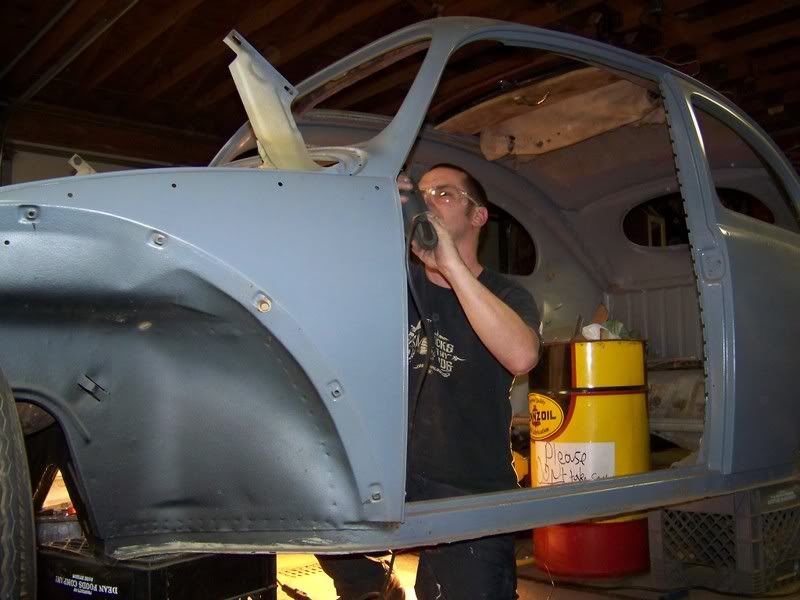 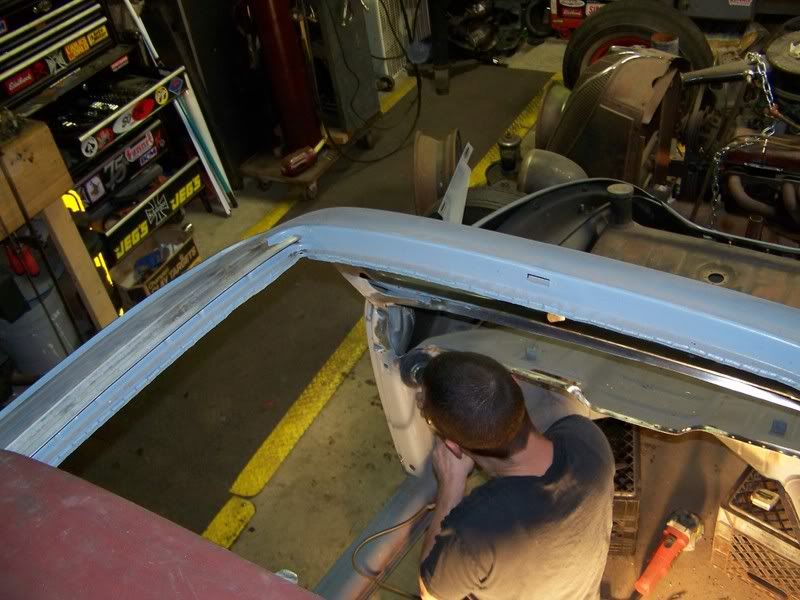 Someone sniper shoting my allstate swivel wheel trailer frame hanging from the rafters. 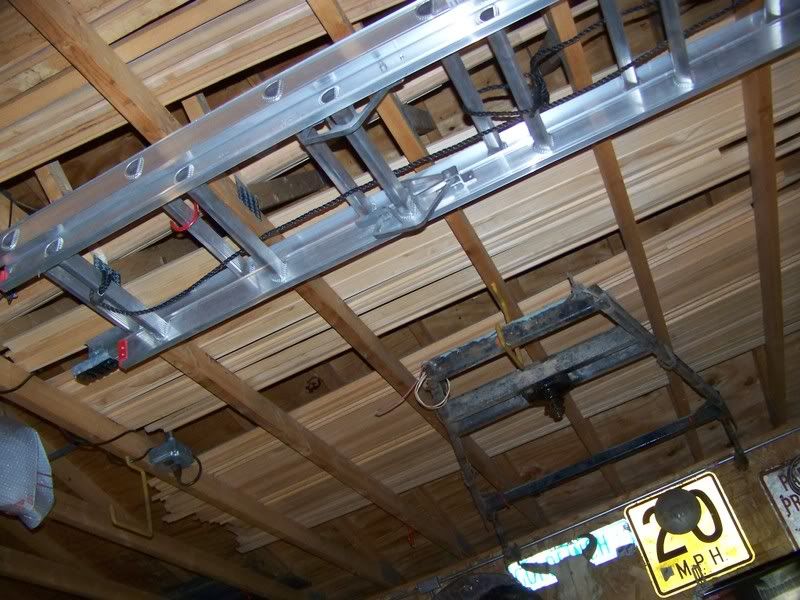  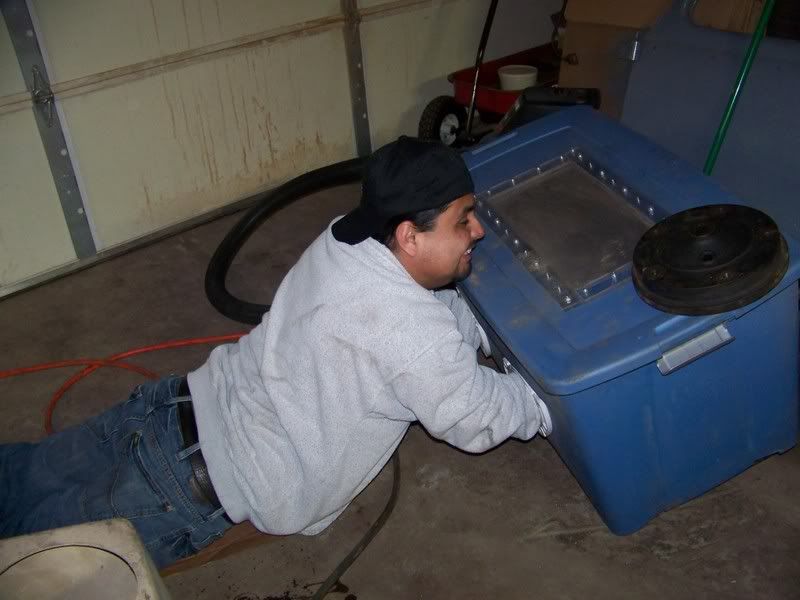 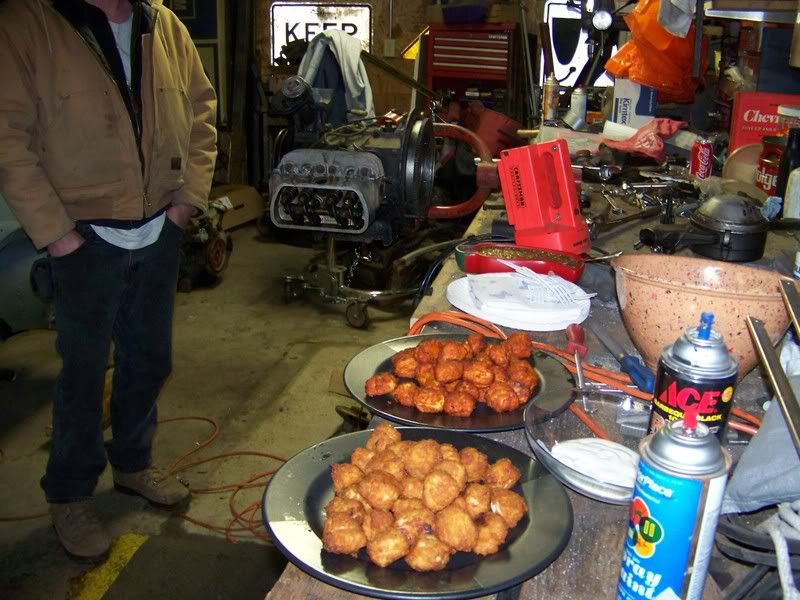 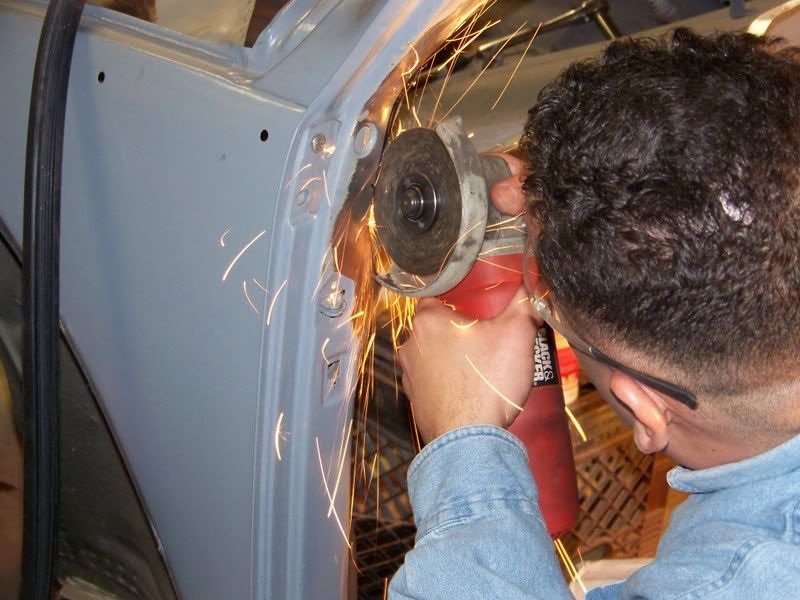  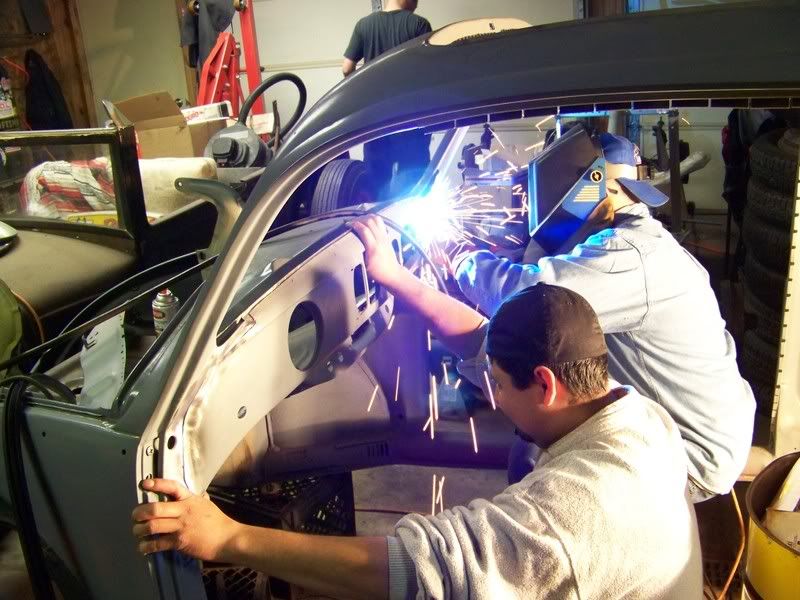  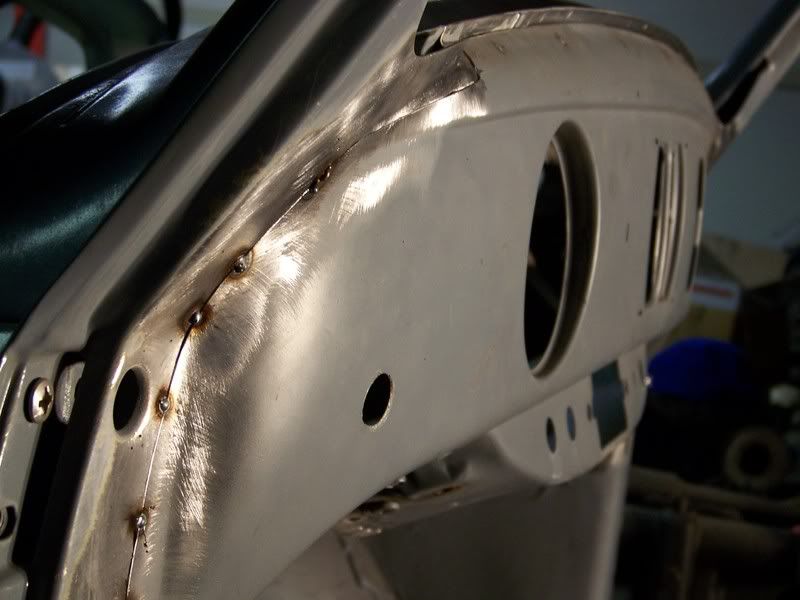 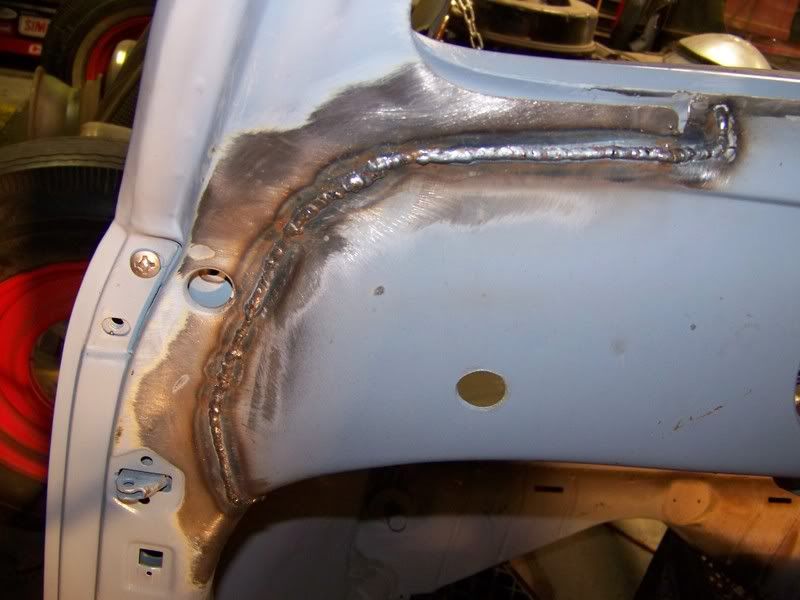 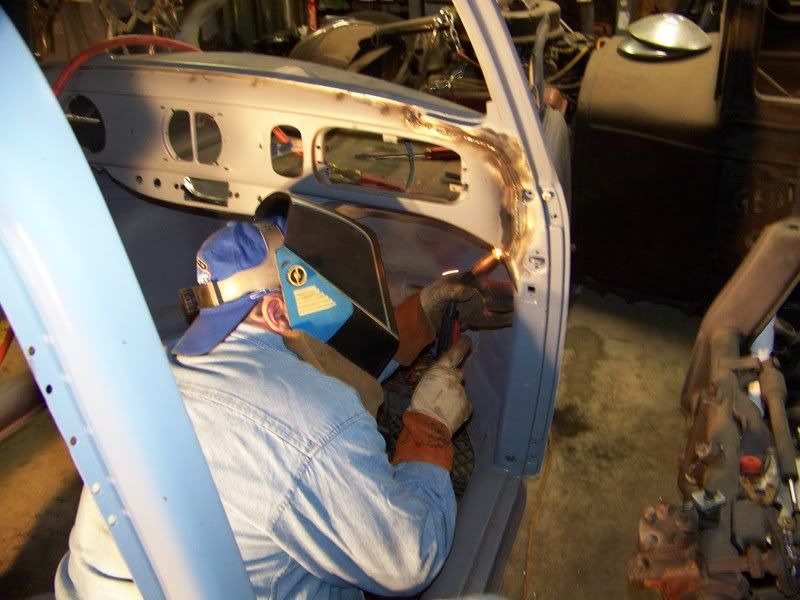 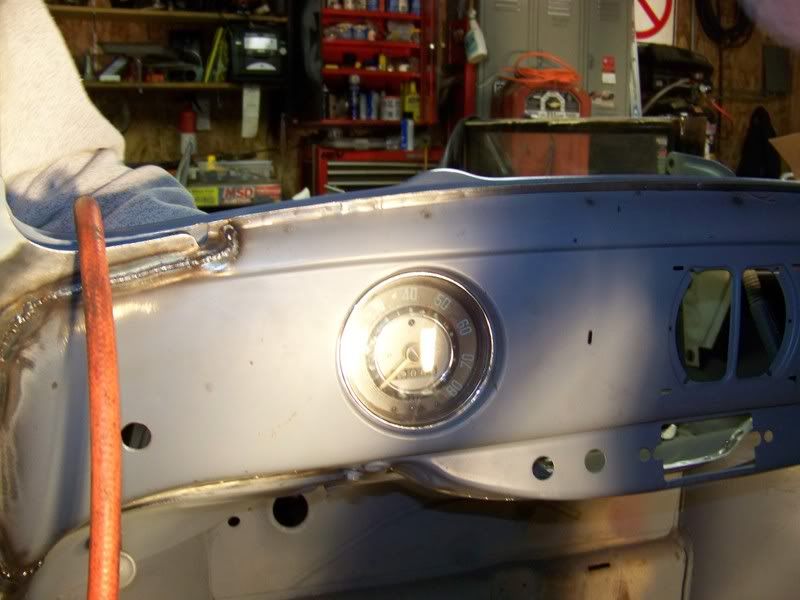 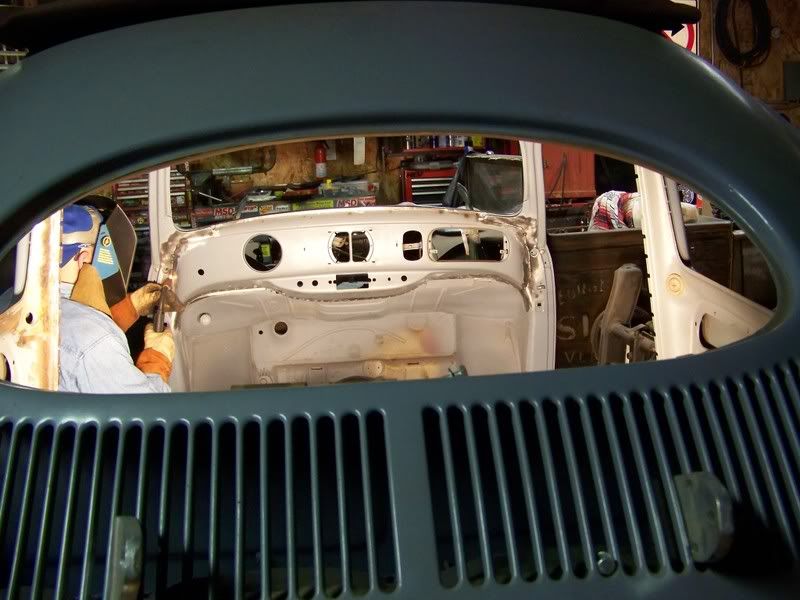 |
|