Project 68
Mar 24, 2011 13:20:53 GMT -5
Post by dubfreak1 on Mar 24, 2011 13:20:53 GMT -5
History of the 68: Got this from John H about 3 years ago. It had had an engine fire and the wiring was gone and the RR 1/4 had gotten pretty rusty. It would be a lot to fix, but was too good to part out. It is a euro spec car so it already had disc brakes in the front, so I thought why not autox it? I replaced all the brake lines, rewired for ignition and charging systems and completely ignored cosmetics. Oh yeah, I also removed a few unnecessary parts ;D
To test the car I ran it at Drag Days II. Turned a 24.5 in the 1/4 mile.
Fast forward to today: its best run towards the end of 2010 was a 18.5 and I'm looking to get in the 17's this year, still with a stock engine.
As an autox car it sucked. It weighs around 1660 lb with me in it, but sits so high that there is hardly any downtravel left in the suspension.
So here we go to get ready for 2011. With the light weight, the front is way oversprung, so I decided to lower it and reduce the spring rate by using only the bottom torsion bar. The top bar will remain to act as a sway bar and hold the trailing arms side to side. This is pretty much the way its is done on FV's. The center torsion bar anchor had to come out of the top tube and the top trailing arms need to be located side for side.
I removed the top trailing arm seals to see how the arms would be positioned in relation to the tube and found this condition:

Some spacers would be needed to set the endplay of the top trailing arms. Fortunately I had these left from my FV days and they would fit about right:

Dissasembled the front and used a piece of angle iron to scribe a line on the top tube:

Cut the top tube on either side of the center anchor and then cut a wedge out of the bottom side of the anchor.

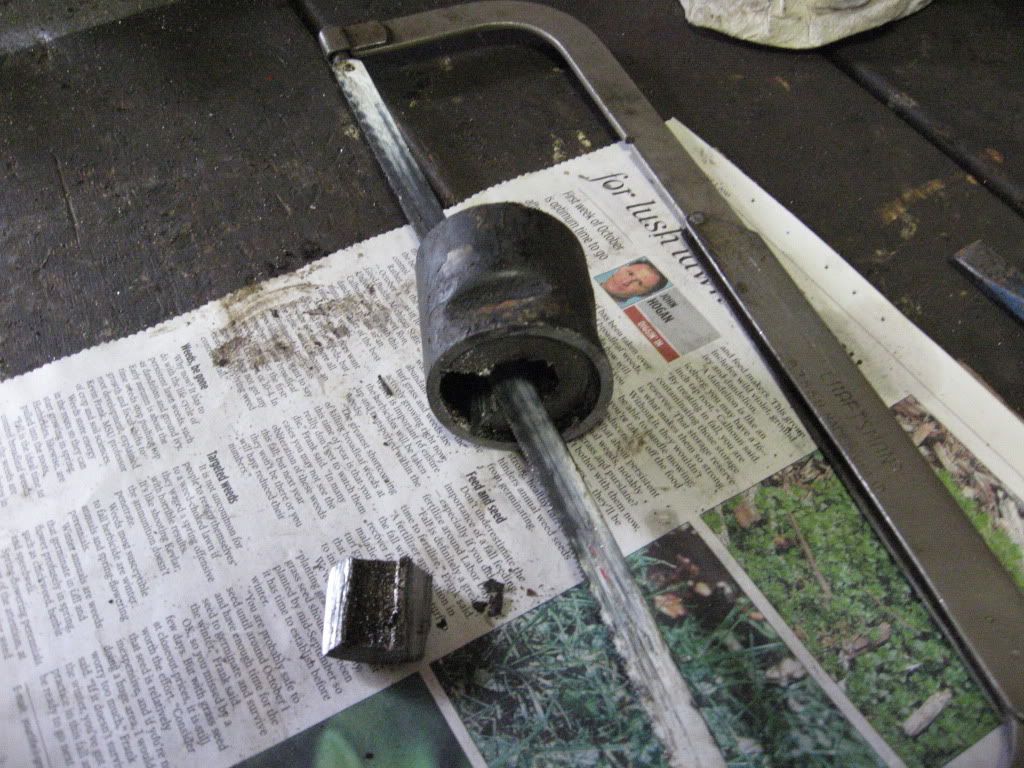
Next, I cut the anchor at the center of the screw hole so the remaining pieces could be removed from the tube. This cutting in pieces is necessary to get around the crimps in the tube that hold the anchor in place.

Here the handy dandy piece of angle iron is clamped to the top tube as a fixture and the center part without the anchor sets on the angle. The scribe line is lined up to put everything back in the same relationship.

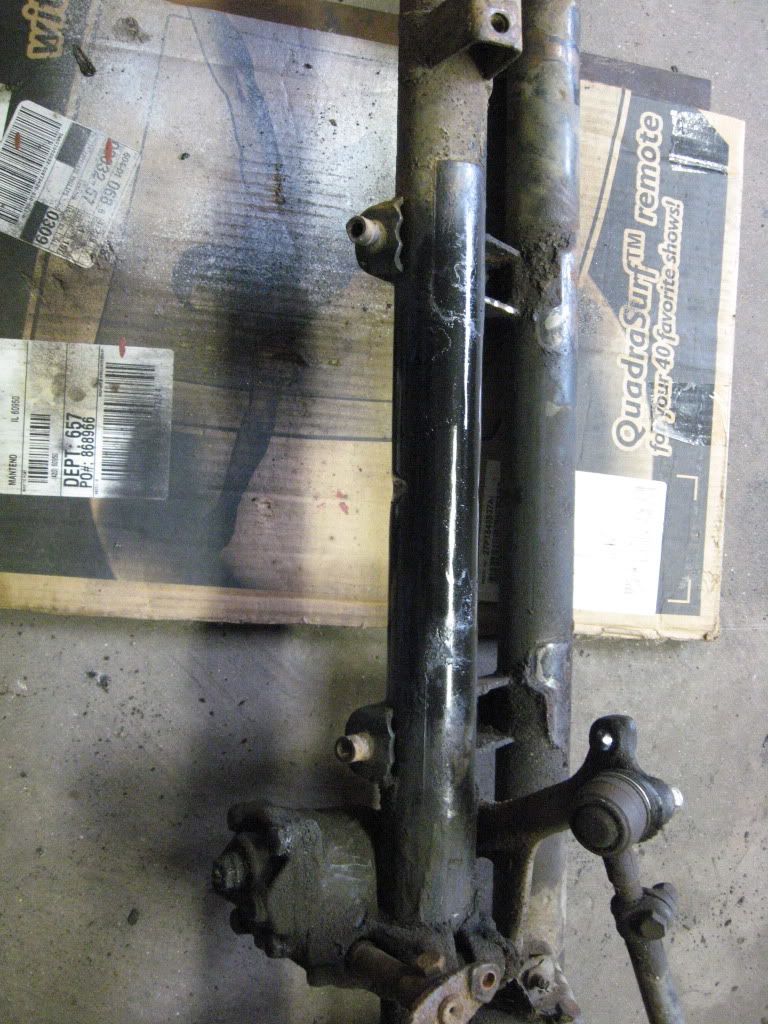
All welded up, ground, and ready to go back in:

I spent over an hour fitting the spacers so that there was only minimal endplay on the top arms, but yet they rotated freely. Here's the finished result:

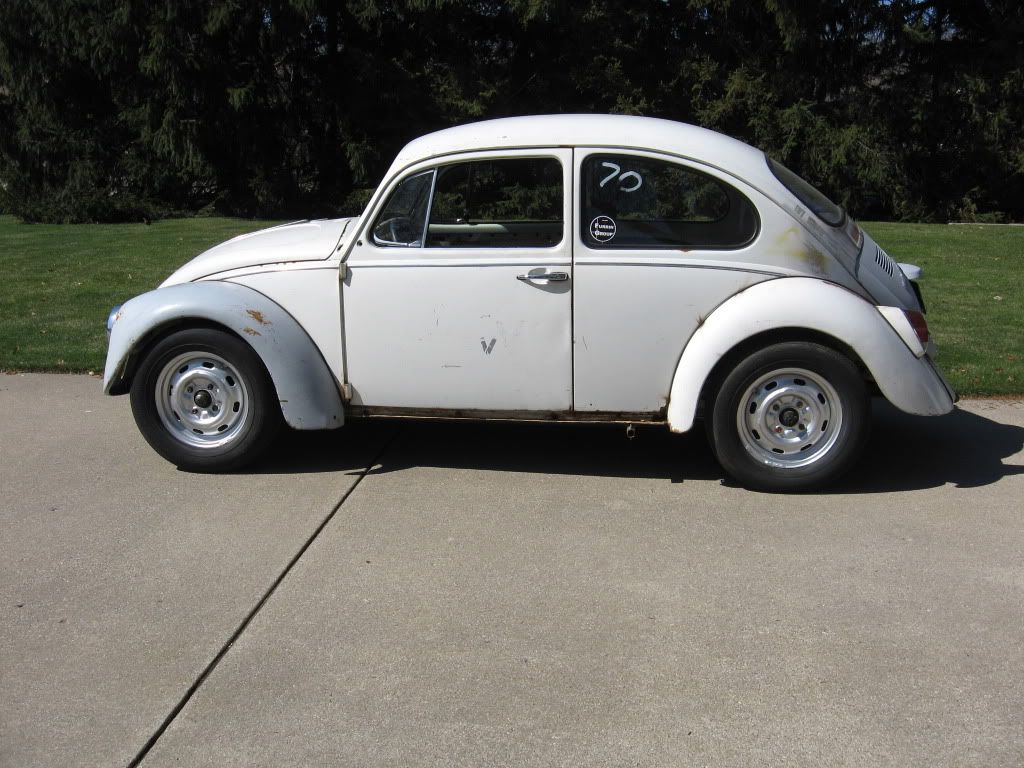
The car still has the "storage" tires on it, but sits a lot better than before. The bottom trailing arm is sitting just about parrallel to the ground and the top one is a a slight upward angle. This should be a good position for handling. It may come down a little more over time, as the bottom torsion bar may have a slight set from sitting so highfor the last two years. Time will tell.
OK, here's the next problem:

To test the car I ran it at Drag Days II. Turned a 24.5 in the 1/4 mile.
Fast forward to today: its best run towards the end of 2010 was a 18.5 and I'm looking to get in the 17's this year, still with a stock engine.
As an autox car it sucked. It weighs around 1660 lb with me in it, but sits so high that there is hardly any downtravel left in the suspension.
So here we go to get ready for 2011. With the light weight, the front is way oversprung, so I decided to lower it and reduce the spring rate by using only the bottom torsion bar. The top bar will remain to act as a sway bar and hold the trailing arms side to side. This is pretty much the way its is done on FV's. The center torsion bar anchor had to come out of the top tube and the top trailing arms need to be located side for side.
I removed the top trailing arm seals to see how the arms would be positioned in relation to the tube and found this condition:

Some spacers would be needed to set the endplay of the top trailing arms. Fortunately I had these left from my FV days and they would fit about right:

Dissasembled the front and used a piece of angle iron to scribe a line on the top tube:

Cut the top tube on either side of the center anchor and then cut a wedge out of the bottom side of the anchor.

Next, I cut the anchor at the center of the screw hole so the remaining pieces could be removed from the tube. This cutting in pieces is necessary to get around the crimps in the tube that hold the anchor in place.

Here the handy dandy piece of angle iron is clamped to the top tube as a fixture and the center part without the anchor sets on the angle. The scribe line is lined up to put everything back in the same relationship.

All welded up, ground, and ready to go back in:

I spent over an hour fitting the spacers so that there was only minimal endplay on the top arms, but yet they rotated freely. Here's the finished result:

The car still has the "storage" tires on it, but sits a lot better than before. The bottom trailing arm is sitting just about parrallel to the ground and the top one is a a slight upward angle. This should be a good position for handling. It may come down a little more over time, as the bottom torsion bar may have a slight set from sitting so highfor the last two years. Time will tell.
OK, here's the next problem:


