|
|
Post by bren on Jun 24, 2008 22:32:07 GMT -5
On the way to Funfest 2008 we saw this '67 on the side of the road. None of us wanted to stop and look at it. On the way home I decided I "needed" to look at it. A friend of the owner saw us all going down the road and figured we would stop so he turned around to catch up with us. He was right. He told us the engine ran, the brakes were redone and it came with extra parts. I called on Monday and comitted to it on Tuesday. I burrowed a trailer and John and Dustin and I road tripped back to Indiana on Saturday to pick it up. As promised it ran; John drove it onto the trailer. Now, like Dustin's tag line, I am wondering what I have gotten my self into! Needs floor pans and heater channels on both sides and I don't know how to weld. What was I thinking? I do enjoy the idea that both of my cars are '67's. Beige one was made in April and the Blue one was made in Feb. Anyways, I plan to do this up in the hoodride fashion. Should be fun. It will be a daily driver with no worries. Now that I have bored you to death here are the photos: 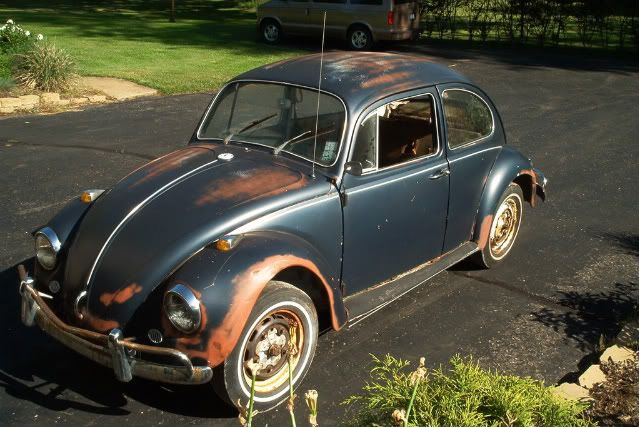 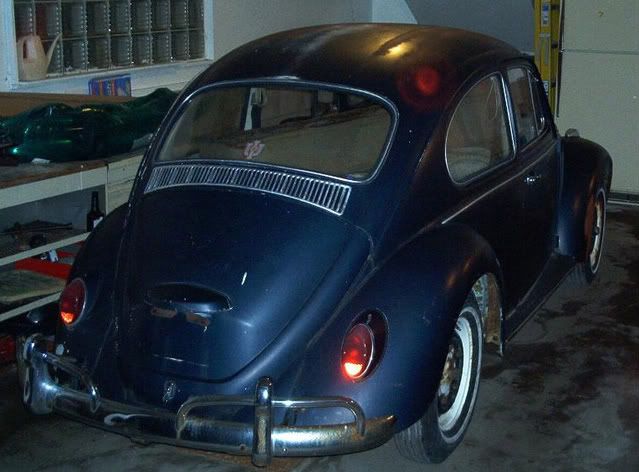  |
|
|
|
Post by Dustin on Jun 24, 2008 22:44:34 GMT -5
Great start now we need progress pics! I need to upload all of my pics of the 74's progress and it should make you feel better about yours lol.
|
|
|
|
Post by bren on Jun 26, 2008 20:25:33 GMT -5
OK, here are some more photos. Interior shots before the tear down began: 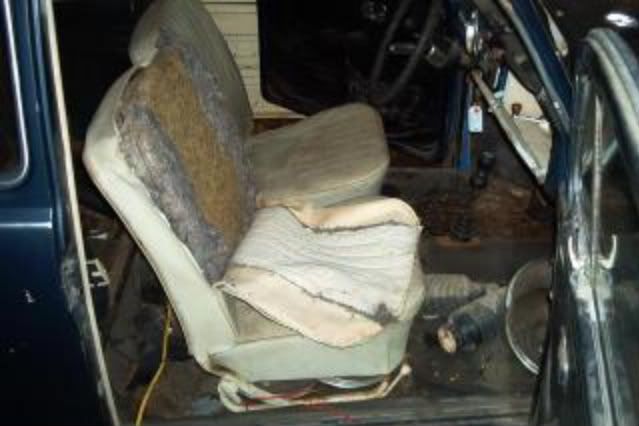  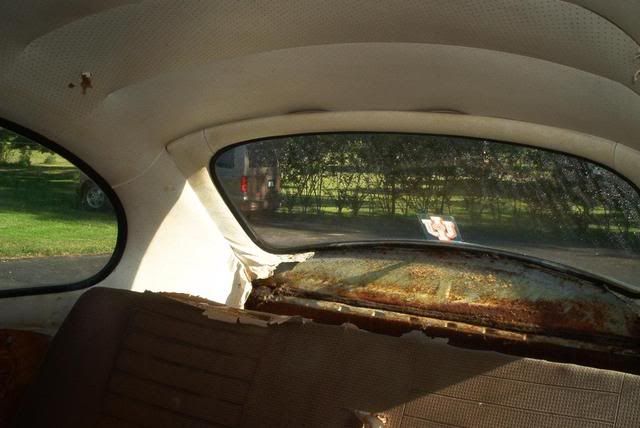  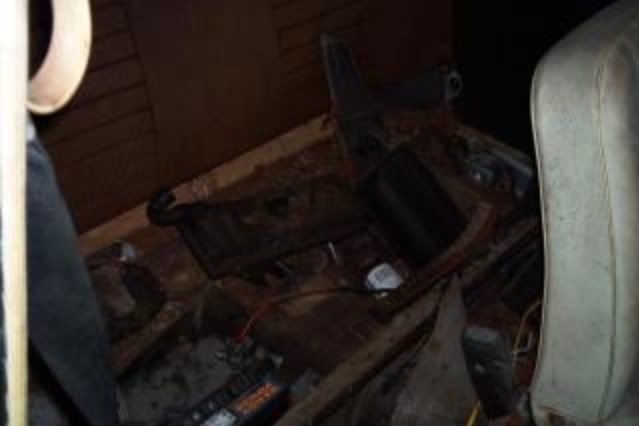 Front trunk area. The wiring looks scary in this car. Maybe the beer can in the trunk is a bad sign.... 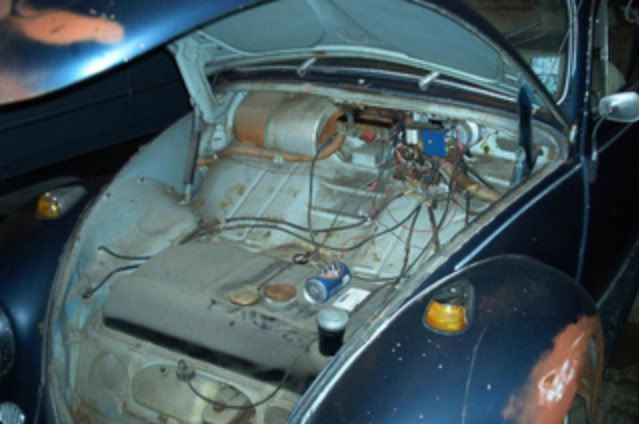 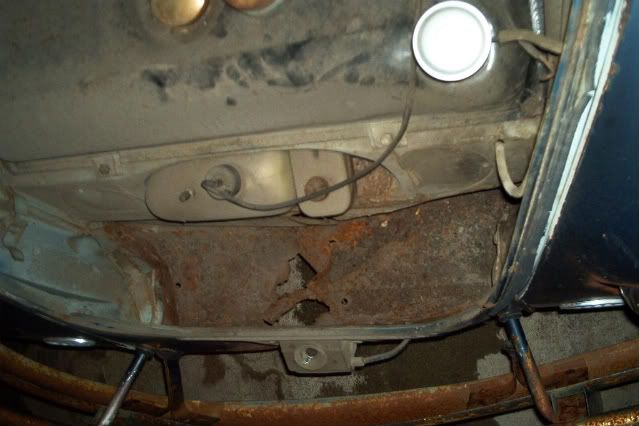 Some of the interior with the seats and carpet out: 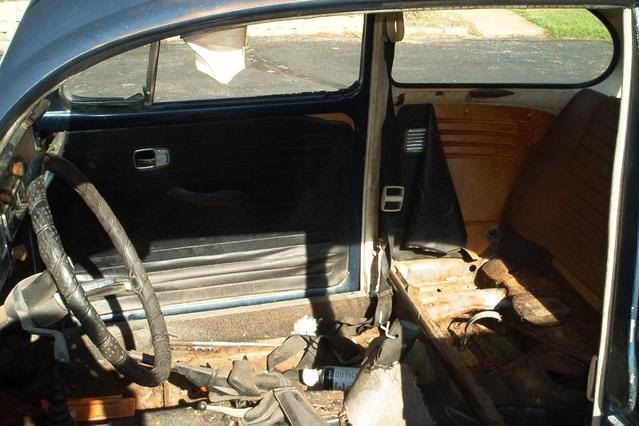 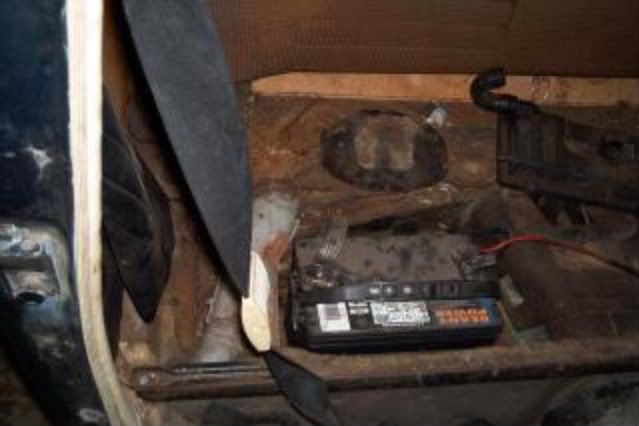 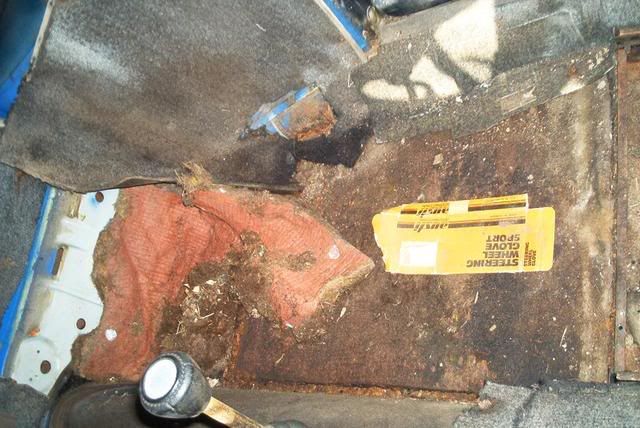 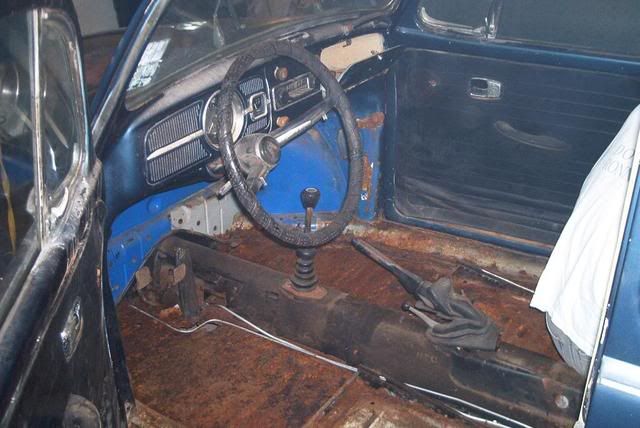 removing the seam sealer.... 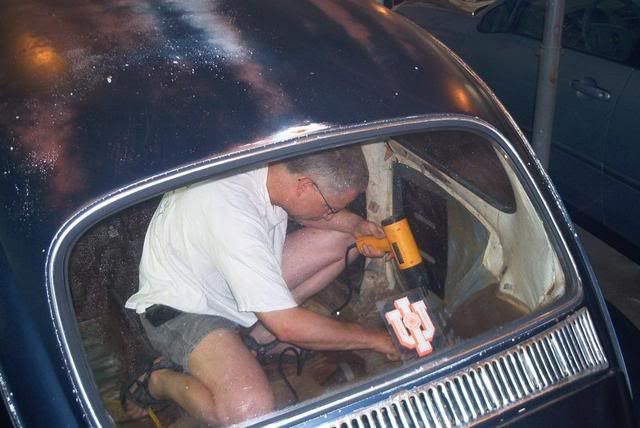 Definately need to replace that I.U. decal with a Sparty! Don't want people to get confused by the Blue color. Definately won't see anything yellow gold maiz on this car! |
|
|
|
Post by Dustin on Jun 26, 2008 21:17:43 GMT -5
Boo! Go Blue haha j/k
Looking good Bren, Keep on working on it and youll be ready in no time! Is that motivational? But seriously its not that bad of a job doing heater channels. I'll help if you need but its hard to get over there. Do my project pictures make you feel better about your car?
|
|
|
|
Post by bren on Jul 1, 2008 7:48:54 GMT -5
I need to replace the axle boots. George only had yellow ones. I had to pass and order black ones!
Computer is down so I can't upload photos.....
This weekend I got the engine cleaned up and running on the stand.
I got the doors aligned and closing properly. George came over and helped me weld in some braces in the door openings. Then the body came off the car! First time I ever did that. A big job for sure but at the same time not as bad as I thought.
|
|
|
|
Post by bren on Jul 2, 2008 22:21:24 GMT -5
Well, way to many $ later I have a new computer. Not exactly how I wanted to spend my evening or my money! So, now I can post more photos of my project. I spent many hours getting the doors swinging properly and lined up with the body. George welded braces in the door openings to hold the body firm as I removed it and as I cut out the heater channels. Here are some shots of the braces:   Thanks George! Thanks George!Here is a photo right before I removed the body. I had gone around and lifted each corner and side to make sure it was really ready to come off.  I got the saw horses ready to go. Then I lifted the front up onto the saw horse. Actually did the front by myself.  Then I moved the saw horse further in so it sat more in the wheel well area.  This actually was not too bad. I then tried to do the back by myself. However with the front up in the air the rear was now too low for me to handle alone. I waited for my son, Ian and my wife, Marie to come home. Ian and I lifted the body and Marie placed the saw horse.   The saw horses were just barely wide enough to roll the chassis out. I wish I could say I planned that, actually just got lucky!    Now it is in the garage beside itself ;D  Chassis is in very good shape. Only bad part seems to be the pans. Unfortunately I did find more rot on the body than I expected. (more photos to come)  |
|
|
|
Post by bren on Jul 11, 2008 18:49:15 GMT -5
So, the engine is running. The dist. was acting up; vacuum pot is shot. I put in my old 009 and it ran fine. Now I just need to sort out the oil leak at the rear main seal. I put a brand new one in but it still leaks bad. I know VW's mark their spots but this is a little much!  |
|
|
|
Post by bren on Jul 11, 2008 18:58:21 GMT -5
Have not made much progress lately. However, I did find some time to get the pan ready for cutting. Removed the bolts that spun in the heater channels. Removed the pedal cluster. Removed the brake line. Removed the fuel line; it was run outside the tunnel. I plan to get it back where it belongs. Then I scraped off some more tar board to better get at the area where I need to cut. The pans are not terrible but I am glad I am replacing them:     Here is the pan, ready for cutting:  Not sure why this photo turned blue....  Hopefully before the weekend is over I will have the pans cut out and the chassis ready to receive the new ones. |
|
Chris
1500sp
Posts: 330
Joined: Jun 24, 2008 20:48:27 GMT -5
|
Post by Chris on Jul 11, 2008 21:39:01 GMT -5
wish I was there to help. I have to next week off, hopefully I can get my car running with all of the CORRECT tins and seals so it wont overheat. Bren, what is the correct engine compartment seal for that? I want the one that you have, and need it soon.
|
|
|
|
Post by bren on Jul 11, 2008 22:25:19 GMT -5
I wish you were here to help me too!
I sent you an email with links for the engine seal. There are two. Break is 66 and older and 67 and newer. However, some '67's work with the old style better such as in my beige one. This car needs the 67 and newer one.
|
|
|
|
Post by bren on Jul 11, 2008 22:32:56 GMT -5
Well, I bet my neighbors are glad I am done for the night! I got the pans removed. Used a combination of the sawzall and the 4.5" angle grinder with a cutting wheel.   Then I got out the air powered chisel to remove the remaining piece from the tunnel lip.  Dustin told me this piece can be left on and removed from the new pan. Makes alignment easier. I felt mine were too far gone.  So I cut them out:  Here is a shot of the front area:  Tomorrow I hope to clean up that lip removing the remaining spot weld material. Then I will clean the front beam and the transaxle. I think I will remove the remaining tar board. I see rust under some of it. Might as well take care of that while I am at it. |
|
|
|
Post by Dustin on Jul 12, 2008 0:04:07 GMT -5
Good work Bren keep it up
|
|
jmallen05
1600dp
Posts: 602
Joined: Jul 6, 2008 14:40:12 GMT -5
|
Post by jmallen05 on Jul 12, 2008 8:52:17 GMT -5
If you decide to put in a narrowed beam I would do while the body is still off, it makes it much easier geeting to everything. Car is looking good, you've made alot of progress in short time. What color are you thinking for this car? Was you're beige car originally that color?
good job
jerry
|
|
|
|
Post by bren on Jul 12, 2008 10:17:01 GMT -5
Thanks for the compliments!
It looks like I have a deal worked out on a 4" narrowed beam. So, I should be able to get it installed body off. I did mine on my beige car with the body on to install adjusters, it was not fun.
Color? It is painted. I am going for the 'hoodride' look with this one. Fix the rot and go. My son thinks it will be funny to do before and after photos for a car show display.
My beige one is the original color. Savanna Beige.
-Bren
|
|
|
|
Post by bren on Jul 13, 2008 23:07:30 GMT -5
Today I used the air powered chisel to start cleaning up the lip on the tunnel. Then I rolled the chassis into the driveway for some cleaning. I saw some photos of a chassis standing sideways on the tires on the Samba. So I tried it, with some help.   Sure made cleaning easier:  Does this shot make you dizzy or what?  Next I need to grind and wire wheel the tunnel lip and the edge of the pans. Then I am ready to try my hand at welding. |
|