dansam
1600dp
Posts: 2,434
Joined: Oct 25, 2008 7:23:39 GMT -5
|
Post by dansam on Oct 14, 2009 5:50:29 GMT -5
I would like better block pics to show what you did to help air flow. are there any links to where you got the idea to do that???
|
|
clintonddk
1600dp
Posts: 755
Joined: Oct 7, 2008 18:16:45 GMT -5
|
Post by clintonddk on Oct 15, 2009 11:05:13 GMT -5
Here you go Dansam, here are two more pictures at a little different angle. I am no expert at this. Actually this is the my first attempt at this. I don't really remember where I had seen this done before but my guess would be the Cal-Look forum.  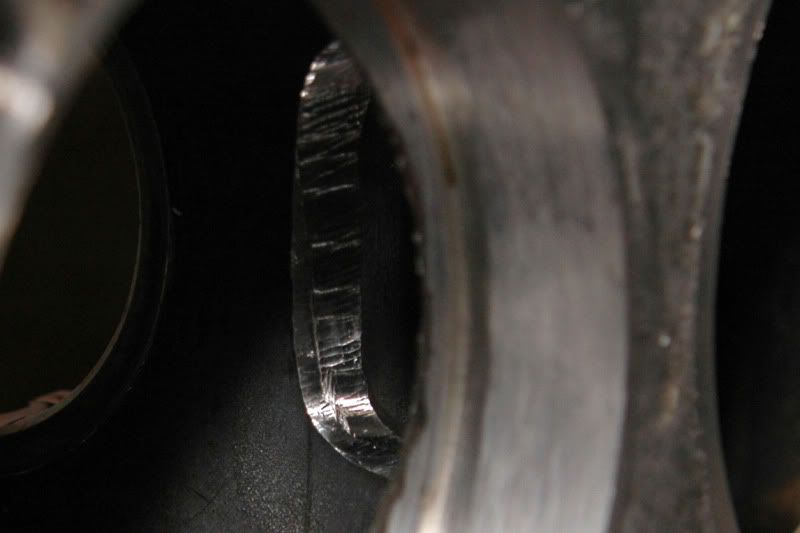 |
|
clintonddk
1600dp
Posts: 755
Joined: Oct 7, 2008 18:16:45 GMT -5
|
Post by clintonddk on Oct 15, 2009 11:34:51 GMT -5
Here is a shot of the inside with crank and cam. This is another thing to check, cam to crank clearance. One other thing to check that I didn't get a picture is the cam lobe to lifter clearance. Some of these high lift cam lobes will actual run into the lifter. What you do is just stick a lifter in the bore then set the cam into place and roll the highest point of the cam around until it is pointing at the lifter. Make sure there is at least .080" clearance between the cam lobe and lifter if not the lifter bore needs to be shaved down. Paul case was fine. 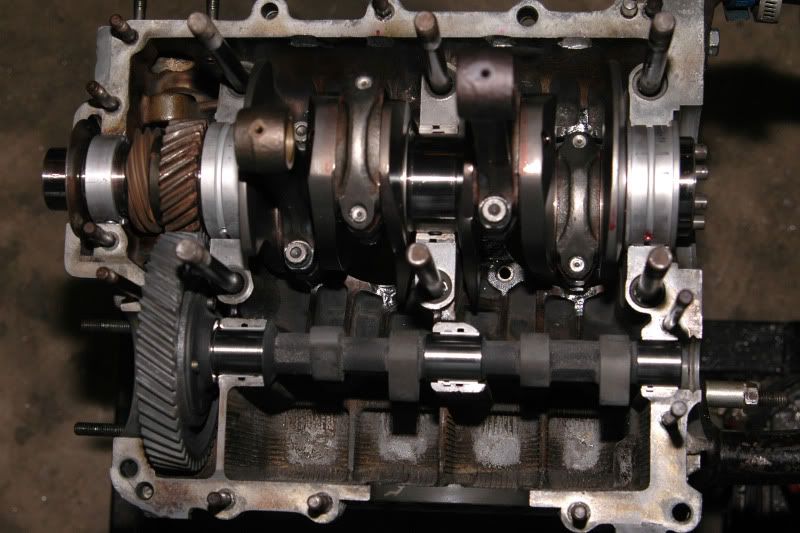 Case halves bolted together. So far so good now I will check end play and run out of the flywheel.  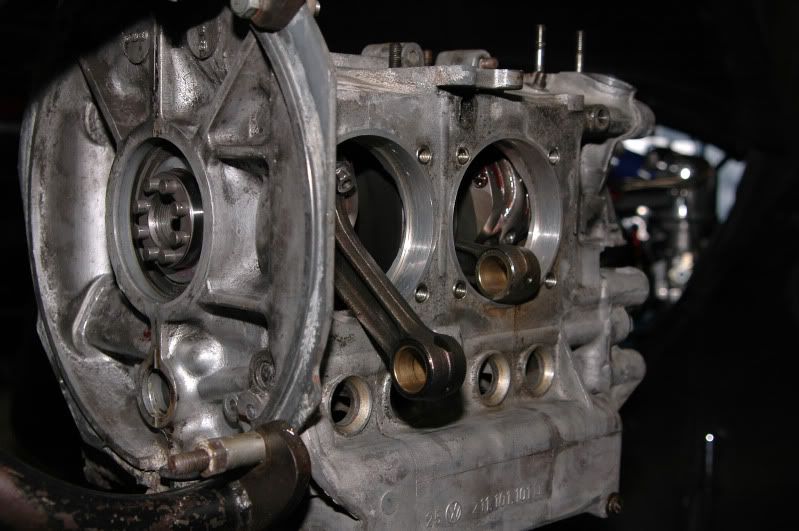 |
|
clintonddk
1600dp
Posts: 755
Joined: Oct 7, 2008 18:16:45 GMT -5
|
Post by clintonddk on Oct 19, 2009 19:43:58 GMT -5
Setting and end play and checking flywheel run out. 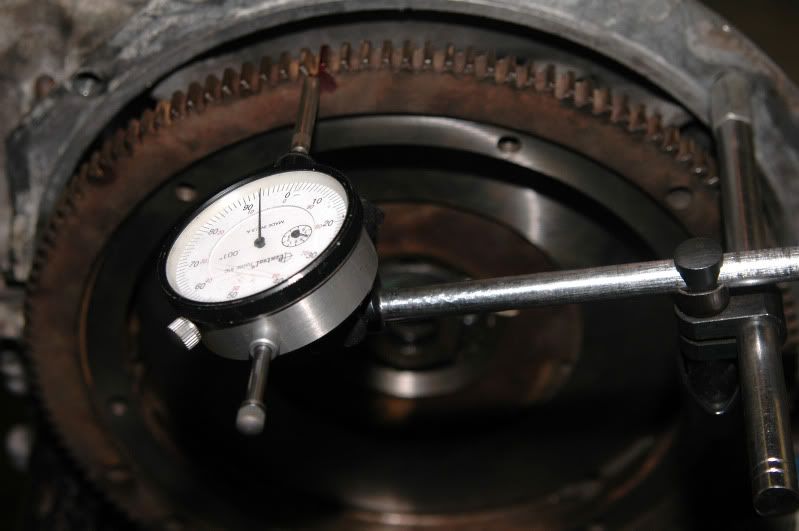 These are the 90.5 pistons and cylinders. Take a close look and you can see where I marked the cylinders and stamped the pistons. I like to assign them to there designated spots. 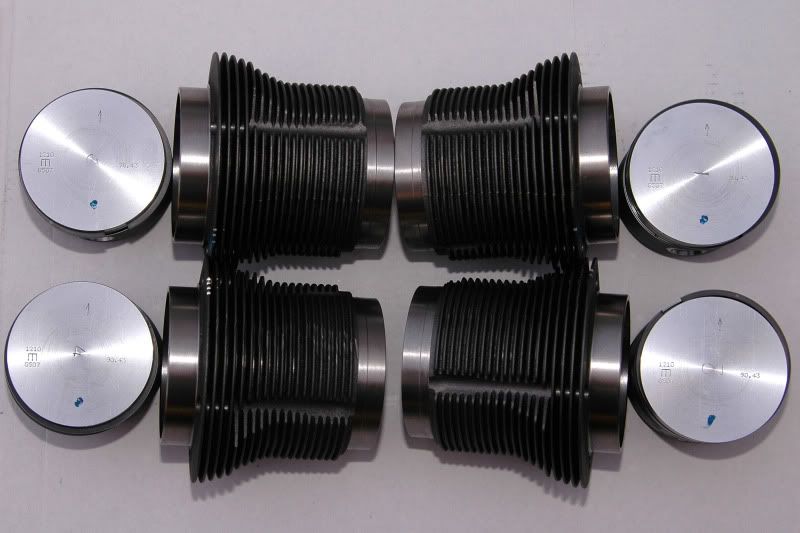 |
|
clintonddk
1600dp
Posts: 755
Joined: Oct 7, 2008 18:16:45 GMT -5
|
Post by clintonddk on Oct 24, 2009 18:53:00 GMT -5
|
|
dansam
1600dp
Posts: 2,434
Joined: Oct 25, 2008 7:23:39 GMT -5
|
Post by dansam on Oct 24, 2009 20:13:58 GMT -5
lookin good. Did you cc the heads?
|
|
clintonddk
1600dp
Posts: 755
Joined: Oct 7, 2008 18:16:45 GMT -5
|
Post by clintonddk on Oct 26, 2009 7:46:38 GMT -5
Yep! and they are just like the machine shop said they were 47cc.
|
|
dansam
1600dp
Posts: 2,434
Joined: Oct 25, 2008 7:23:39 GMT -5
|
Post by dansam on Oct 26, 2009 20:48:31 GMT -5
Just bought a cc kit (in the mail) to see what I got. Why the barrel shims? Also I thought the optimal deck hight was .50 Also wont you have to run premium with 9:1?? Lastly do you have a cam gear puller to get the gears off of the crank?
|
|
clintonddk
1600dp
Posts: 755
Joined: Oct 7, 2008 18:16:45 GMT -5
|
Post by clintonddk on Oct 27, 2009 19:40:22 GMT -5
Dan,
The shims are to raise the barrels off the case some. Without them the piston actually comes out of the top of the cylinder over .080". Yes, .050" would be ideal but the heads worked out to be 47cc instead of 55cc. .045" is the tightest deck height that I like to run and .080" is about the tallest I like to run. I talked it out with Paul and he said that he did not mind running premium gas. Yes, I do have a crank gear puller.
|
|
clintonddk
1600dp
Posts: 755
Joined: Oct 7, 2008 18:16:45 GMT -5
|
Post by clintonddk on Oct 29, 2009 18:12:26 GMT -5
Here is the first trial fit.  Before setting rocker geometry the rocker end play needs to be adjusted. I try and set them at .005" I like to number the rocker assembly to make sure that they go on the correct head. 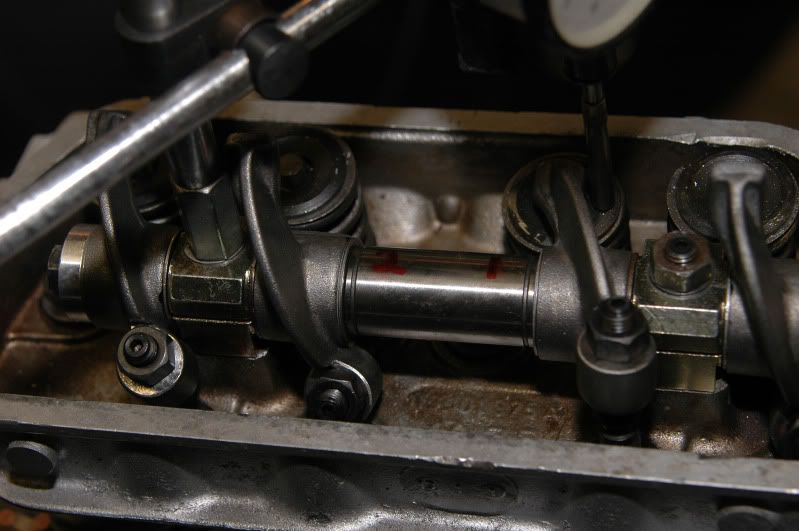 Setting rocker geometry 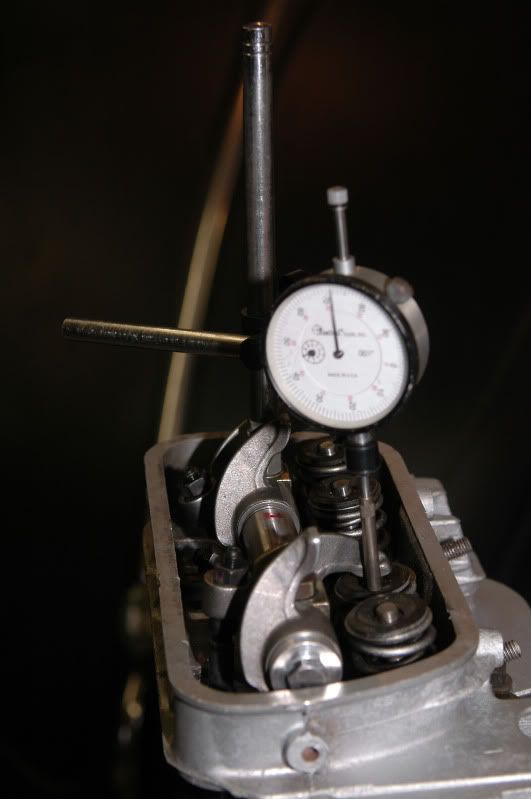 Here is one of the things to look for when setting geometry. At half lift the push rod and adjuster should make a straight line. I am almost there. The other thing I like to do is to make sure that the adjuster cup is closer to the rocker arm. If it is to far away you risk the chance of them breaking. 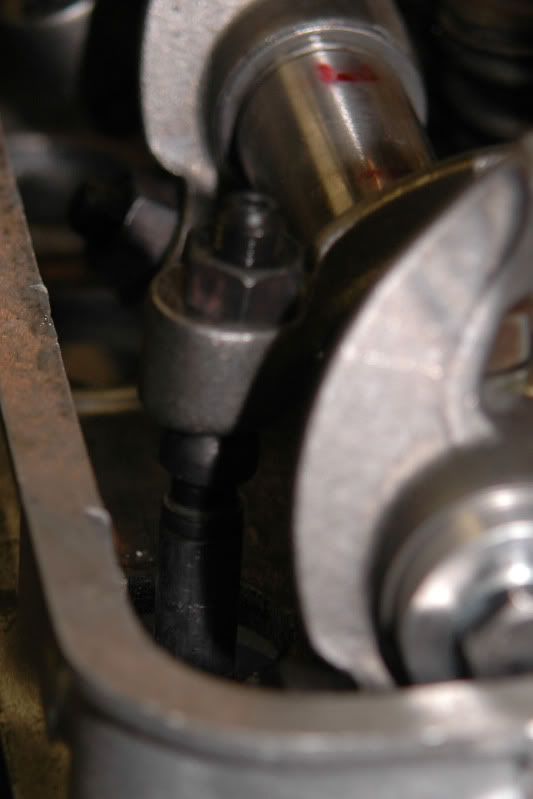 Welded on oil pick up extension. Please no laughing at my welding skills  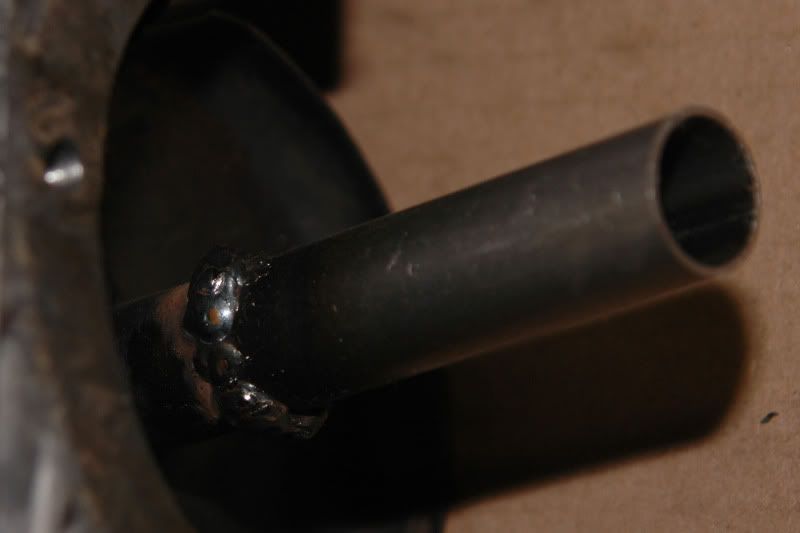 |
|
clintonddk
1600dp
Posts: 755
Joined: Oct 7, 2008 18:16:45 GMT -5
|
Post by clintonddk on Nov 9, 2009 22:04:31 GMT -5
Here is a shot of the final assembly on the short block. 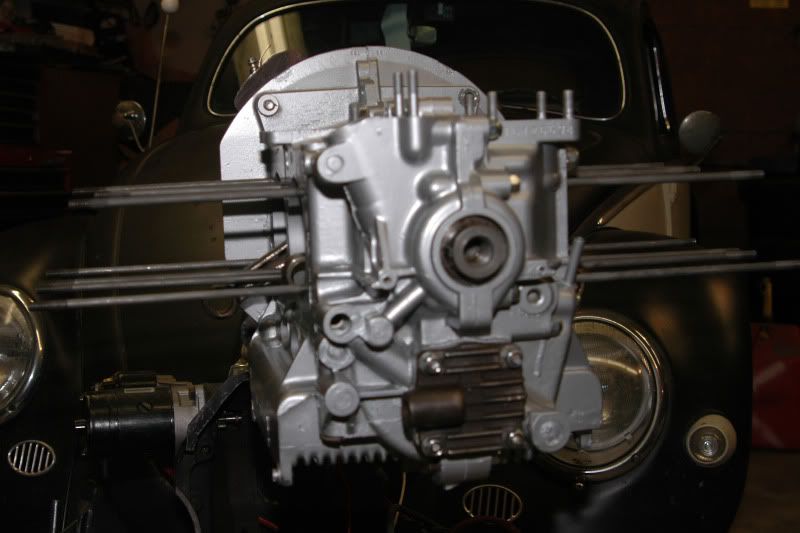 |
|
clintonddk
1600dp
Posts: 755
Joined: Oct 7, 2008 18:16:45 GMT -5
|
Post by clintonddk on Nov 9, 2009 22:14:10 GMT -5
Here is something that can easily get missed. This is a shot of the valve retainer and valve stem and valve guide. What I am doing here is measuring the distance between the retainer and top of the valve guide. I came up with .525" clearance. The problem is that the cam and rockers are going to lift to .538". So what I had to do is cut the top of the valve guide to make the clearance. I like to see at least .080" clearance here. when I was done cutting down the valve guides I came up with more then .100" clearance to just be safe so now the distance between the two is .625". 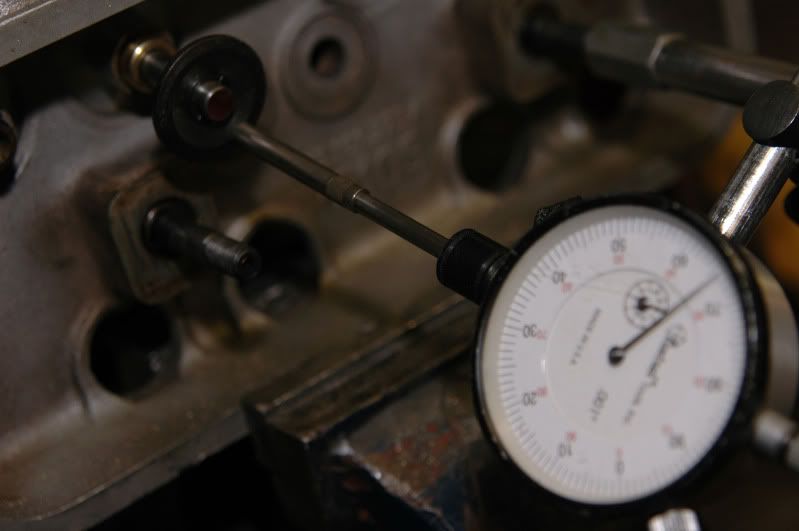 |
|
dansam
1600dp
Posts: 2,434
Joined: Oct 25, 2008 7:23:39 GMT -5
|
Post by dansam on Nov 9, 2009 22:20:51 GMT -5
Lots of usefull info here. Why did you strip the cylinders and heads back off? Where you changing anything? Cant wait to get my block back so I can start building !!!
|
|
clintonddk
1600dp
Posts: 755
Joined: Oct 7, 2008 18:16:45 GMT -5
|
Post by clintonddk on Nov 10, 2009 11:14:15 GMT -5
Its called a trail fit. When building a stroker you have to make sure everything is not hitting or scraping and I also do a poor mans leak down test to make sure my valve and seat grinder did his part. I do this by rolling the engine over with no rockers on and when the piston hits the bottom of its stroke I then stick my thumb over the spark plug hole and then keep rolling the engine over. What should happen is the engine will get harder to turn the closer the piston reachest the top, then by removing my thumb I will hear a nice popping sound if the valve job is done correctly if not then the valves need to come out and I do a check on the valves to see which one the grinder needs to fix. This works great and yes through out the years I have found a few seats that were not right. When I feel that everything is right the engine comes apart for a final cleaning some paint then sealed and put back together. On a stroker build I will most likely have the short block together and apart at least three times and the longblock could see that many times too. This engine is going together nicely and I only had to put it to longblock forum once. This is kind of like what you see them do on Orange County Choppers. They put the whole bike together then tear it down for paint and chrome before re-assembling it.
|
|
clintonddk
1600dp
Posts: 755
Joined: Oct 7, 2008 18:16:45 GMT -5
|
Post by clintonddk on Nov 23, 2009 19:35:59 GMT -5
This build is finaly coming to a close. Here is a shot of the longblock with some goodies on it. 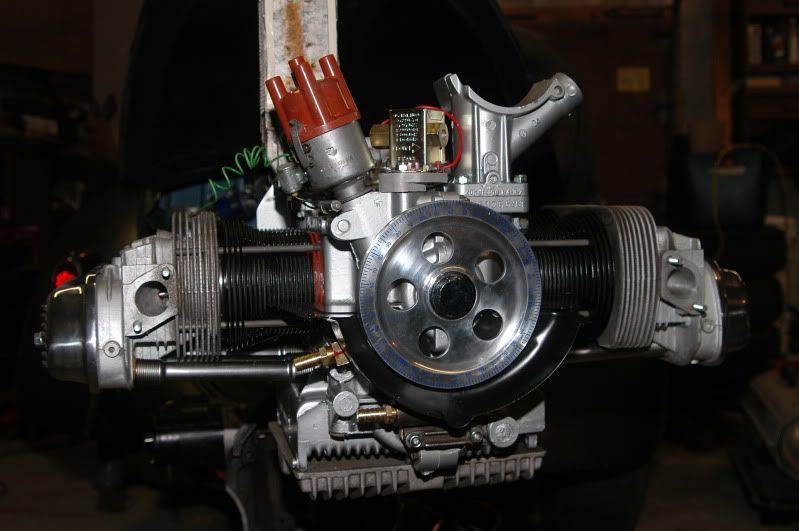 another angle  |
|