bjeles
40hp
Posts: 76
Joined: Nov 24, 2008 22:42:46 GMT -5
|
Post by bjeles on Nov 25, 2008 13:34:34 GMT -5
Well long story short I picked up 2 1973 things early this spring for a couples project for my fiance and I. We are both mechanical engineers so it seemed like a good fit. She started a new job and we stopped working on them after completely tearing them down, so I found an original owner 74 that I bought her instead. Now its moved onto my project since the economy sucks and nobody is going to want a car in pieces, well especially since I paid a lot for the cars in the first place and didn't want to loose my butt. So here is the first one of the two we picked up, it was complete but way beyond repair, it was parts for the second car.    I was planning on using its front clip and misc parts to finish up the second one. Here was the second, a 50K car that was hit in 79 and never drove again. It was hit hard in the front and tapped in the rear but didn't have major rust, I'd rather fix damage than rust anyday!  OG seats in nice shape  After I was goofing around and threw a set of 20s under it for fun, never saw a thing on 20s before. I am going a different direction by the way.  And then I came across this 74 body from Tennessee that was realy nice, bumped and bruised but has tons of character in OG paint. There is a 914 prosche motor under the hood thats why its sticking up. 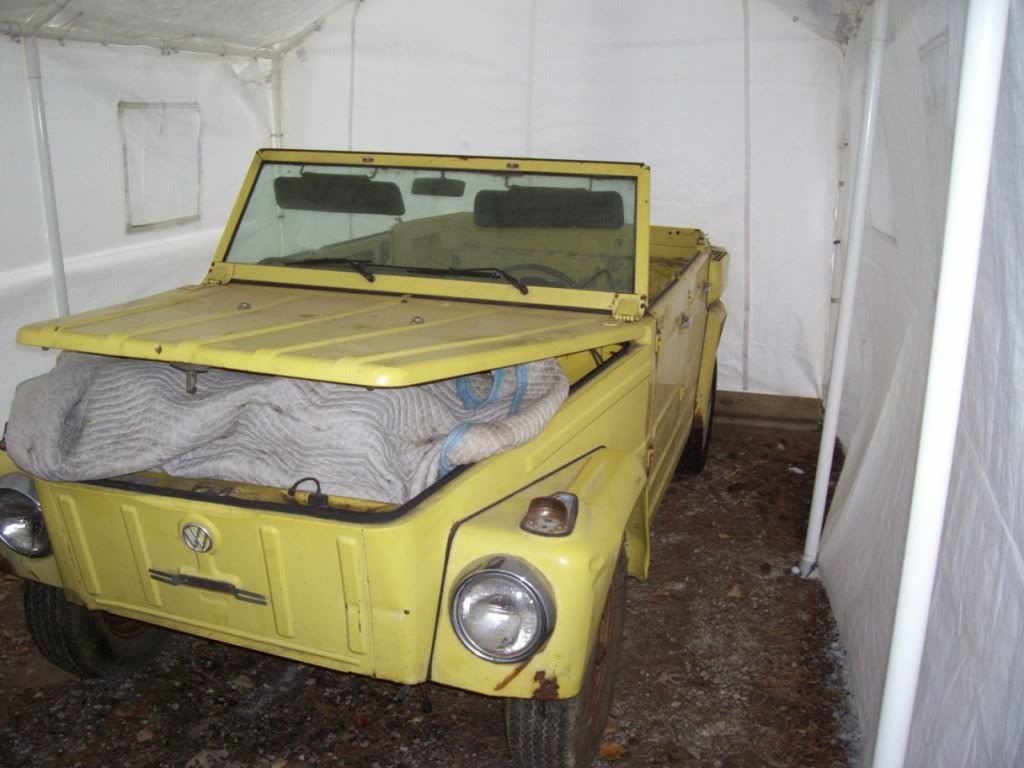 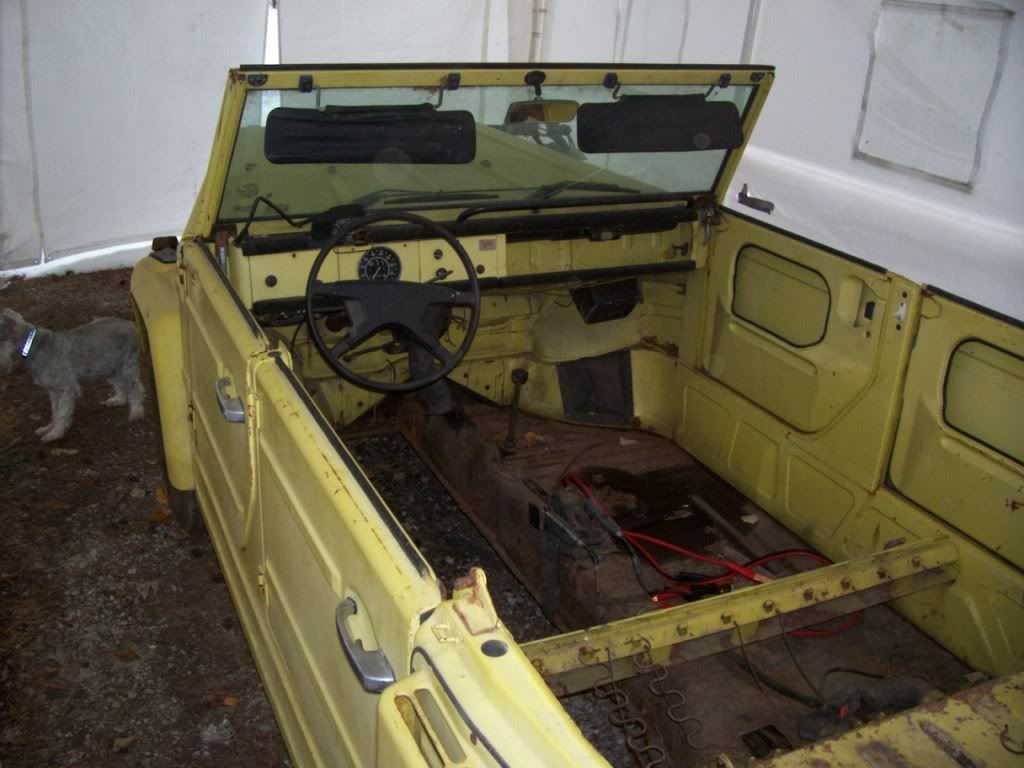  So my plans changed and I decided to run this body on my 50K chassis and run it as is with no body repair for now. Only plans for the body is to slowly accumulate more OG yellow parts to replace the really rough looking ones like the rear decklid, passenger front fender drivers door and drivers rear fender and seat backs I guess. So then last week I started on the chassis and ended up with this.  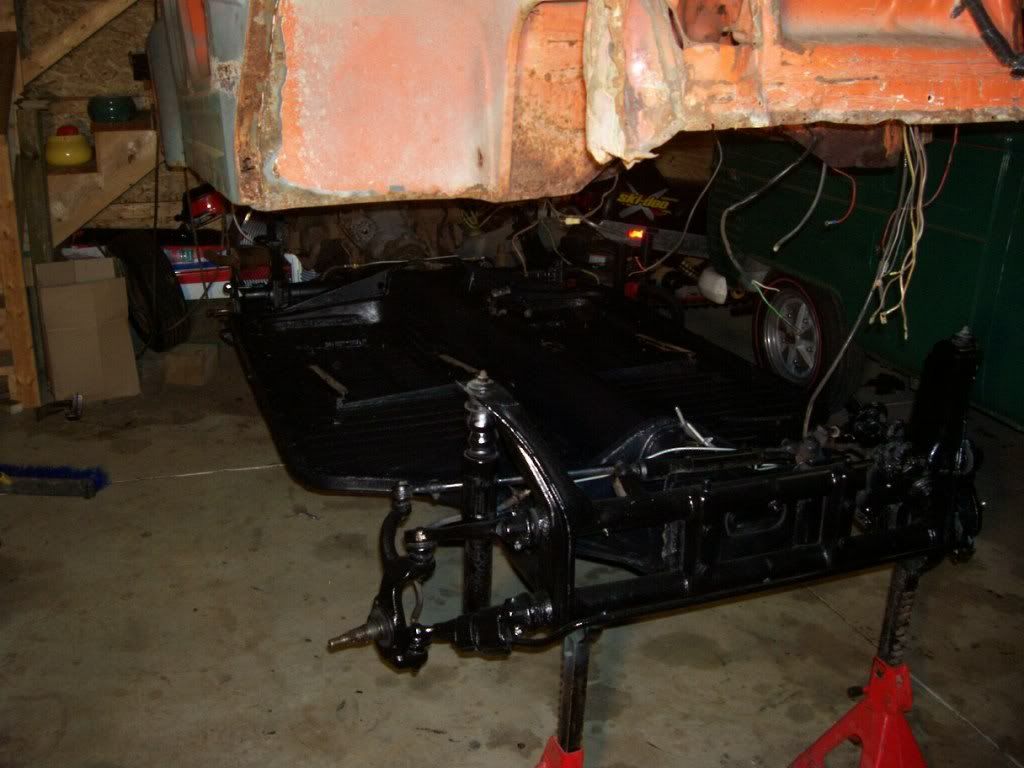 I worked the original floor pans and ended up replacing the battery tray a patch over the jack support and one spot under the seat rails, with OG metal off my tennessee shell that had some good pan metal in places. I replaced all wheel cylinders rubber lines, all new steel lines and fittings sandblasted and turned the drums, redid the backing plates and I am working on re-assembling it now. This week I am going to put new heads on the engine and clean up its tins. The overal purpase was to have a ready to go chassis with a rougher body that I could decide what to do with later. |
|
|
|
Post by Dustin on Nov 25, 2008 19:23:48 GMT -5
Nice project, Are you planning on lifting it at all? You really accumulated alot of Things and parts.
|
|
bjeles
40hp
Posts: 76
Joined: Nov 24, 2008 22:42:46 GMT -5
|
Post by bjeles on Nov 25, 2008 19:51:26 GMT -5
Dustin,
When I put on the 20s I lifted the rear as tall as it would go with jumping splines on the spring plates. Now they are topped out as it sits, once I get the body on I will decide what direction to go. I have a set of centerlines for it with new General Grabber All terrain tires that I have already mounted, just need the wheel stud kit for 14mm, I have the one for 12mm.
I am leaning towards welding in adjusters in the front beam but don't have any experience with them.
I did the rear brakes, re-installed the pedal cluster and worked on the front brake today, little bit of progress.
|
|
|
|
Post by Dustin on Nov 25, 2008 21:18:20 GMT -5
Ah cool,
Those centerlines would look sweet on it all lifted up. I hear welding in adjusters isn't that bad but I have not done it before either.
|
|
bjeles
40hp
Posts: 76
Joined: Nov 24, 2008 22:42:46 GMT -5
|
Post by bjeles on Dec 2, 2008 22:47:20 GMT -5
Here are some more pictures of what I was doing over the weekend. So first off, I finished installing all the brake hardware and adjusted them. Re-installed the pedals, then I threw the wheels on and rolled it out of the garage. 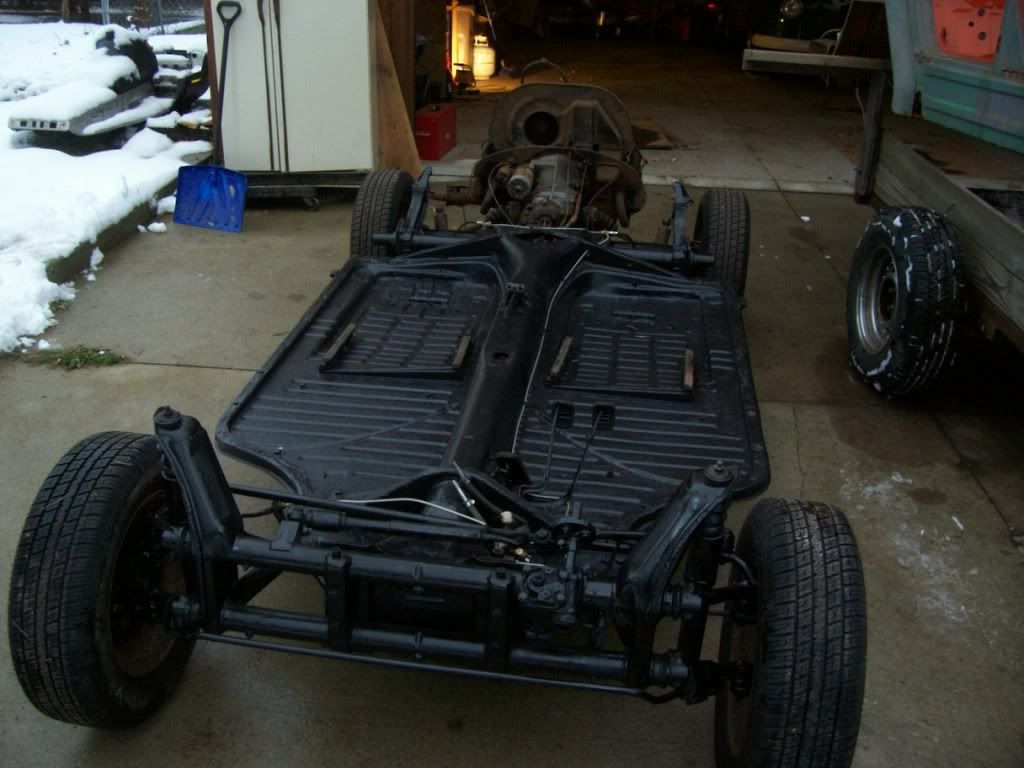 Then I lowered down the body which is soon to be Kenns trailer onto the inlaws yard trailer and towed it out of the garage. 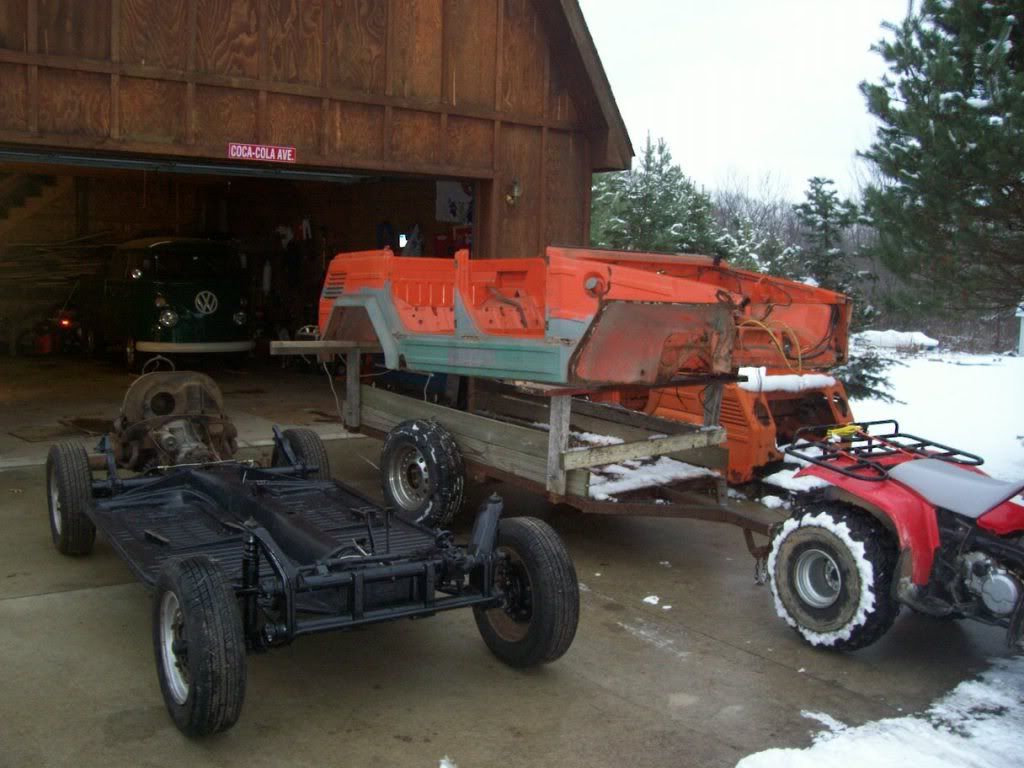 And before that I brought over the 74 chassis that I am going to use the body off for mine, had to re-organize the barn and garage to get the rag and our other thing out to make room.  The yellow 74 is now in the barn with the body lifted off the frame. Here is the motor for my 73 thing, doesn't look like much, and it is absolutely covered in all the grinding dust from the chassis work not much surface rust really just dirt. I removed it this weekend and over the past couple days I sandblasted all the tins and replaced the heads it only had 50K on it and ran great so all I am doing is cosmetics a tune up and replacing the heads so I don't drop a valve down the road. I am also updating the motor with heater boxes and different fan shroud since I have a 74 chassis now without the gas heater installed up front. 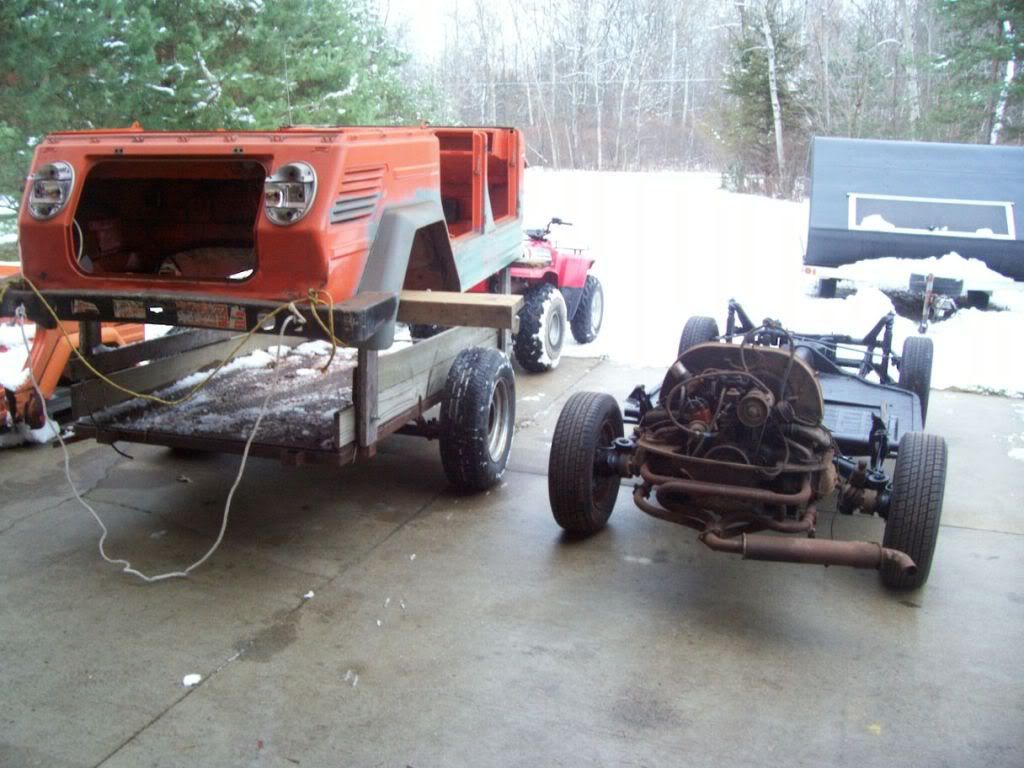 |
|
|
|
Post by bren on Dec 2, 2008 23:13:57 GMT -5
Wow Ben, you are moving right along on this. Looks good. I like the look you are going for. Keep posting, I look forward to the updates.
-Bren
|
|
bjeles
40hp
Posts: 76
Joined: Nov 24, 2008 22:42:46 GMT -5
|
Post by bjeles on Dec 5, 2008 0:11:41 GMT -5
Thanks Bren, I keep on them as much as possible. Here are the tins after blasting them down to bare metal. Sandblasting tins is neat and you have to do it at least once if you like vws, its always fun to see the secret VW sign show up on each tin when the paint comes off, you know what I mean if you've ever done it!  |
|
Ruffuss
1600dp
Posts: 2,795
Joined: Jun 25, 2008 19:13:16 GMT -5
|
Post by Ruffuss on Dec 6, 2008 6:36:39 GMT -5
Thanks Amanda and Ben, We made it AOK, other then singing straps, Made it home about 11:15 pm. or so, after stopping for supper. Made pretty good time and the looks were killer. Stopped for gas before we hit I-69, took pictures under the lights at the station, hope to post pictures later. Later Kenn
|
|
Chris
1500sp
Posts: 330
Joined: Jun 24, 2008 20:48:27 GMT -5
|
Post by Chris on Dec 6, 2008 10:17:01 GMT -5
Looks great ben!! Wish I had the storage that you have.
|
|
bjeles
40hp
Posts: 76
Joined: Nov 24, 2008 22:42:46 GMT -5
|
Post by bjeles on Dec 11, 2008 22:52:26 GMT -5
Thanks Chris, but we don't have enough, we are buying a hoist for the barn because I still need to get car #5 in their and take down our tarp garage that is hosting it now. You always need more room! I plan on double stacking the things, one under the hoist and one in the air soon enough. Here is my progress for the week, I painted all the tins in ceramic engine enamel. It took next to forever to do both sides and make sure they were done right. I owe Amanda a ton because she put up with me painting in the house garage because it was too cold to do it out in the barn. Only one piece is not in the picture because I forgot it in the other room its the front apron for the engine but it is done too! This weekend I have high hopes to assemble the engine and lower down the yellow body onto the pan, but we'll see how that goes. 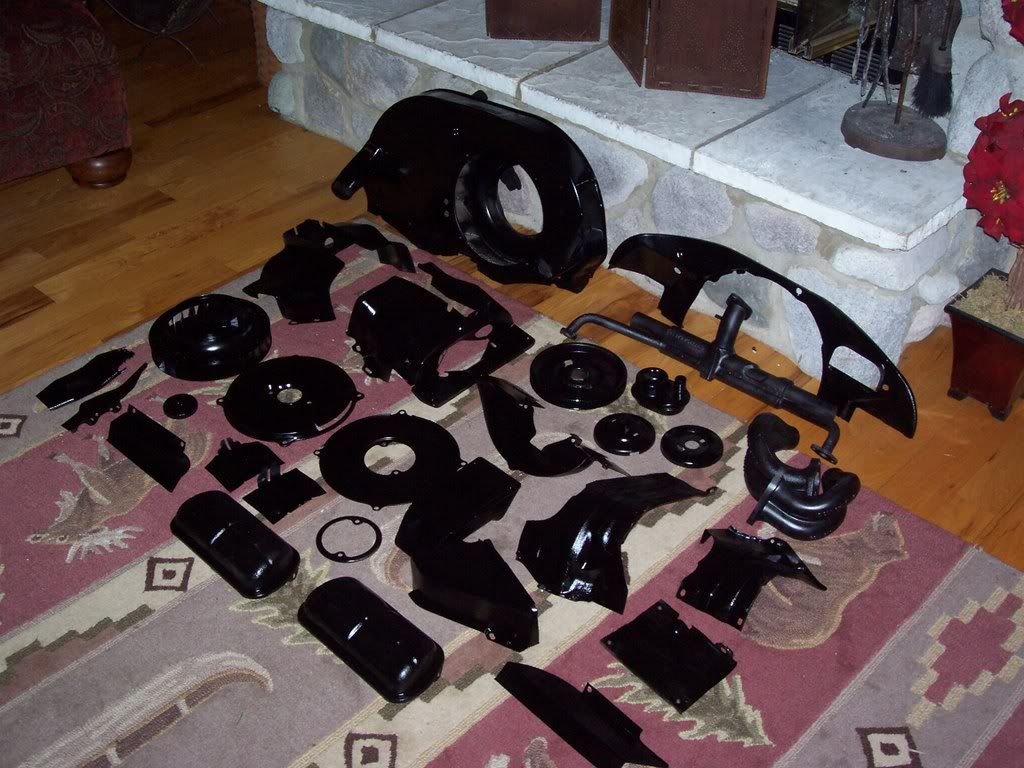 |
|
jmallen05
1600dp
Posts: 602
Joined: Jul 6, 2008 14:40:12 GMT -5
|
Post by jmallen05 on Dec 12, 2008 12:42:20 GMT -5
That looks clean, I think I'm going to paint my tins this winter also. What paint did you use?
jerry
|
|
bjeles
40hp
Posts: 76
Joined: Nov 24, 2008 22:42:46 GMT -5
|
Post by bjeles on Dec 12, 2008 22:06:13 GMT -5
I did the tins in Ceramic Engine enamel good to 500deg C, I used Duplicolor DE1613 semi gloss. I did the intakes with header paint to try something different you may notice they are a slightly different color, partially because of the allumium and because of the other paint.
|
|
bjeles
40hp
Posts: 76
Joined: Nov 24, 2008 22:42:46 GMT -5
|
Post by bjeles on Dec 18, 2008 0:22:01 GMT -5
Did quite a bit of work on the car this past weekend. I tore the motor down to the block, degreased it and painted it black as well. Then I replaced all the seals, installed my rebuilt heads lashed the valves, rebuilt the carburator, put on a new fuel pump and 009 distributor and put on all the freshly painted tins. After that I sanded and painted my heaterboxes and refinished a header I had, put on a new bugpack exhaust that is already peeling its paint I'll have to get to that next. Here is the chassis now that it is all done.  I then rolled it back under the body and started dismantling the other frame to get it out of the garage. I finished up on Sunday and managed to get my last car back in the garage and took down our temporary one because winter is here. In the background here you can see my body I am going to use up in the air. 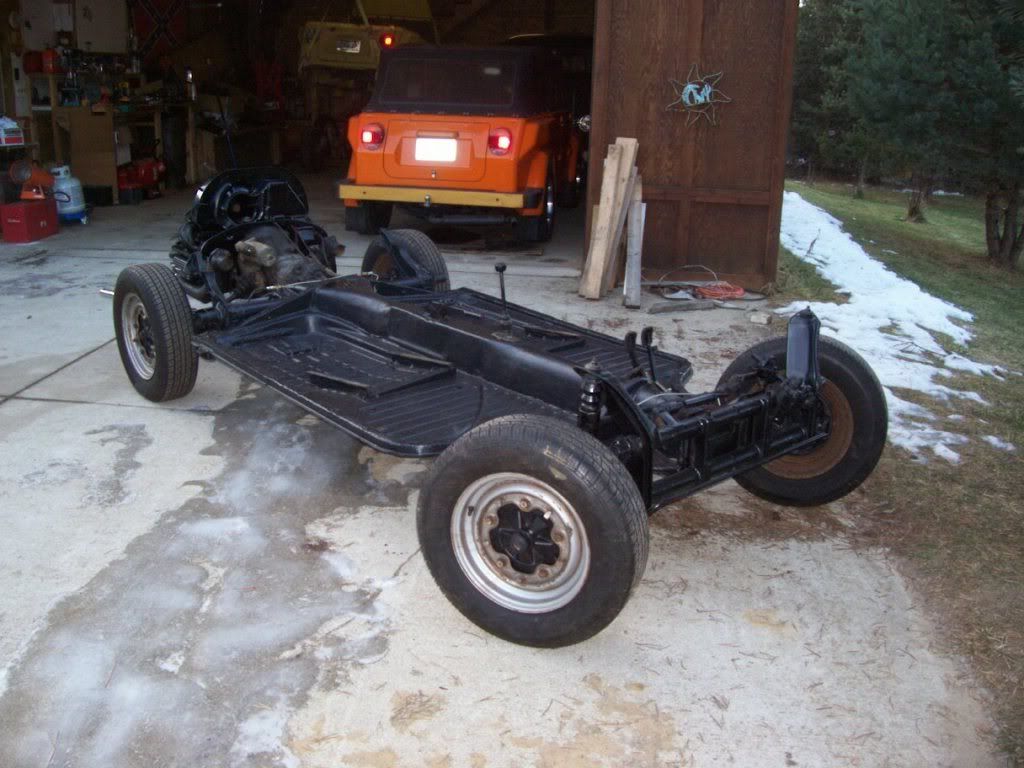 When I got home from work tonight I figured I would install the body, did it myself believe it or not. Here it is on the chassis, and I bolted it down completely too, gotto love the non rusty rockers!  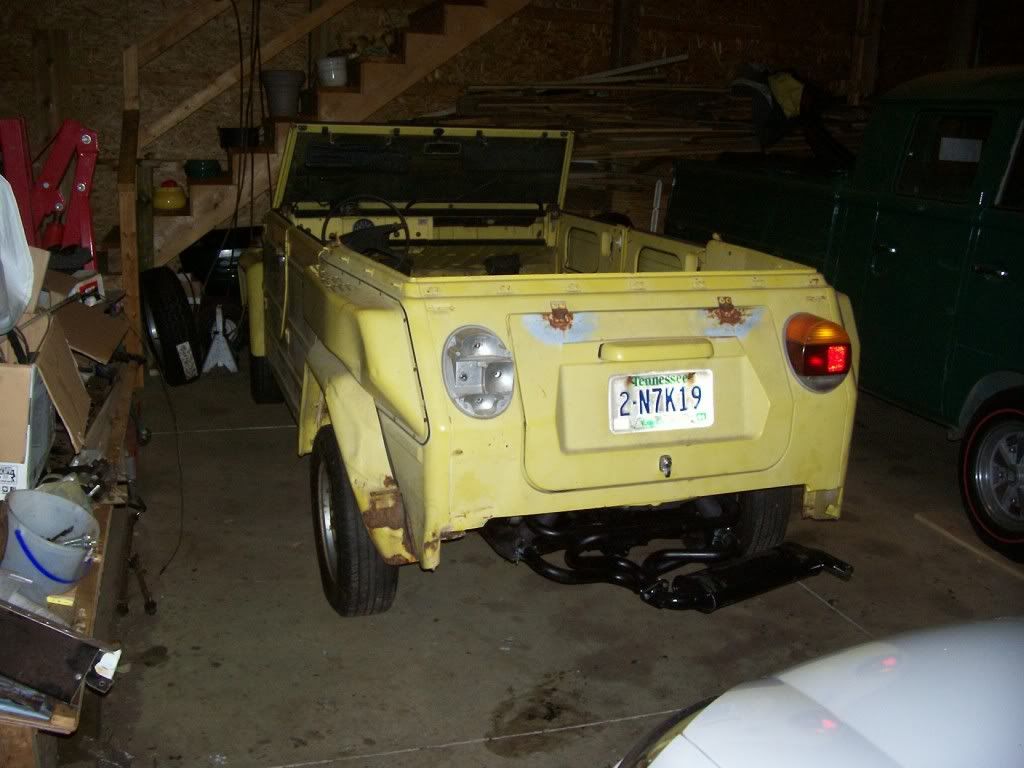  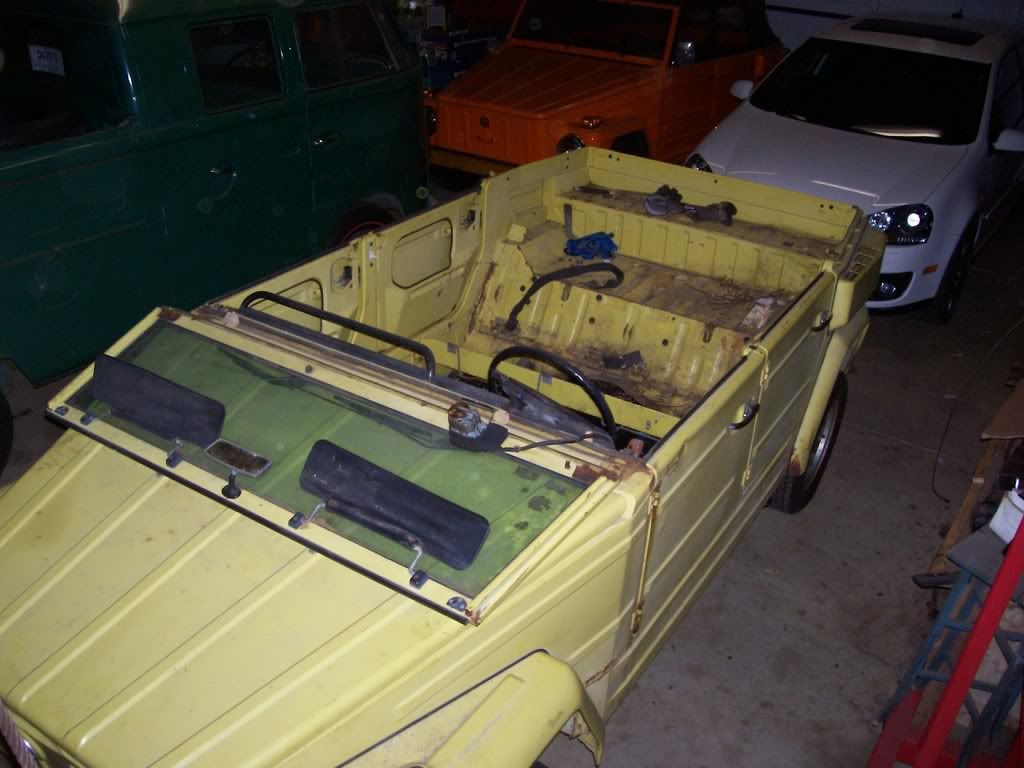 Next onto assembling all the interior and trim pieces throughout the car and cleaning up the garage now that the dirty work is over. This is how I plan on driving this car for now, no plans for paint or body work in the near future I like it just the way it is. |
|
Ruffuss
1600dp
Posts: 2,795
Joined: Jun 25, 2008 19:13:16 GMT -5
|
Post by Ruffuss on Dec 18, 2008 7:10:05 GMT -5
Ben, looking good man, what are your plans for the old(other) pan? I know some one looking for one? PM me with details please. Later Kenn
|
|
bjeles
40hp
Posts: 76
Joined: Nov 24, 2008 22:42:46 GMT -5
|
Post by bjeles on Dec 18, 2008 15:34:12 GMT -5
Kenn,
I have 2 pans they are up on the samba if your friend is interested no titles with either.
The yellow thing in Mi, that your told me about on thesamba, wasn't great I went and looked at it on friday, looked spray painted after the body was filled with spray foam but man did I like its cage!
|
|


