blue71
1500sp
Posts: 439
Joined: Sept 1, 2009 15:56:12 GMT -5
|
Post by blue71 on May 1, 2010 16:09:28 GMT -5
I'm waiting to get my 71 westy back from body work, then I'll work on installing the poptop canvas and trying to figure out the whole birch paneling gig for the interior. The photos are old, currently an SO42 bed and 1972 closet are in the back. The jumpseat and fridge/sink are also from a 1972, but just sitting on the metal floor. Laminate or vinyl will be next on the list. I also put in different front seats that are grey and white. 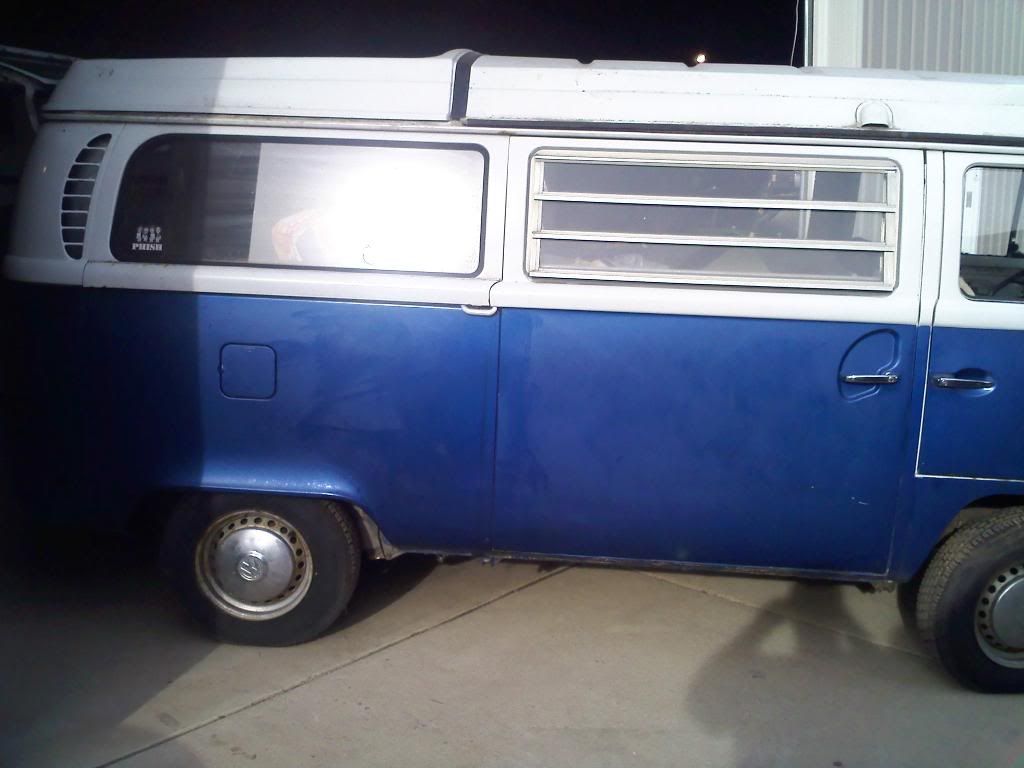 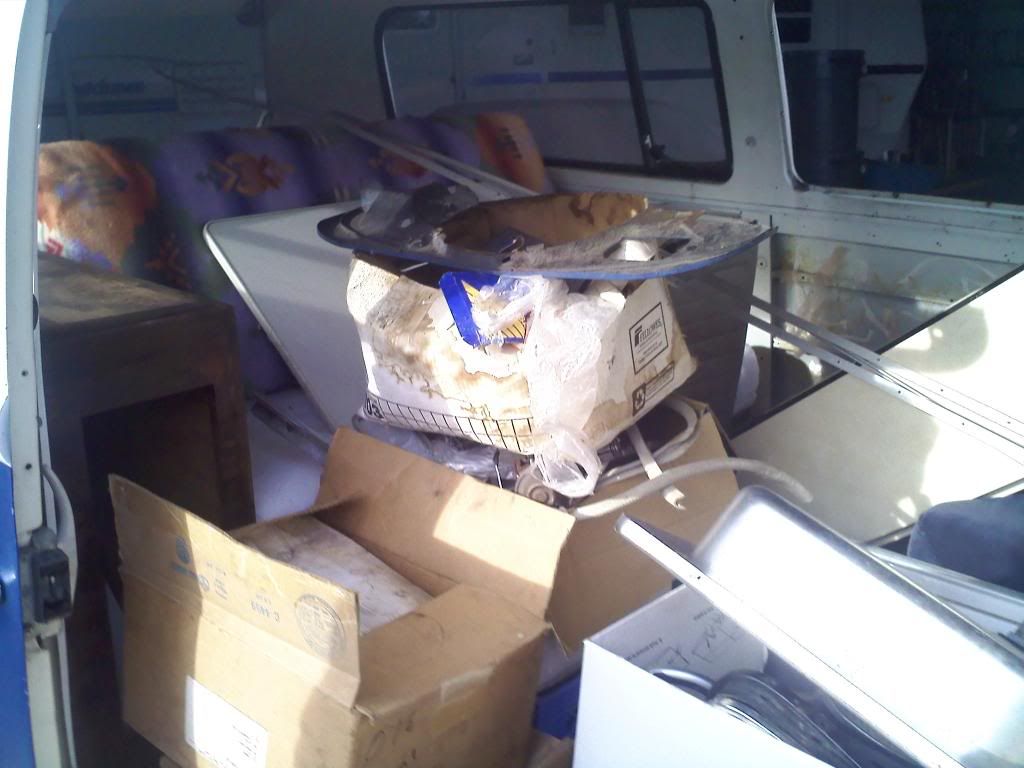 |
|
blue71
1500sp
Posts: 439
Joined: Sept 1, 2009 15:56:12 GMT -5
|
Post by blue71 on Jul 5, 2010 18:18:16 GMT -5
After a long wait, my 1971 Westy is back from getting some body work done. Now I have to work on the gas tank, brakes, turn signal wiring and interior. Not to mention the poptop.....  I forgot to take a before photo. The rear bumper was rusty as can be inside and had spotty paint on it, rusty, etc. I ran down three drill batteries with a wire wheel to make it rust free as possible and to feather the metal and paint edges. I cleaned the whole thing off with Awesome cleaner solvent before painting. A can and a half of spray primer and a can of white rustoleum gloss later, the result is above. Some bubbles formed due to wind so there is some texture to the paint, and you can kinda see some of the edges where it was bare metal, but its ok for now. The cover up paint is some sort of dark blue, an ok color for the body work at the moment.  The nose was straighted most of the way and all tire carrier holes closed up. I'll have to redrill the holes for the VW logo that used to be on Olaf (replaced his with NOS  ) The wheel arch splash areas were cut out and fixed. Driver well 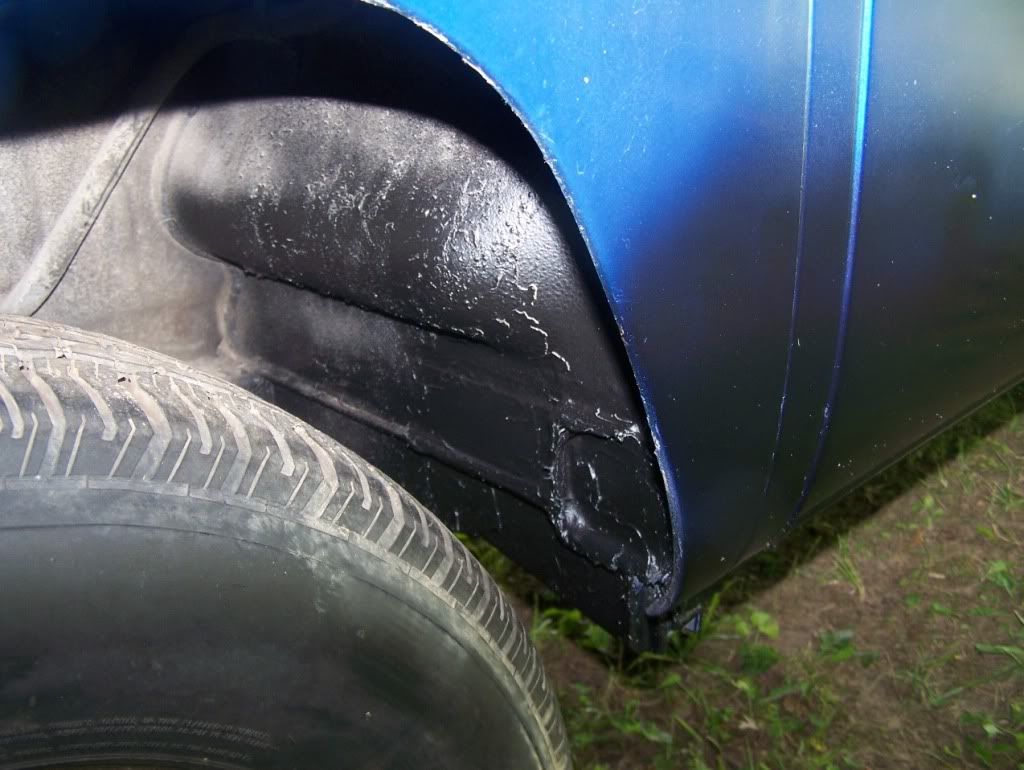 Passenger well 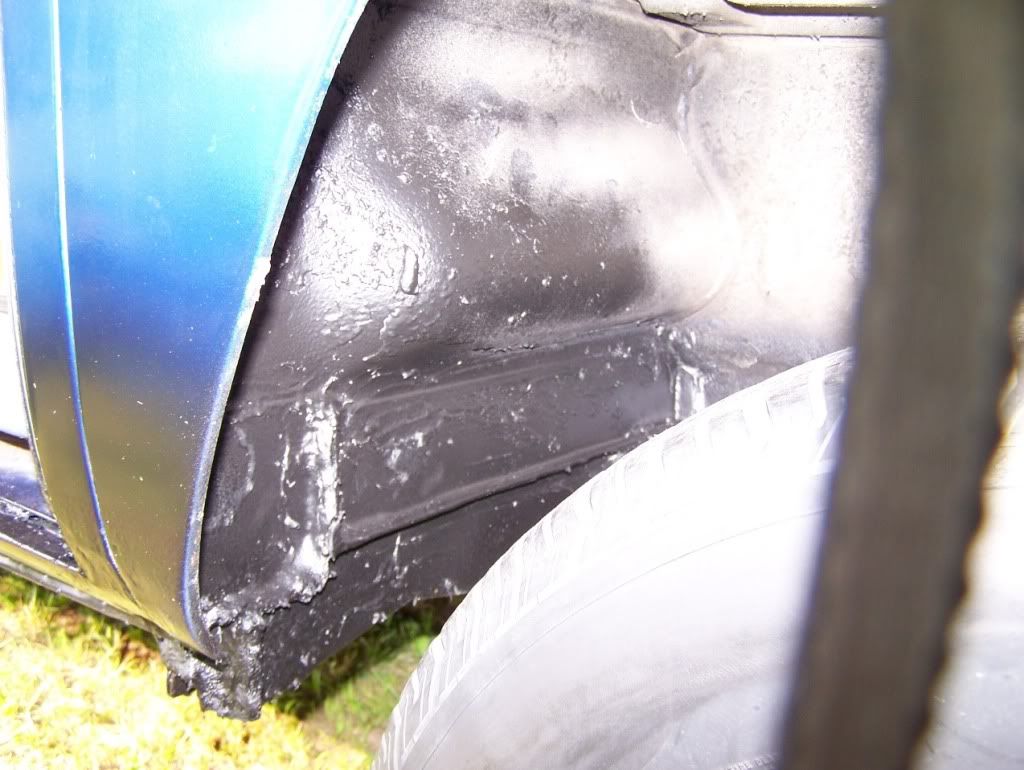 Driver rocker 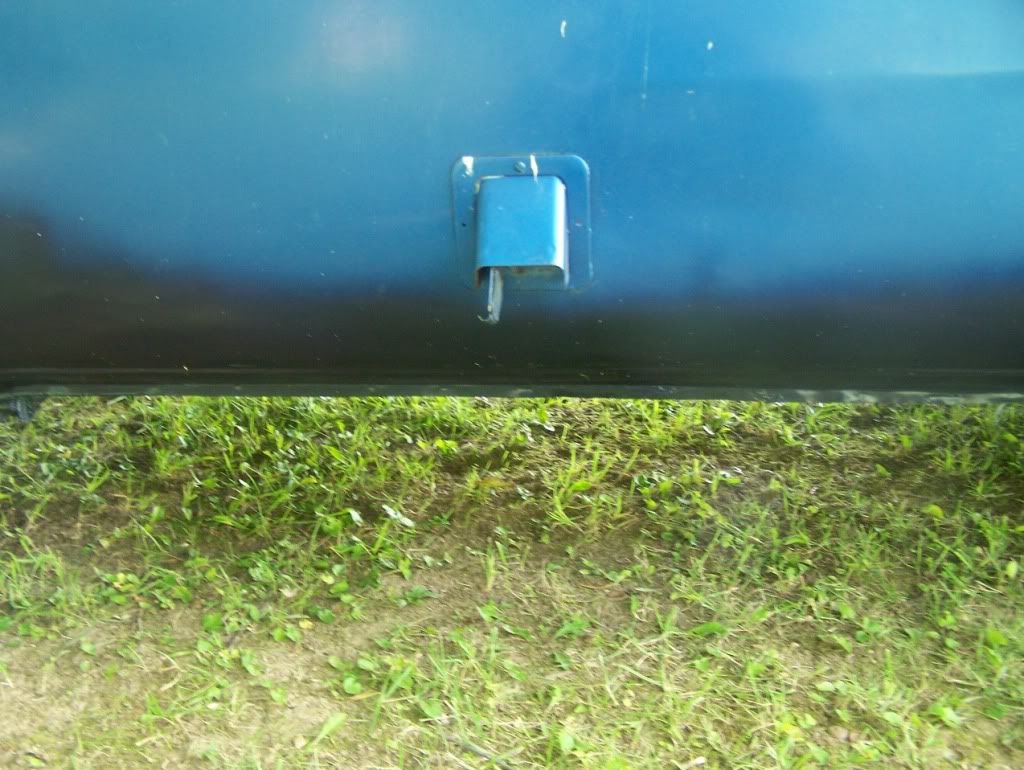 Driver rocker part 2 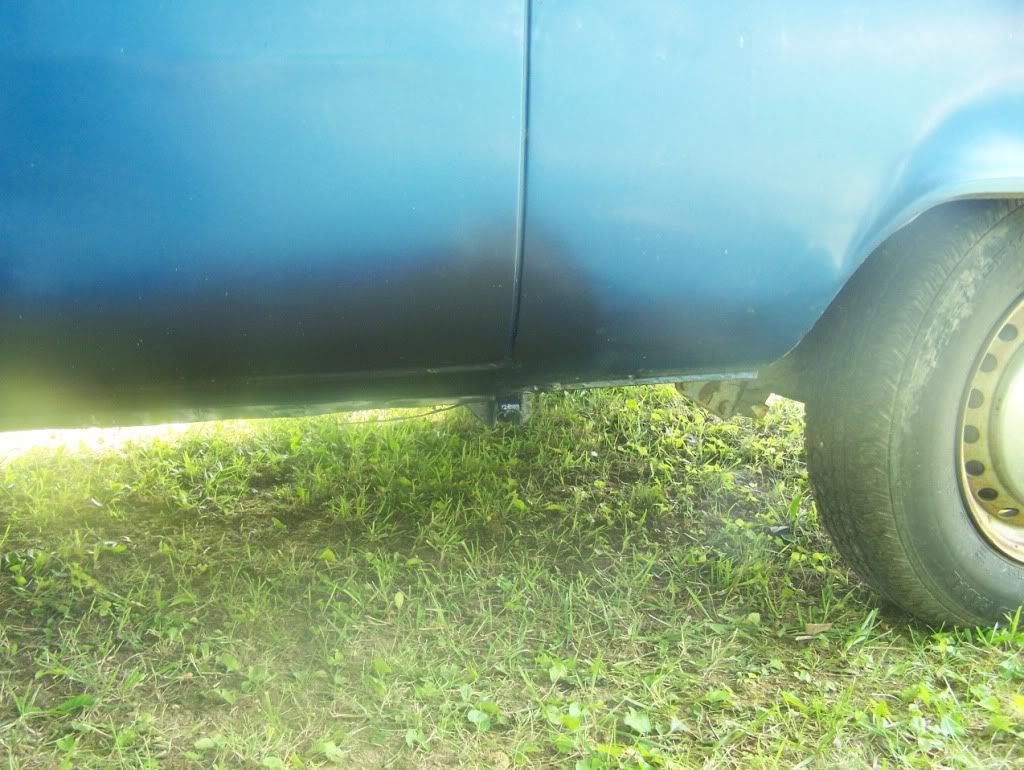 Passenger rocker. The door is still hard to open, like it was before. Any suggestions?  The old hatch was pretty much swiss cheese, so preemptively I traded my cot for a hatch I hoped was better, it was. Needs paint... 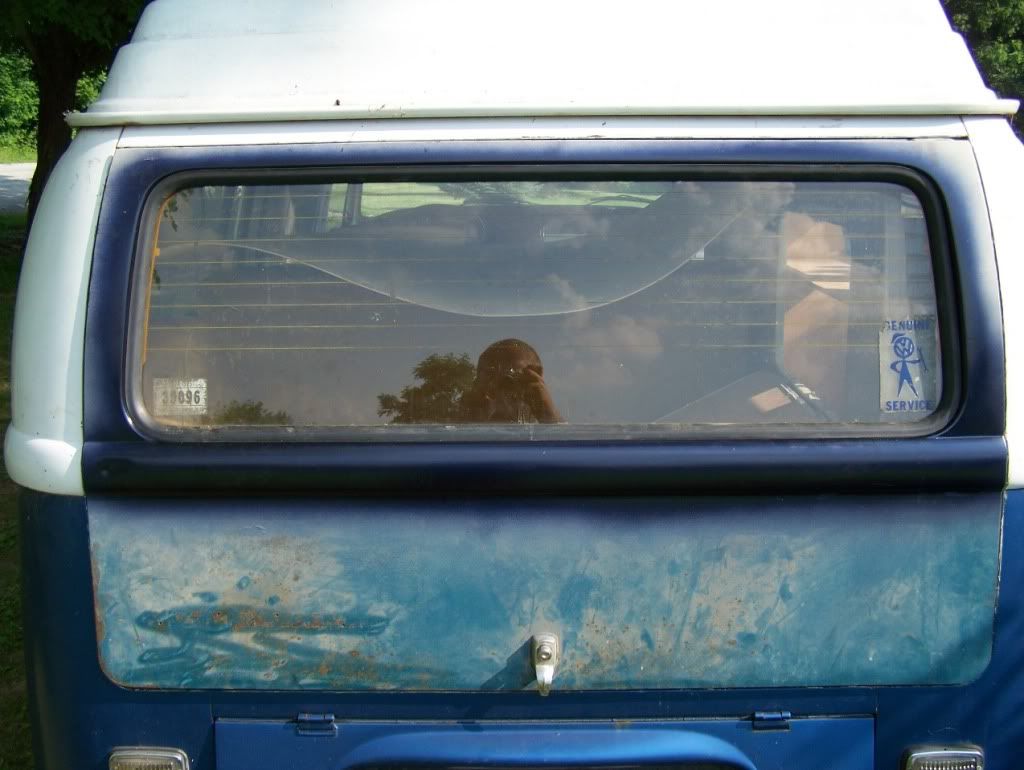 The old hatch - is worse than it looks. It will be my first welding project, to start its own thread at a later date on LEAKOIL after I get some scrap metal.  A quick shot of the mismatched interior parts, still need the wood on the driver side or some sort of replacement, same with entire headliner.  Another shot of the interior parts. The right wood sink/fridge is in the barn to be installed later. 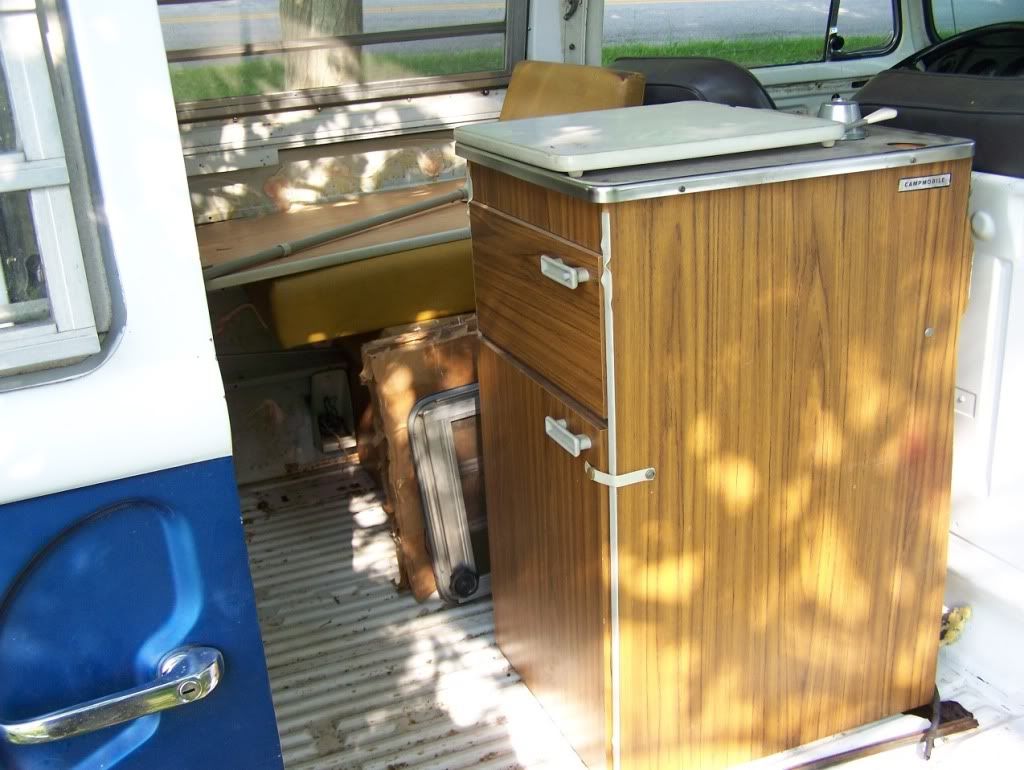 |
|
|
|
Post by drwingtipshoes on Jul 5, 2010 18:42:38 GMT -5
I'll have to redrill the holes for the VW logo that used to be on Olaf (replaced his with NOS  ) Get one of those 3rd party 'Peace Symbols' same size logos so you can have a real 'hippy mobile'. Peace, Love, Dope! |
|
blue71
1500sp
Posts: 439
Joined: Sept 1, 2009 15:56:12 GMT -5
|
Post by blue71 on Jul 14, 2010 8:49:53 GMT -5
I got asked if I was going to paint flowers and polka dots on it. Oh how much I "love" random strangers.
I replaced the gas tank, bought a new battery and now need to trace some wiring since it turns over really slow and the generator light is on. Then brakes time and poptop....
|
|
|
|
Post by ghiastein on Jul 14, 2010 10:02:28 GMT -5
Someday I need to do all of the same body work to my Bus. Did you have it done or did you do it all your self? Was it easy?
I am no help on the slider door. Mine has always slid nice but I did clean up all of the tracks, re-adjusted the door and grease everything up. Doing the maintenance did help out tons and someday I need to replace the plastic bushing in the door track.
I have been asked about the flowers and peace signs too. My reply is: I will as soon as you paint them on your "Insert the newer vehicle that they are driving"
|
|
blue71
1500sp
Posts: 439
Joined: Sept 1, 2009 15:56:12 GMT -5
|
Post by blue71 on Jul 17, 2010 8:25:16 GMT -5
I traded some 1967 beetle vert parts to have some of my body work done. He did an ok job, but the timeframe was kind of extended. Now that I have a welder I will be teaching myself how to fix stuff.
The door thing is going to be a treat from what you've said and from what I've heard from people around here, fun times are on my horizon after I put on the canvas.
What screws did you use for the lower attachment, the stock ones or did you wind up buying some of a different length?
|
|
|
|
Post by ghiastein on Jul 19, 2010 9:30:56 GMT -5
What screws did you use for the lower attachment, the stock ones or did you wind up buying some of a different length? The original ones were metric and mine came out fairly easy almost like the holes were enlarged over time. So I purchased about 100 standard size sheet metal screws that were just a bit larger in diameter and length. They worked great for me |
|
blue71
1500sp
Posts: 439
Joined: Sept 1, 2009 15:56:12 GMT -5
|
Post by blue71 on Sept 8, 2010 10:29:09 GMT -5
We were able to use the original sheet metal screws, just had some problems with the Al trim strip fit since it was from a different bus. The poptop is installed, along with new rubber hold down straps.  The bumpers are on and the main interior is installed, still minus doors :oops: I need to get my mom to make some curtains from the templates I have on hand and make a bag to fit the tent and poles. I have a blue plaid fabric for that, as well as a surprise for the yellow vinyl later on down the road. The flooring and wood paneling will be done later when I have the funds. For now I'm gonna find a cheapo rug and rough it :lol: The hubcaps were roached, but as always I have original spares from a different ride that are in a bit better shape and need chrome polish :geek: Looking at the front doors I found a steel stamping like the ones that were on early wheels saying "4/71", which matches the vin sticker on the B pillar. I looked more and the wheels have the same stamp on them, now to check the rest of the panels for a 'numbers matching look' :roll: Those seats I put in it are actually WHITE and GREY not a two tone grey, cleaning things with Awesome cleaner shows off whats underneath. Here are some photos. It was originally pastell white according to the m plate, as is a spare ratty mirror in a box of parts. Need to find my stash of good replacement mirrors! The color change was done by me from who knows what shade of blue by a PO to royal blue, its a 10 or so footer, needs some wet-sanding in a few places. 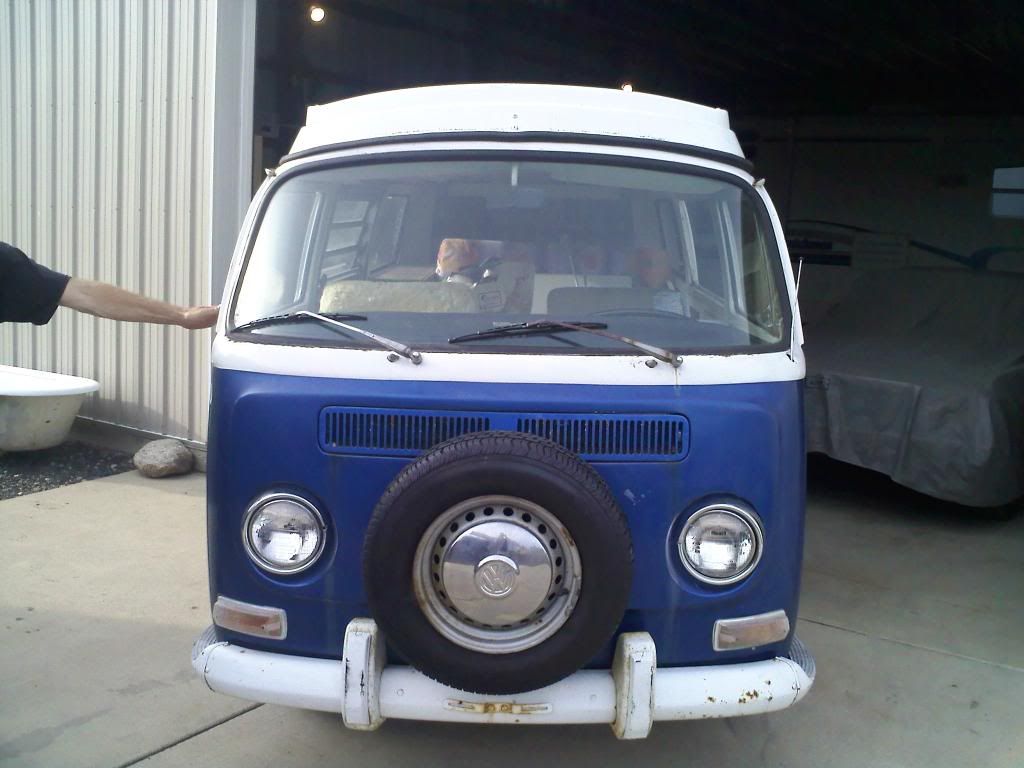 when picked up 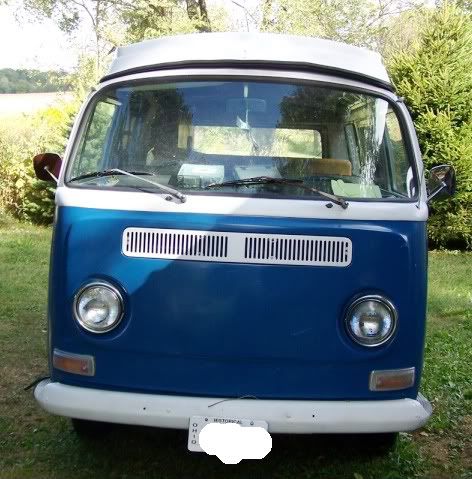 now  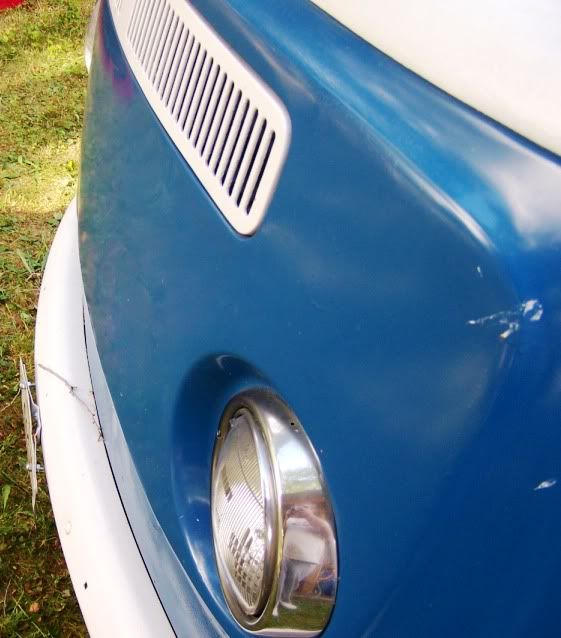 still some dents from that d**n tire carrier, need a slide hammer puller thingy or more filler before restoring the emblem to it's place.... Anyone know what the little plastic plugs things are that hold the emblem in the holes, who sells them, and their placement? 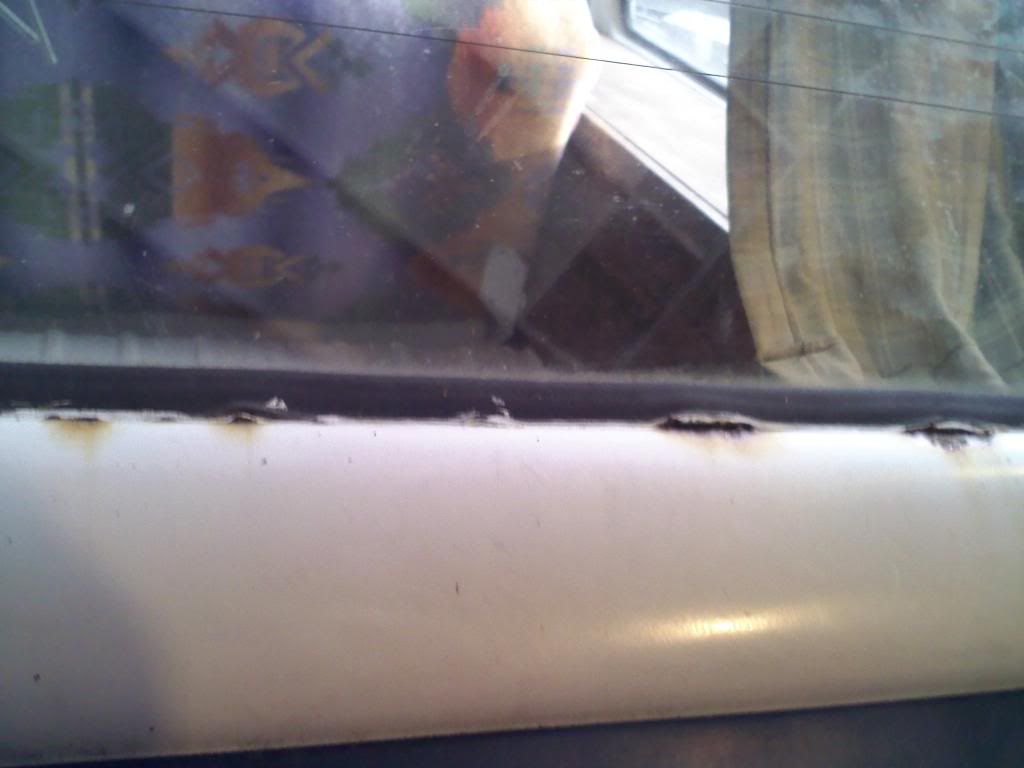 rotten original hatch, future welding project  replacement before repaint  the repainted rear hatch 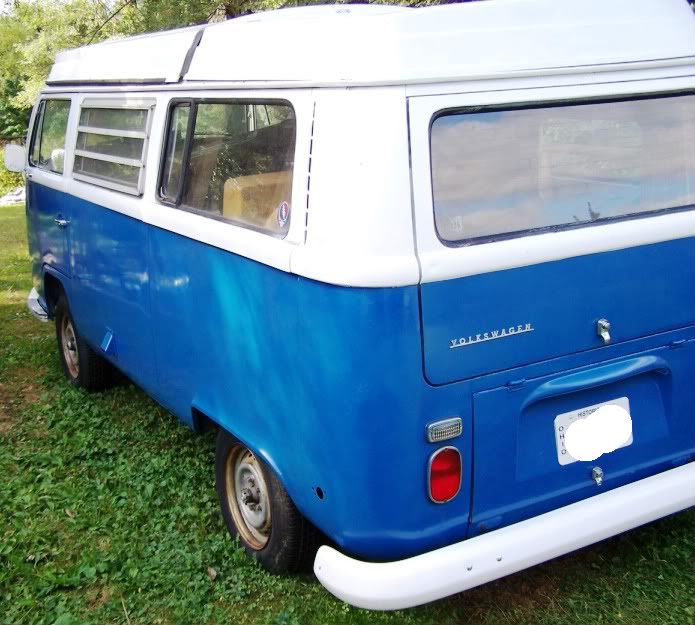 The taillight harness is all fubar'ed to not have any wires to go to the corner reflectors, find ones or ignore and later fill?  bumper steps are so so underneath, and I should strip the old old white paint off the black rubber eventually, or spray with black Krylon Learning bodywork and filler use, tried to fix up the problems caused by a PO, not much rust there, but dents etc. It looks alright from 10 feet. 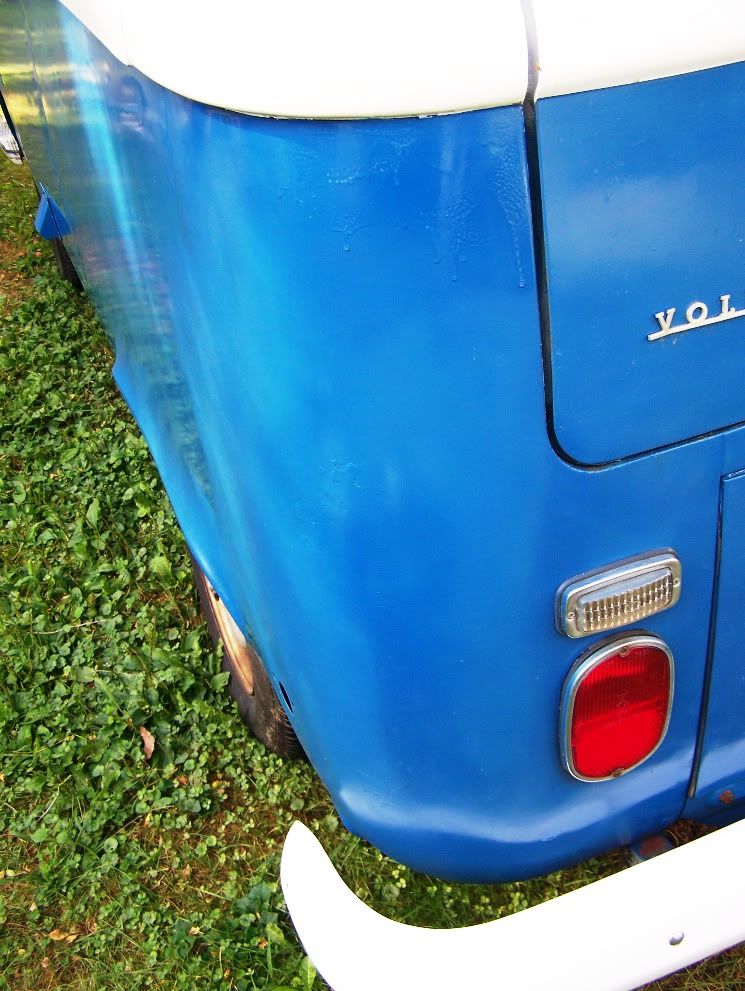 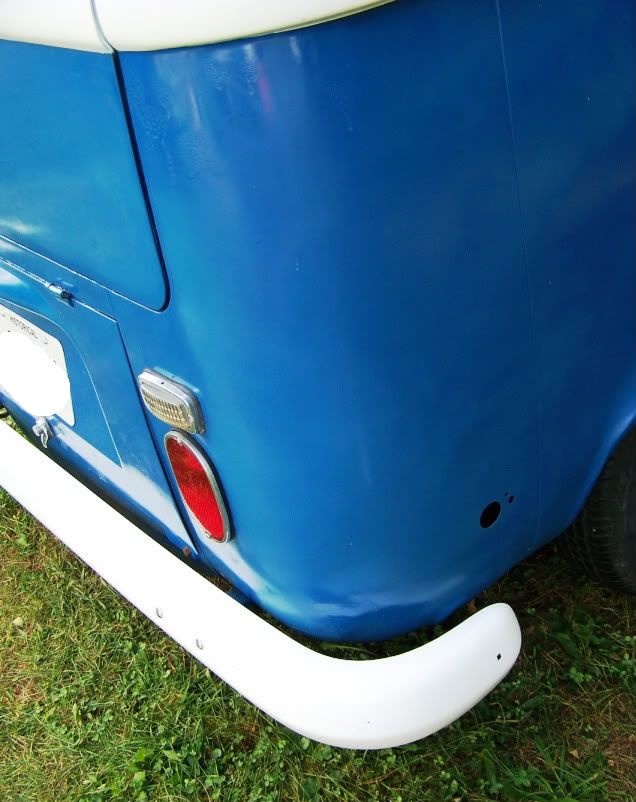 |
|
teamafx
1600dp
I am in group #1
Posts: 1,341
Joined: May 29, 2010 15:33:28 GMT -5
|
Post by teamafx on Sept 8, 2010 11:28:03 GMT -5
Now that the spare tire is gone you need the VW emblem in its place. Looking good. I hope its not to much longer till I can get mine that far.
|
|
dansam
1600dp
Posts: 2,434
Joined: Oct 25, 2008 7:23:39 GMT -5
|
Post by dansam on Sept 8, 2010 22:13:53 GMT -5
This is the westy that was for trade on Samba wasnt it?? Its starting to look good. And it is my favorite year  Keep up the good work. |
|
blue71
1500sp
Posts: 439
Joined: Sept 1, 2009 15:56:12 GMT -5
|
Post by blue71 on Sept 9, 2010 8:58:58 GMT -5
This weekend will be time to check out the brakes to see if they need R&R, I bet they do.
teamafx: yep, I just need to determine where the holes are supposed to be and redrill them after I find the special little plastic plugs that go on the emblem prongs for a good fit in the hole.
dansam: it was the westy I had on thesamba for a trade, I've decided to keep it for a little longer.
|
|
blue71
1500sp
Posts: 439
Joined: Sept 1, 2009 15:56:12 GMT -5
|
Post by blue71 on Oct 14, 2010 20:39:07 GMT -5
I'll be doing the brake booster and its hose in the coming months. Right now it's at a local shop and we're taking the "rebuilt" engine apart to make sure it was done right. All the internals are new and stock, as are the heads and p/c. It looks like somebody didn't really know what they were doing though, a bit too much loctite for my tastes on nuts/washers.
|
|
|
|
Post by drwingtipshoes on Oct 15, 2010 7:52:29 GMT -5
I just need to determine where the holes are supposed to be and redrill them... It's been a LONG time since I've taken a good look at the interior of a Type II, but I'm wondering if you pull the trim panel from under the dash, if that wouldn't give you a clue as to where the holes should go? Ghia owners often plug the side molding holes - it was done with that red coupe I owned for awhile this past summer and it was CLEARLY OBVIOUS where the holes were when the door and rear-quarter trim pieces were removed. I think it would've been a simple matter to reopen them just by doing a little grinding from the back side. Take a look and let us know... Looks good!! |
|
blue71
1500sp
Posts: 439
Joined: Sept 1, 2009 15:56:12 GMT -5
|
Post by blue71 on Nov 4, 2010 12:08:01 GMT -5
We got the long block is together with a STD crank and SP case. in between waiting on parts for the 912 engine. Now to decide on DP or SP heads. I have the parts to build it up either way, including tin etc. My only hang up is dual or single carbs for when it's done since I don't have intakes for SP heads for my Kadrons, just DP intakes. Then there's always the Weber ICTs but have T3 mainfolds for them. 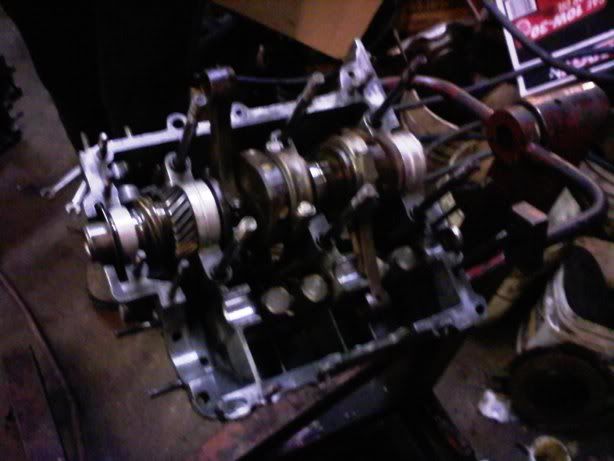 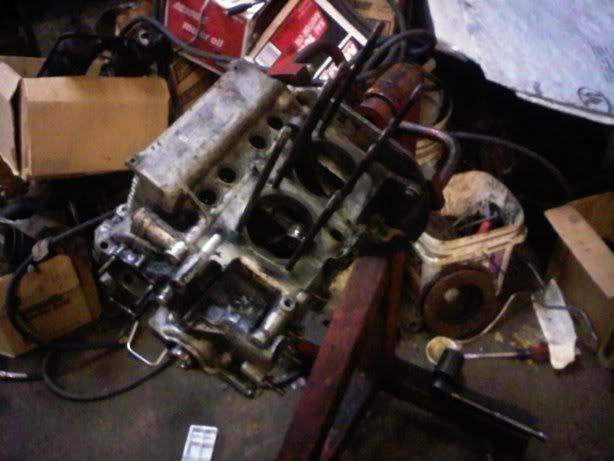 |
|
dansam
1600dp
Posts: 2,434
Joined: Oct 25, 2008 7:23:39 GMT -5
|
Post by dansam on Nov 4, 2010 13:58:39 GMT -5
Why on earth would you want to go single port instead of duel if you have everything to do duel? (((dan scratches head))))
|
|