Ruffuss
1600dp
Posts: 2,795
Joined: Jun 25, 2008 19:13:16 GMT -5
|
Post by Ruffuss on Jan 5, 2010 9:35:28 GMT -5
Look'n good!!
|
|
|
|
Post by ghiastein on Jan 18, 2010 20:04:54 GMT -5
Its been a long few weekends First up all of my flooring is cut. I plan on using 1/4" plywood and 1/8" carpet pad to make up my 3/8" thickness. I had to use a wood backing to screw my table leg mount to the floor. I even have all of my rear panels cut out except for the rear hatch and slider door. Last Saturday was spent running wires tons of wires all for my cool electrical goodies. Remember my Ghia. I also purchased this cool tool that I have been wanting to try out. I purchased a step drill for drilling into sheet metal. It would take me for ever trying to create a perfect large hole in sheet metal. I would spend tons of time increasing drill bit size and finally my holes would never come out perfect. Now its just find how large of a hole I want and count the number of rings. Here is a picture it does not look like much but believe me it is alot of work. 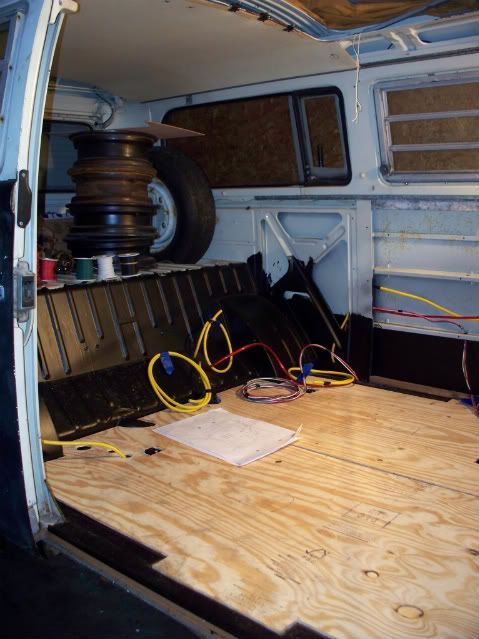 Remember to use wire grommets when running wires through sheet metal. 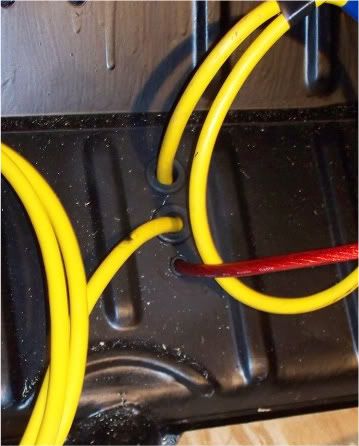 Sunday was spent insulating once again an other tedious project that just dragged out for ever. What I came up with was shiny metallic bubble wrap then two layers of 3/8 closed cell foam then 1 more layer of shiny metallic bubble wrap. Here is how I left the garage. 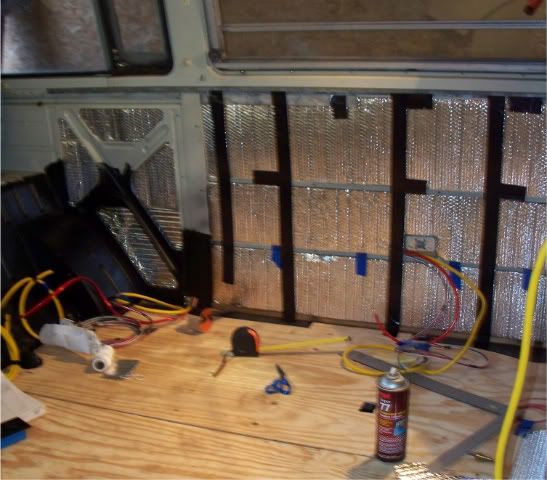 |
|
|
|
Post by bren on Jan 18, 2010 21:59:11 GMT -5
Nice work AJ. That is a lot of insulation, well worth it in the long run. I can't wait to see what all those wires are for!
|
|
Kirby
1500sp
Posts: 477
Joined: Sept 5, 2008 10:38:18 GMT -5
|
Post by Kirby on Jan 23, 2010 23:58:12 GMT -5
Looking good AJ!
|
|
|
|
Post by ghiastein on Feb 1, 2010 10:06:36 GMT -5
Its been a productive weekend on the Bus. I have hung my driver side interior panel and installed the wood flooring for the last time.
I have also installed my foam padding and I have finally laid down carpet. After my carpet installation I took a break and had a quick power nap on the warm carpet.
I have installed the jump seat and now it feels more Bus like on the inside.
Sunday I have started the electrical wiring. After weeks of planning my electrical and reviewing it with the electrical engineer here at work. The only comment that he had was " Yea that will work but we can make it better" Now I have more wires and more relays but it will be saver and that's what I want.
|
|
|
|
Post by rochester73super on Feb 1, 2010 10:38:19 GMT -5
Cool. Looking like we'll be seeing this project in it's completed state this summer eh ??  |
|
|
|
Post by ghiastein on Feb 1, 2010 17:46:00 GMT -5
Lets put it this way it will be a driver / project this summer but never finished. It may still look ruff on the outside but it will have a nice interior. My camera was giving me fits yesterday but here in my latest picture. 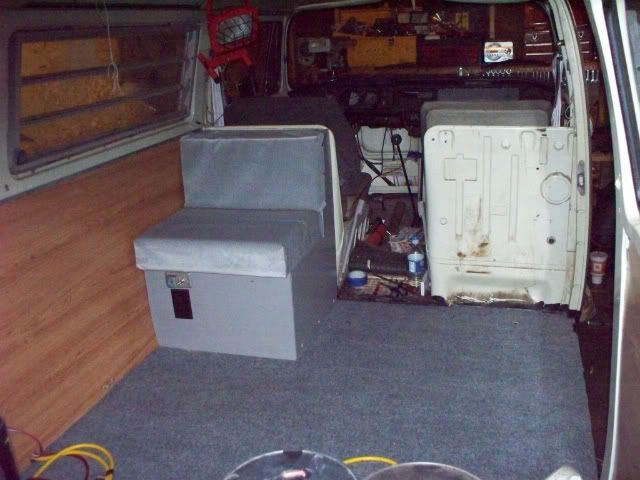 |
|
|
|
Post by ghiastein on Feb 8, 2010 10:04:05 GMT -5
I have finished my Camper 120 volt wiring finally. Let me give you the rundown of what I have been doing. First off I want to be able to use 120 volt and 12 volt stuff while driving and sitting at a parking lot. I also wanted to be able to plug-in at a campground and use both 120 volt and 12 volt. When I am at a campground plugged in I want to charge my 2 batteries. When I am driving down the road I also want to charge both batteries. I also want to have my 2 batteries totally isolated from each other. So when camping if I drain one battery I can still start the Bus then charge both batteries at the same time. Basically I want my Bus to work like a modern camper. The difference is that with modern camper they use a magic box that automatically switches from a inverter to a converter and to a charger. The magic box costs about $700 and up. So I designed my own system that just requires a flip of a switch from outdoor 120 volt power to internal 120 volt power. Here is my magic switch its mounted in my jump seat and my first 120 volt outlet is just under it.  The switch activates relays that switches the 120 volts from out door plug-in power to 120 volt internal power and kicks on my inverter. Here is a picture of my relays.  Here is a picture of my inverter its just a small one now because that is all I had laying in the garage. 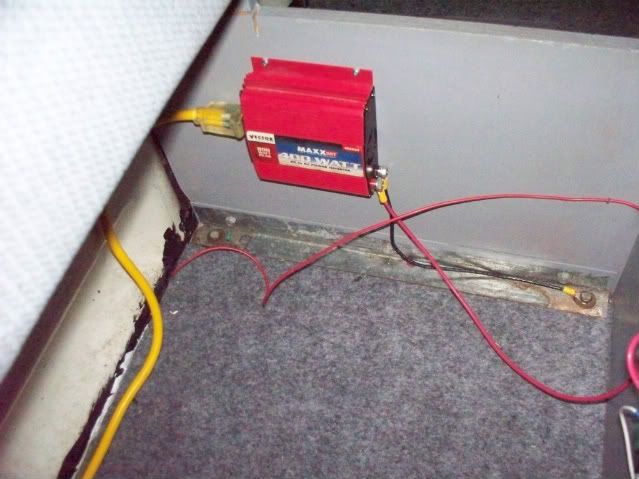 All of my 12 volt camper power is supplied from my new fuse box. 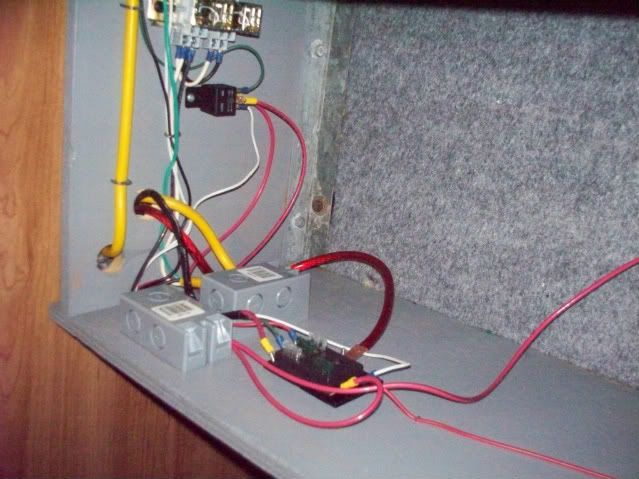 Here is a overview of my jump-seat wiring. I know it looks messy I will clean it up shortly after I have got all the bugs worked out. 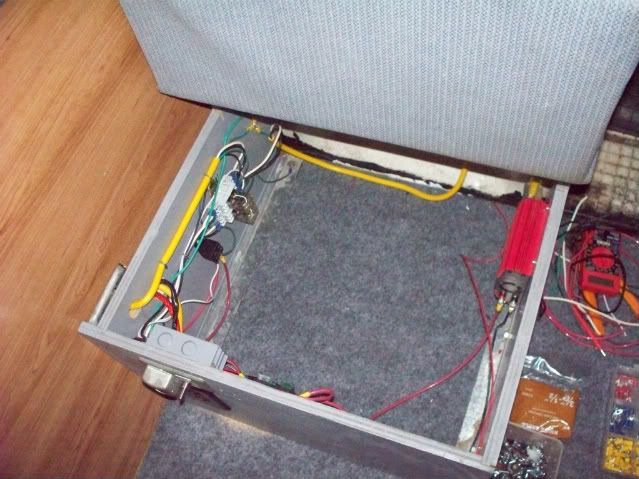 To charge my 2 batteries when camping and plugged in to 120 volt power. I installed a outdoor outlet box to keep things clean in the engine compartment. That outlet box will supply 120 volt power to a battery charger / maintainer. The battery charger will be loose so I can remove it to keep it out of the engine bay. 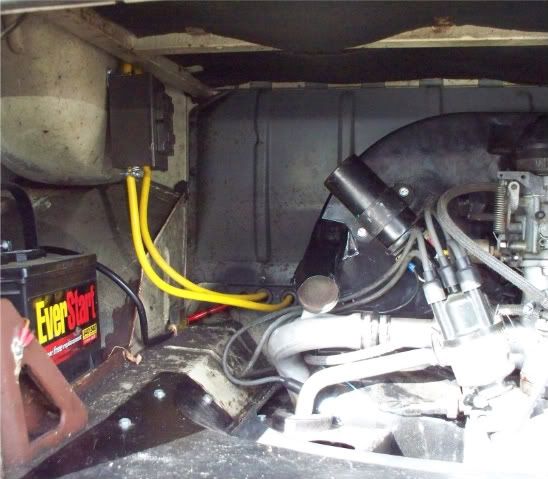 I even included a 120 volt outlet for my cooler combo in-case I want to remove it for extra room. I will be changing the face plate because it overhangs and does not look clean. 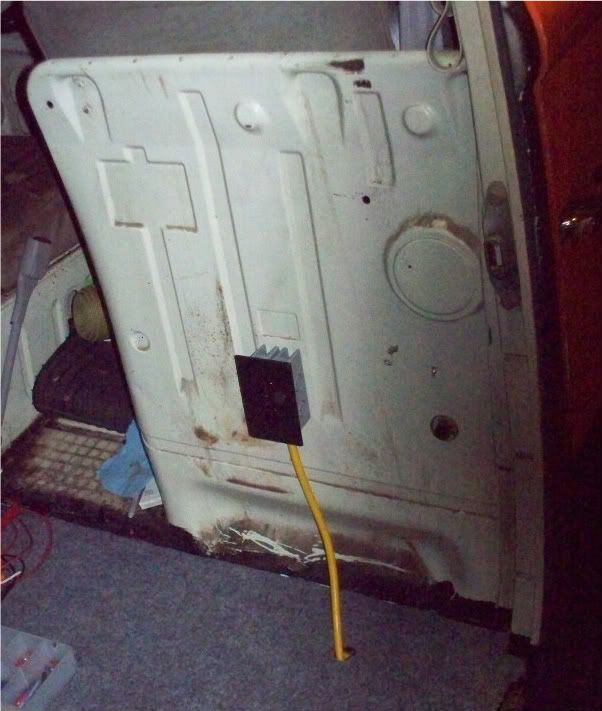 I will have a few other outlets and they will be installed when I finish the install of the rest of my interior. For charging both of my batteries while driving I am going to use a high watt relay that will switch on when the Bus is running, and switch off when the engine is off. This will isolate both batteries. That will come later along with more goodies hint hint. |
|
dansam
1600dp
Posts: 2,434
Joined: Oct 25, 2008 7:23:39 GMT -5
|
Post by dansam on Feb 8, 2010 12:07:32 GMT -5
WoW. Looks like a lot of work. You are so going to enjoy it withthe wife this summer!! I love camping. I have a membership to a very nice campground in davison if you ever want to try it out  |
|
|
|
Post by ghiastein on Apr 15, 2010 19:44:45 GMT -5
Wow my last post was Feb 8. Alot has happen in the past 2 months with my personal life, but I still have been plugging and chugging away on the Bus. Sorry I have not been posting about everything I have been doing but it was full of wood work, sanding, painting, customizing, installing and wiring aka boring stuff. To make it up to you I will show you the finished product and spare you of all of the boring stuff. Here we go with the pictures...... First up the trunk area. 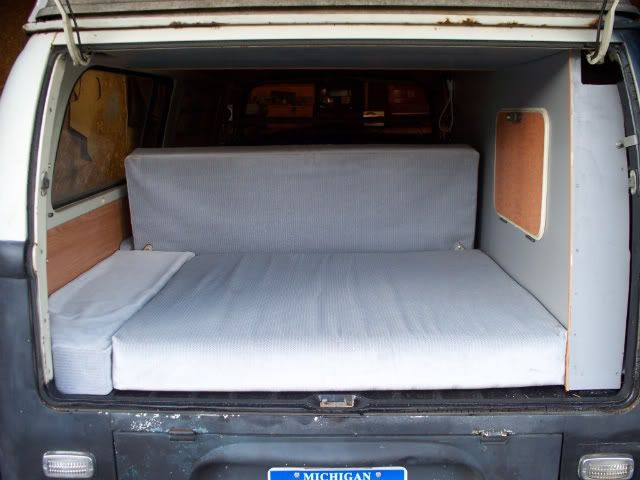 Now the Interior.   Nice Table.  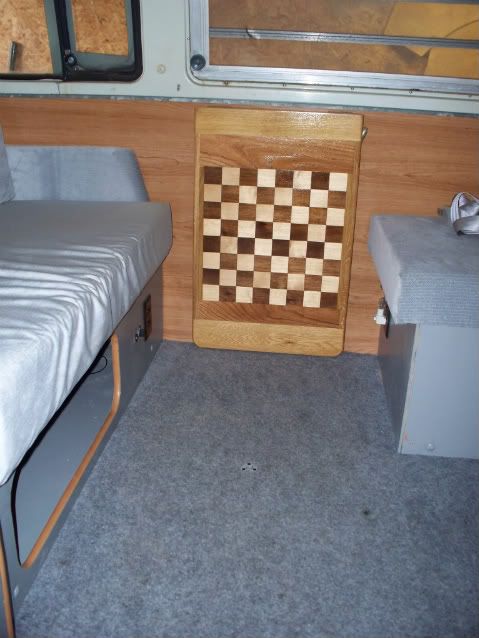 The table barely clears the bed. 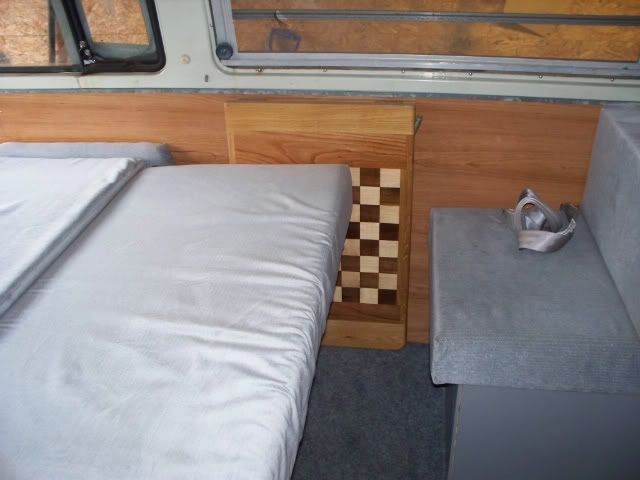 Here is the bed folded and the cool part is I fit. 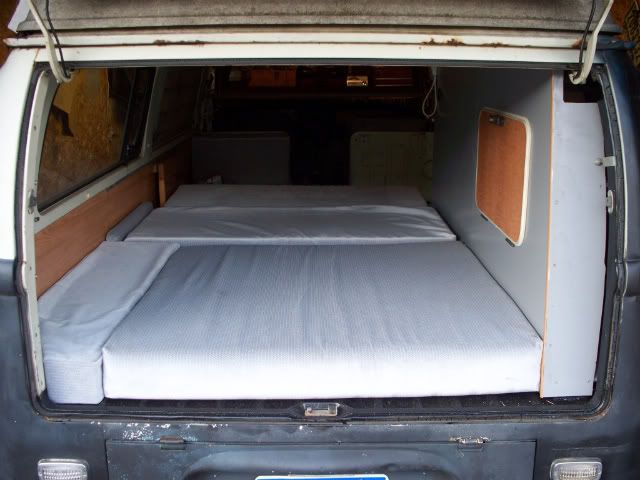 |
|
vw1s
1600dp
I am Jack's Medulla Oblongata...
Posts: 1,841
Joined: Jun 25, 2008 5:16:14 GMT -5
|
Post by vw1s on Apr 15, 2010 20:00:42 GMT -5
Keep up the good work AJ!
|
|
|
|
Post by ghiastein on Apr 15, 2010 20:06:19 GMT -5
Now the cool features and add ons..... Here is my test light for the 110 volt stuff see its on and it is currently running on the inverter that is converting 12 volt to 110 volt.  Here is a different 110 volt outlet on the lower part of the rear bench seat. The 12 volt power outlet is powered through the switch. See the light is on so my 12 power outlet has power. 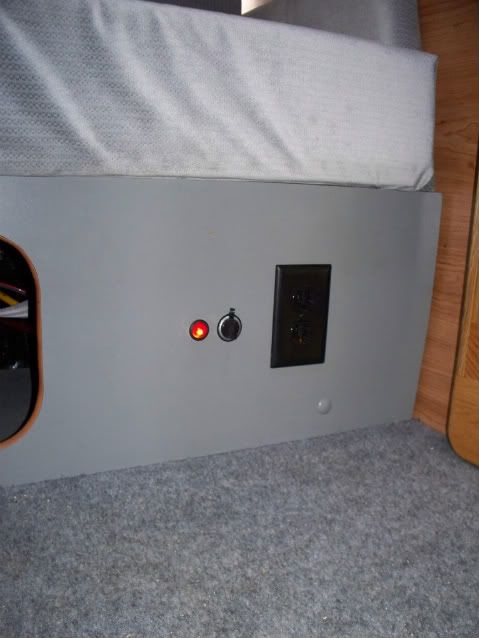 One more 110 volt outlet at the bottom of the side closet. 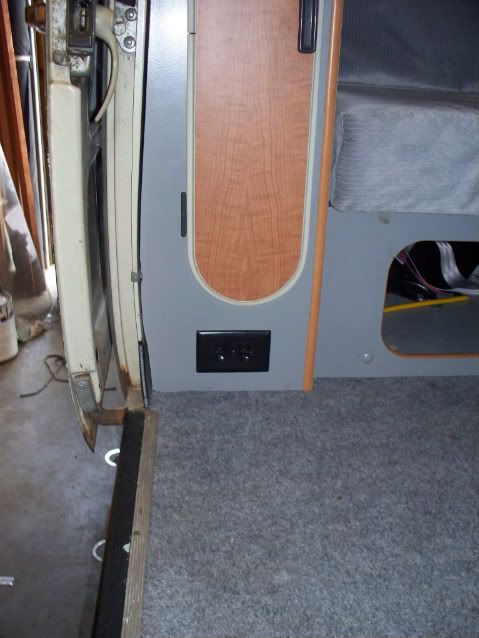 Here is a shot of the top of the side closet showing the factory strap and my new grab handle. 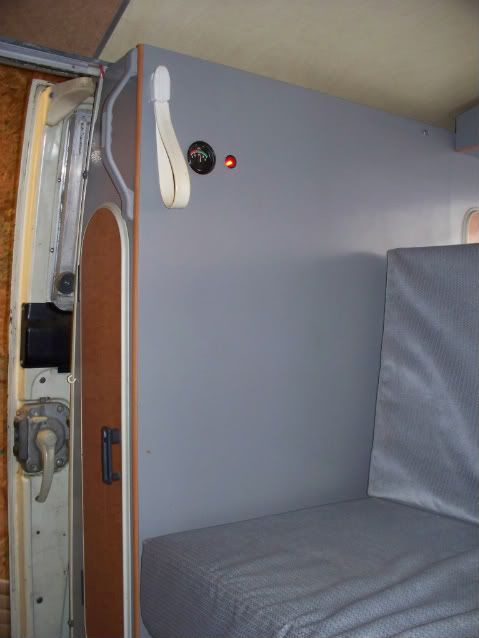 Look a 12 volt gauge this gauge show the voltage of the camping battery. It is also powered through a switch so I can switch it off to conserve power. The gauge also serves as a means to see if my camping battery is charging while driving. 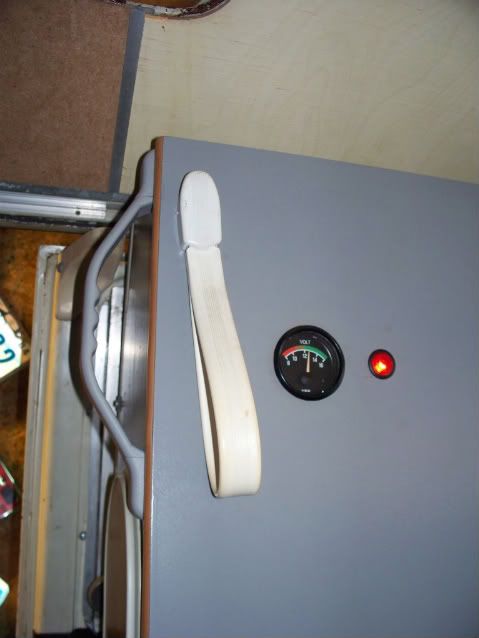 Check out this super cool 12 volt multi LED light. This light is over the checker board table on the drivers side. It replaces the stock light that was a 3 bulb combo. The new light saves battery power and gives off no heat. 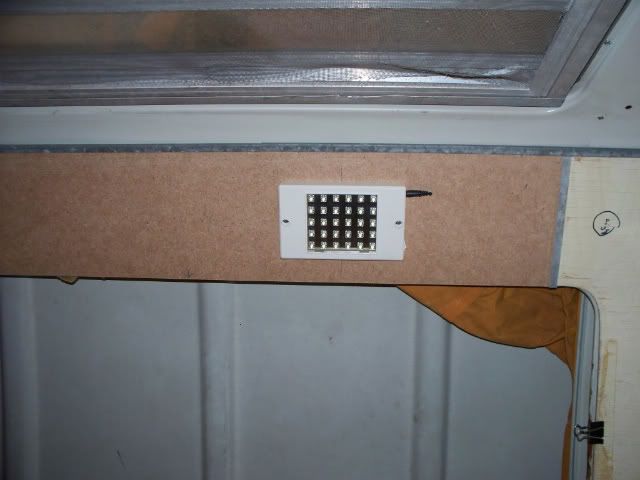 Look 1 more light on the passenger side.  |
|
|
|
Post by ghiastein on Apr 15, 2010 20:19:13 GMT -5
Now on to the coolest feature Remember this outlet on the panel behind the passenger seat.  It is for the new cabinet that will someday hold my LCD Flat Screen TV. 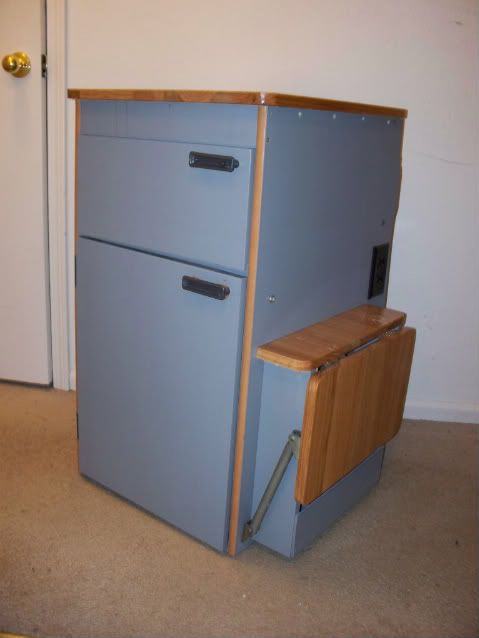 Look a Solid Oak counter top 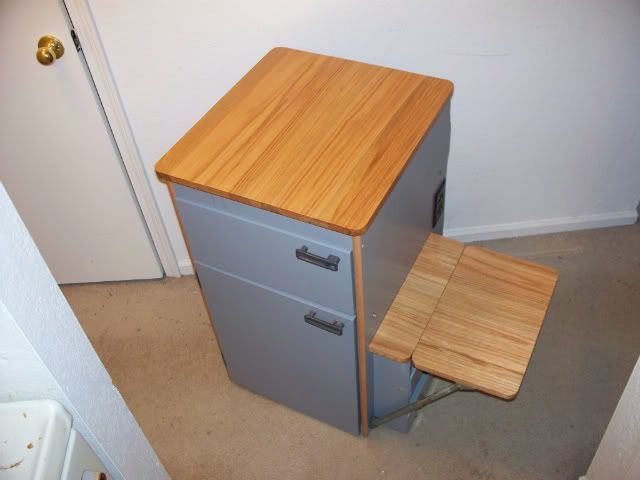 And the spice rack table still works it to is made from Oak 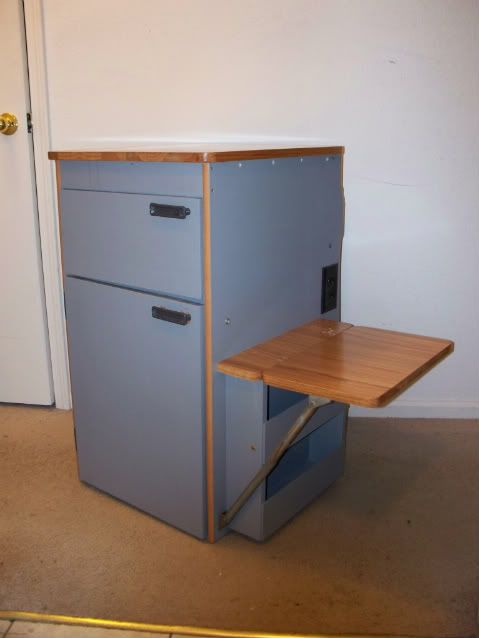 Here is the plug in that goes to the special outlet. Then it powers that two outlets in the cabinet. One on the interior for the TV and one on the side for what ever I want. 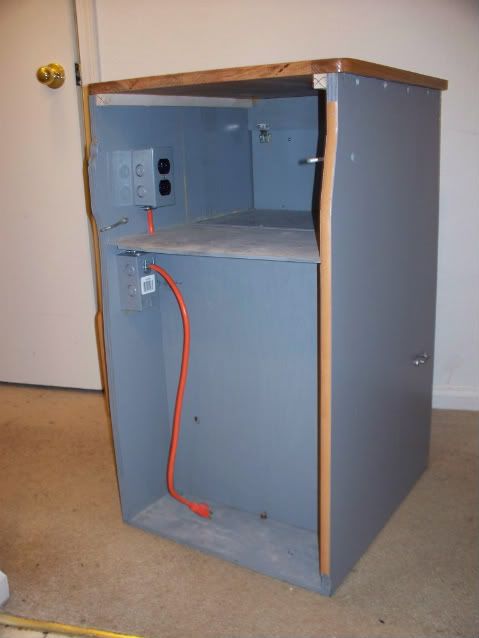 Here is the outlet on the side.  And I leave you with my favorite picture check my cooler out.  |
|
|
|
Post by 81pumagtc on Apr 15, 2010 21:33:30 GMT -5
AJ:
Wow! That looks fantastic!
One question, however...
How large is your camping battery? The reason I ask is that inverters use a tremendous amount of current to increase the voltage to 110 VAC. Not surprisingly it is roughly 10 to 1 use of current to move 12 Volts DC to 110 VAC. They can go through a lot of energy running things like iceboxes and televisions. Surprisingly, LCD televisions use significantly more energy than regular televisions because the fluorescent backlights use more energy than CRTs. In fact, California has recently passed legislation that will outlaw many of the existing LCD televisions currently sold there because of high energy usage. I don't know if the new true LED televisions use less energy, but I suspect they probably do, since the LEDs provide the lighting as well.
I would think that a decent sized battery would last for some time, but I remember being shocked when we used an inverter with a wheelchair gel battery would only run a standard 12 inch Panasonic oscillating desk fan for 27 minutes before sucking the battery dry.
It would be very cool to be able to flip a switch if you and wifey are at a campground and could plug in to external power for everything, or use the internal battery for everything.
By the way, your cool LED light should be able to run for days off of an automotive battery, and your old three-bulb incandescent light would probably run for less than a day. LEDs rock!
Dave
P.S. Wiring looks very sanitary here!
|
|
|
|
Post by bren on Apr 15, 2010 21:40:18 GMT -5
Amazing work AJ. That bus has come a long way.
|
|