vanapplebomb
1600dp
Posts: 869 
Joined: Jan 22, 2013 23:36:55 GMT -5
|
Post by vanapplebomb on Jan 14, 2018 19:04:47 GMT -5
Back in and workin well! Neutral, 1st, 2nd, 3rd, 4th, Neutral Reverse, Neutral. And yes, reverse is next to 1st gear, not 2nd gear like bug/bus transmissions. If I were to do it again, there are some changes I might make. The only thing that bugs me is how heavy a spring load there is into the 3/4 shift gate. You have to give the shifter a pretty good tug to the drivers side to get into the 1/2 shift gate, and again to get into reverse. It isn’t too bad though. I am certainly happy with it. If it bugs me down the road some possible solutions are to change out the spring in the transmission for a lighter one, or making some changes to the linkage geometry. We will see how it goes first. I suspect it will be one of those things that you get used to over time. Sliding through all the gears is very smooth with a great positive feel. Probably better than I have felt with most bug or bus transmissions.  |
|
vanapplebomb
1600dp
Posts: 869 
Joined: Jan 22, 2013 23:36:55 GMT -5
|
Post by vanapplebomb on Jan 22, 2018 20:16:51 GMT -5
|
|
Johnbigdog
25hp
Posts: 9 
Joined: Dec 21, 2014 20:38:45 GMT -5
|
Post by Johnbigdog on Mar 13, 2018 17:25:36 GMT -5
Anything new?
|
|
vanapplebomb
1600dp
Posts: 869 
Joined: Jan 22, 2013 23:36:55 GMT -5
|
Post by vanapplebomb on Apr 1, 2018 19:24:58 GMT -5
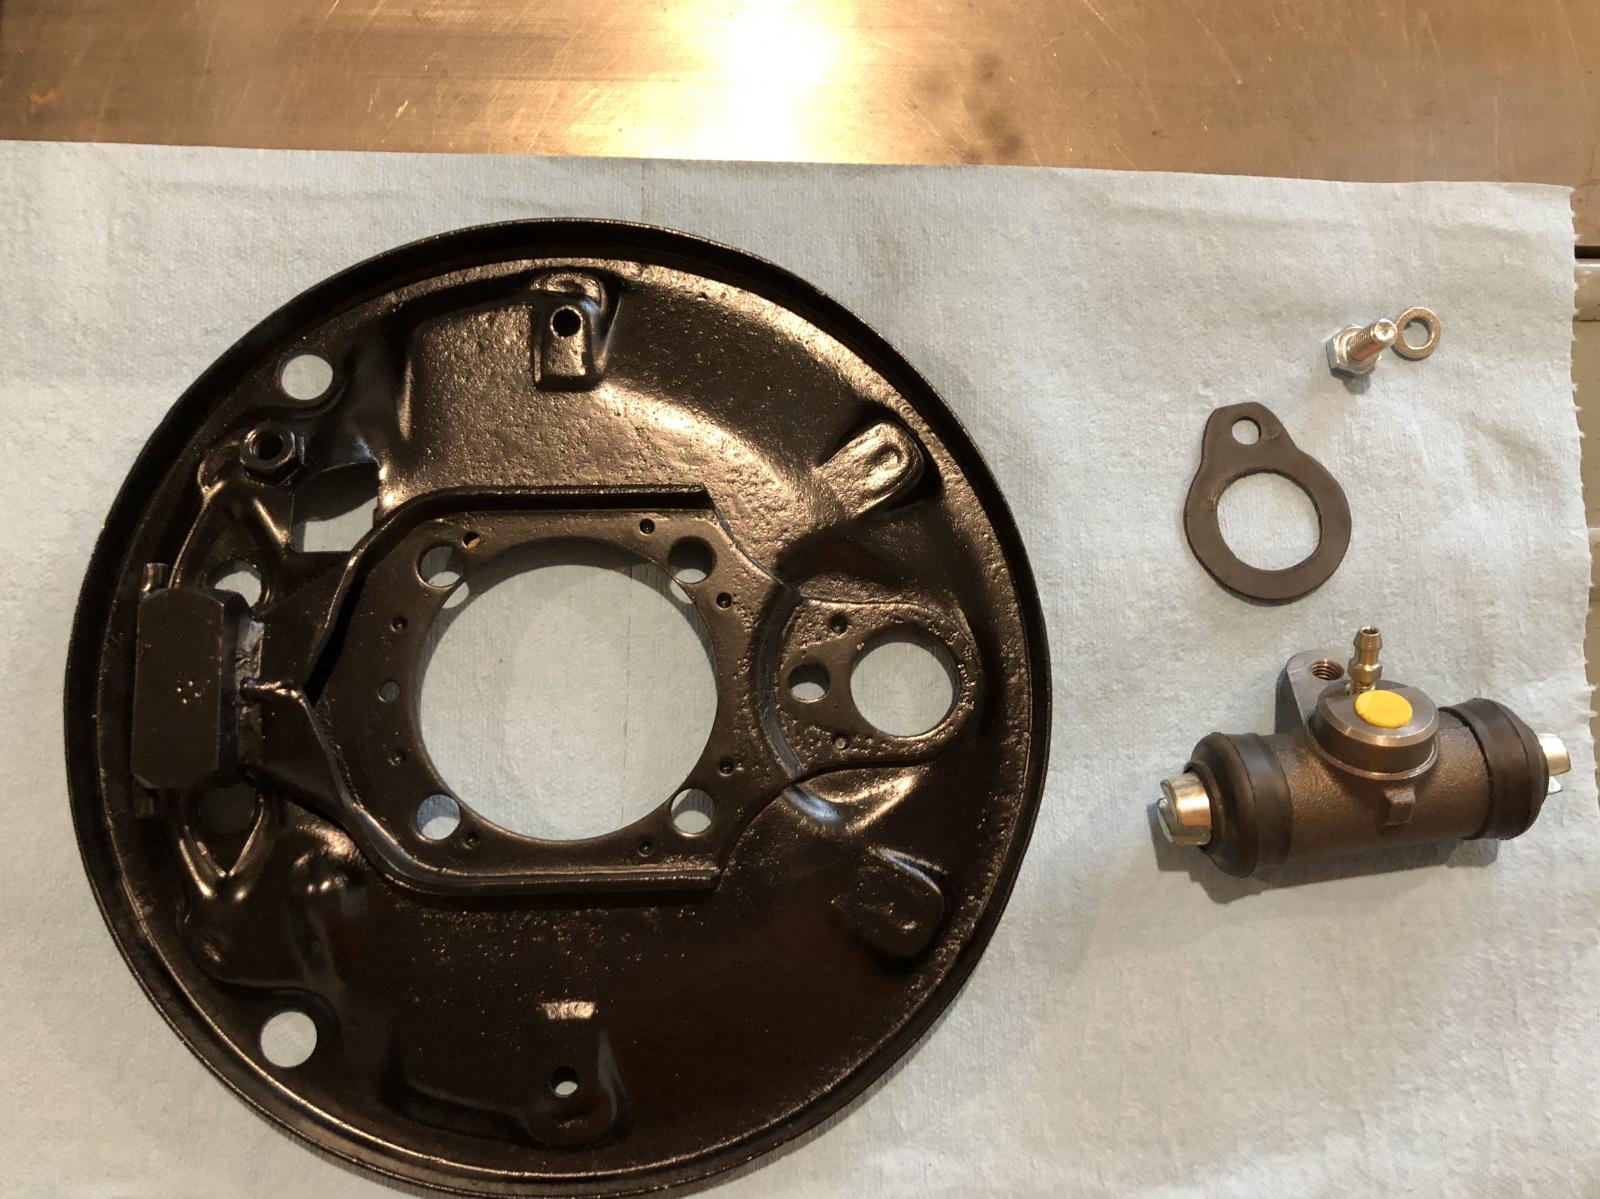
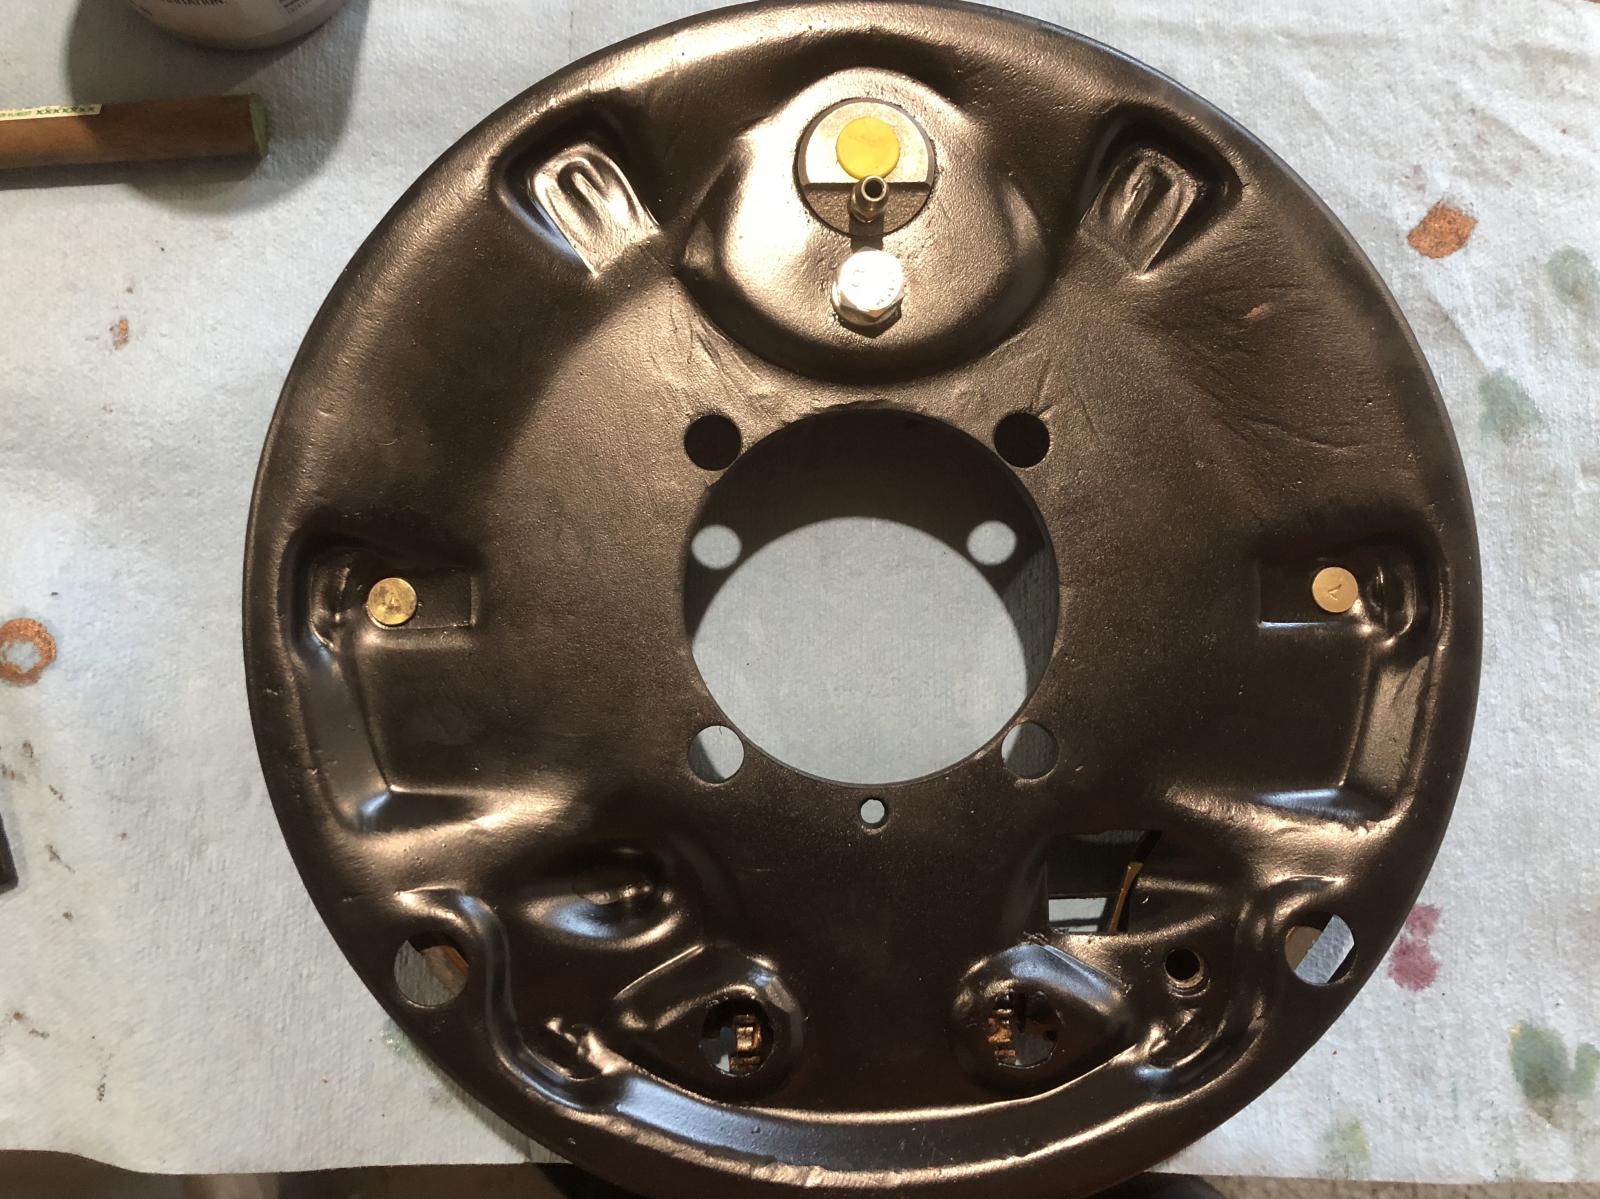
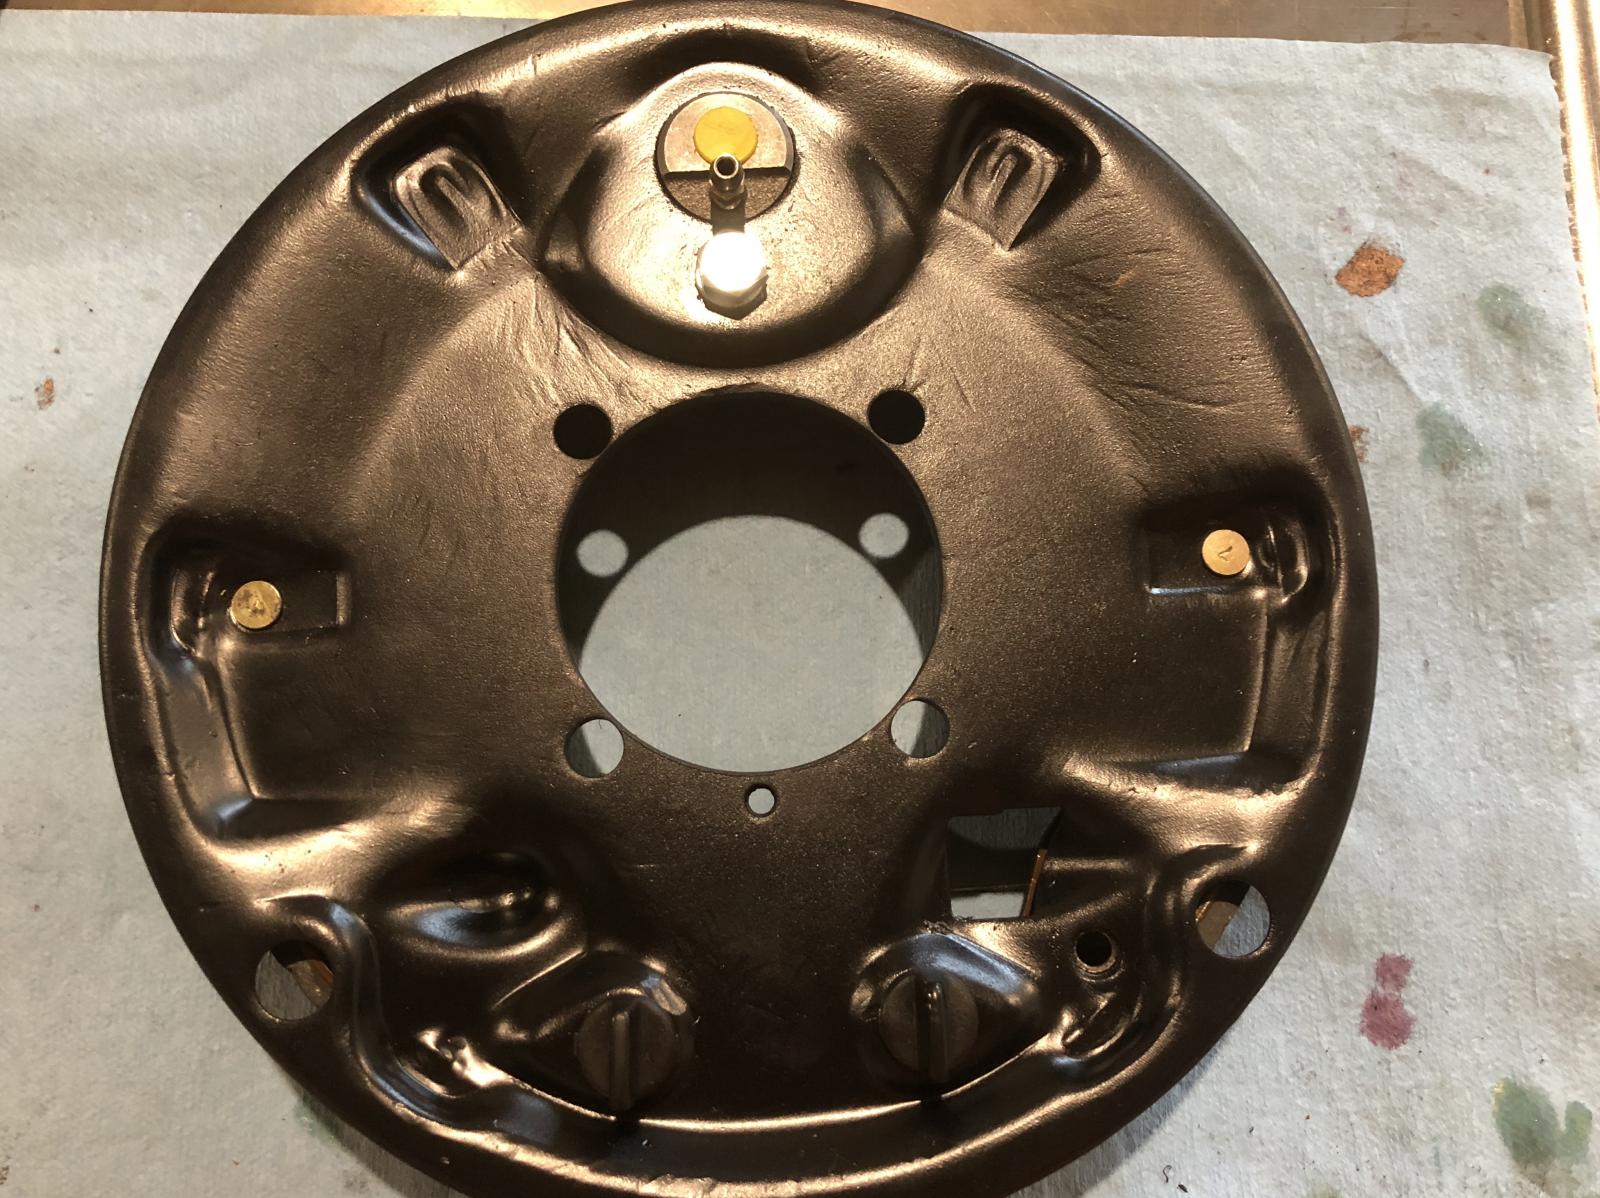
Yeah, a few things since I posted last. Trailing arms are done, ready to be painted.   Rear brakes assembled.  These are what I call “poor mans disk brakes.” Reason is they have bigger wheel cylinders in them. The wheel cylinders come from the front brakes of a Super Beetle, which are 23.8mm in diameter. That’s much larger than the stock 17mm cylinders, or the standard beetle 22mm front wheel cylinders. The Super Beetle wheel cylinders are not a drop in swap through. There is a little mod that needs to be made to make them work. First off the mounting bolt to mounting boss center to center distance is larger, not by much, but enough that the bolt won’t go through the existing hole. A small worm tail file makes quick work of slotting the bolt hole. It’s only a mm or so you need to slot it to make the bolt fit. Second, the distance from the mounting face to the center of the cylinder is shorter than standard beetle cylinders, so a spacer is needed to push the cylinder farther into the drum so the shoes fit in the wheel cylinders. Doesn’t need to be anything fancy. I just made mine out of 18 gauge sheet metal. Other than those two things, the brakes go together as normal. I put anti-seize on the adjusting stars, and the e-brake pivot pin. I used brake grease where the shoes ride on the backing plate, the adjuster and cylinder slots, and the e-brake pushrod slots. Personal preference, you do what you like. Seals also got pressed into the bearing caps. Figured I would post up the pics of assembly. Maybe it will help someone down the road. 8) More to come next week when the trailing arms get painted.           |
|
vwrick69
1600dp
The difference between Genius and Stupidity is, Genius has limits.
Posts: 1,225
Joined: Feb 15, 2011 13:26:31 GMT -5
|
Post by vwrick69 on Apr 3, 2018 7:43:37 GMT -5
Your persistence and tenacity to this project is amazing. I comend you sir. I have been following this thread since the beginning and cant wait to see this buggy on the road. Great Job , Dirk!!!!
|
|
vanapplebomb
1600dp
Posts: 869 
Joined: Jan 22, 2013 23:36:55 GMT -5
|
Post by vanapplebomb on Apr 3, 2018 18:47:07 GMT -5
Thanks man, I appreciate it. I love having this project to tinker with. Sometimes I wish I had more time to monkey with it. I know I could have been done a long time ago if I would have made a simple cut and paste buggy with off the shelf parts, but that’s no fun. I like being resourceful and creative when I build things, but it all takes time. That’s ok though. I enjoy the challenge. I think the outcome will be worth it, to have a unique buggy when it is all said and done.
|
|
vanapplebomb
1600dp
Posts: 869 
Joined: Jan 22, 2013 23:36:55 GMT -5
|
Post by vanapplebomb on Apr 6, 2018 21:48:47 GMT -5
Started shooting some paint.  |
|
vanapplebomb
1600dp
Posts: 869 
Joined: Jan 22, 2013 23:36:55 GMT -5
|
Post by vanapplebomb on May 14, 2018 21:35:03 GMT -5
|
|
vanapplebomb
1600dp
Posts: 869 
Joined: Jan 22, 2013 23:36:55 GMT -5
|
Post by vanapplebomb on May 14, 2018 21:37:28 GMT -5
Alright, after a battle with the rear end, I finally got the trailing arms/brakes the way I want them. Put it together once, didn’t like it. I replaced all the stub axle seals with 8mm thick ones, which was much better. I also took the time to switch the type of o-ring I am using. The ones I had in it round one were the larger diameter skinny ones that go around the perimeter of the bearing carrier just above the backing plate. Although fine, I prefer the smaller diameter thicker o-ring that fits around the roller bearing. I have seen less issues with them pinching and leaking after installing the bearing retainer cap. ...and just because everybody likes pictures. :wink:     |
|
vanapplebomb
1600dp
Posts: 869 
Joined: Jan 22, 2013 23:36:55 GMT -5
|
Post by vanapplebomb on May 18, 2018 14:11:10 GMT -5
|
|
vanapplebomb
1600dp
Posts: 869 
Joined: Jan 22, 2013 23:36:55 GMT -5
|
Post by vanapplebomb on Jun 19, 2018 18:07:26 GMT -5
Well, the wife and I bought a house and got everything moved over. Been a crazy couple weeks. For the time being we threw everything in the barn, so it is a bit cluttered for now while we sort out where to put things in the house. Poll barn has a 9000Lb lift in it, so I am pretty excited about that. Big upgrade from what space (or lack there of) I had before. Anyways, it is nice to have a lift hold the back up while I work on getting the rear suspension sorted out. Never mind all the boxes from moving in the background...or the dog photobombing.   |
|
vanapplebomb
1600dp
Posts: 869 
Joined: Jan 22, 2013 23:36:55 GMT -5
|
Post by vanapplebomb on Sept 9, 2018 9:05:21 GMT -5
Clutch Cable is shortened and routed through the pulleys. To terminate the transaxle end of the cable, I cut the stock M7 threaded end off and welded it onto a slightly modified three jaw cable camp. Works slick. This is the three jaw cable clamp taken apart along with the stock threaded end I cut off.  I notched the eye of the cable clamp for a little more weld area between the clamp and M7 threaded end.  Routing pulleys   And the cable clamp modified for the stock wing nut   |
|
vanapplebomb
1600dp
Posts: 869 
Joined: Jan 22, 2013 23:36:55 GMT -5
|
Post by vanapplebomb on Sept 17, 2018 9:32:12 GMT -5
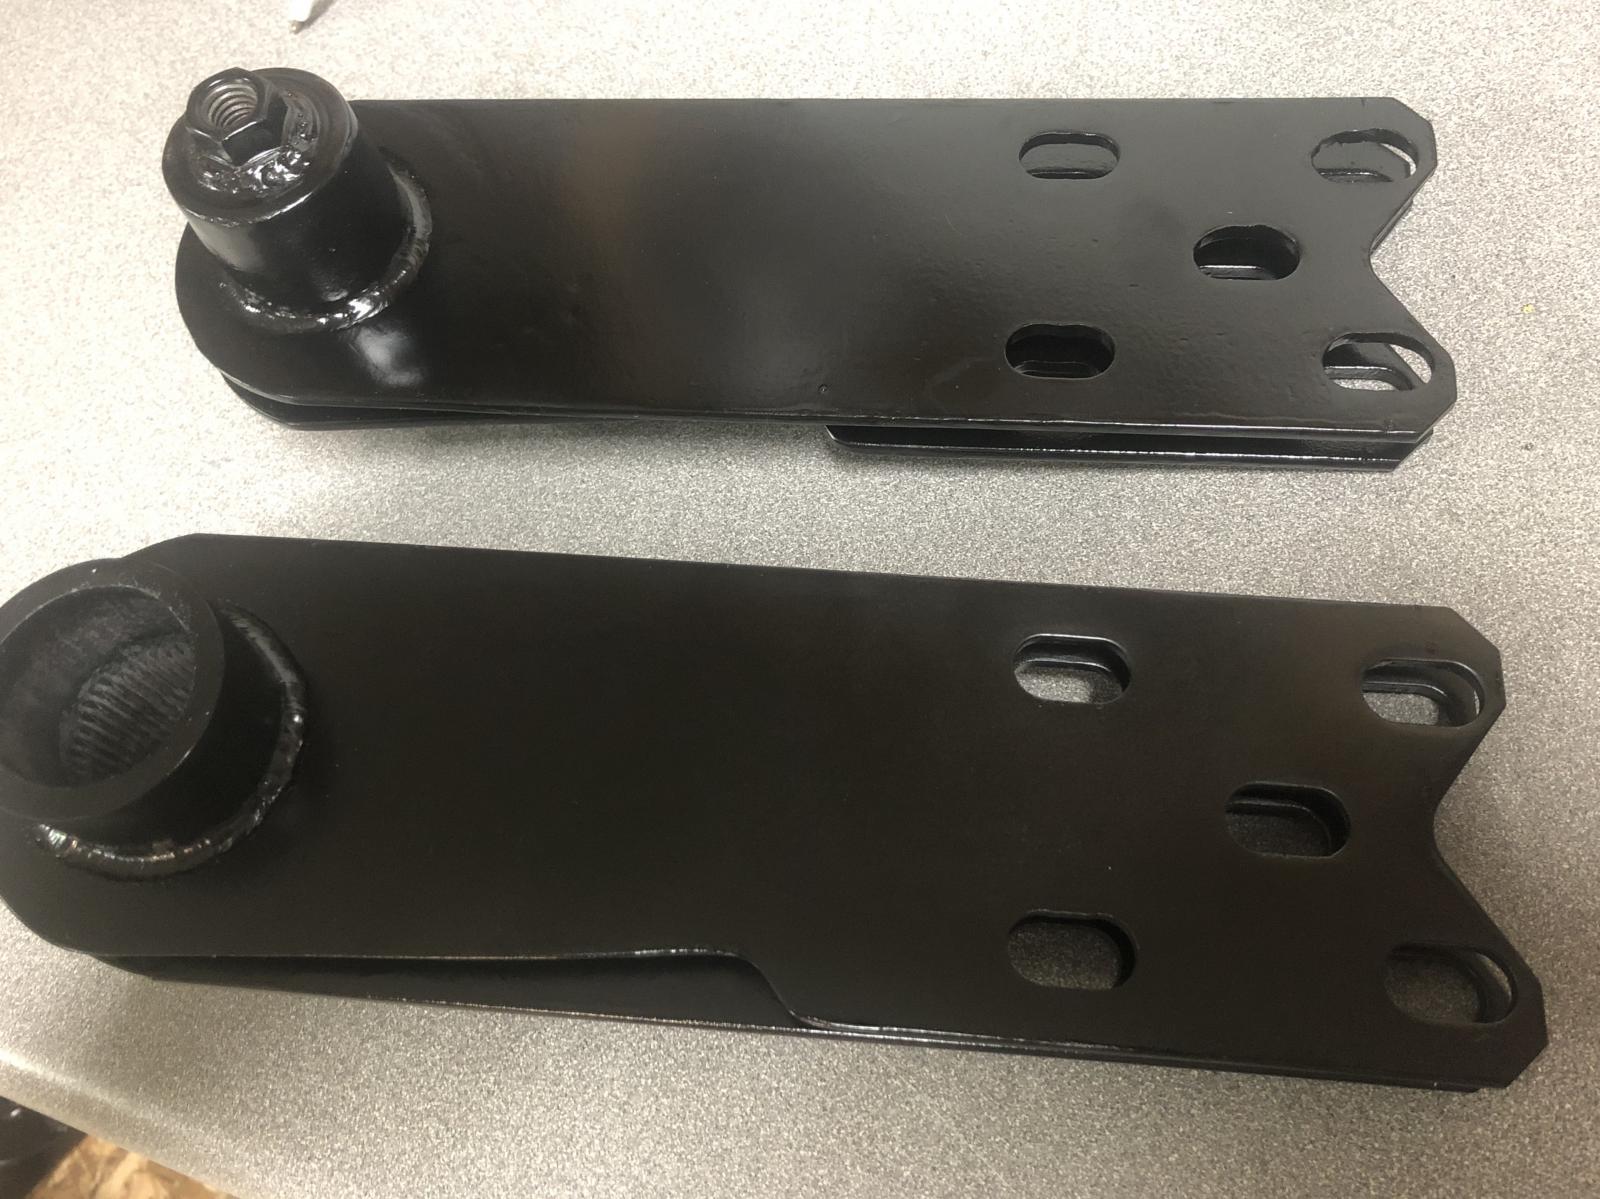
Spring plates are done. Dual spring plates, notched, with shortened tubes for conversion to swing axle torsion bars. I welded a hard washer on the end to capture the torsion bars, then added a little 1/2” tube extension on the end to fully engage with the outer bushing. A hard washer and M12 nut capped it off. In normal operation I will just fill the hole with a short M12 bolt. The idea is that if I need to make adjustments, I can jack it off the torsion bar easily by running in a long M12 bolt. A little bit easier than prying them off the lower stop with a crowbar or big screw driver. Local hardware store was out of M12 bolts, so I ordered what I needed. Should be in soon.  |
|
vanapplebomb
1600dp
Posts: 869 
Joined: Jan 22, 2013 23:36:55 GMT -5
|
Post by vanapplebomb on Sept 19, 2018 21:29:02 GMT -5
Good news, I started test fitting all the parts together. Looks like it will work out slick.no torsion bars at this point so I can move things around. Quick tape measure job, and I measured 9-3/4” of vertical travel.    With the notch in the spring plate, my spring plates rest on the stop at 13.5 degrees down with the frame as a zero reference.  I zeroed out the angle finder at full drop, them moved the spring plate to full bump, and measured just shy of 30 degrees of swing. That’s right about where I wanted to be.  With the trailing arm attached, I also got a rough location for the bump stop I want to add. To mount it I will just weld on a 3/8” threaded coupler to the torsion housing shock towers.  |
|
vanapplebomb
1600dp
Posts: 869 
Joined: Jan 22, 2013 23:36:55 GMT -5
|
Post by vanapplebomb on Sept 26, 2018 20:06:20 GMT -5
|
|